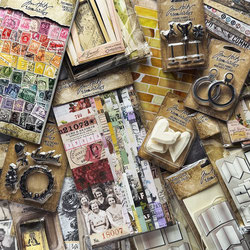
I made my very first vignette card file! This litte box showcases various ideas for using postage stamps. You can apply the ideas from this box to loose ephemera, greeting cards, or even in a junk journal.
While creating this box I took some photos to give you an idea about my process. I am hoping you can find some inspiration for your own file cards, greeting cards or junk journal ephemera.
What are file cards?
File cards are interactive elements for junk journals, cards and more. They can be inked, altered and embellished. They are made out of heavystock cardstock. The new FILE CARDS 2 have three each of four designs.
The vignette card file has a total of three compartments, each capable of holding four card files. This gives you the opportunity to bring many different ideas to life and, in particular, to repeat ideas.
When I first saw the file cards 2, I wondered how it would look if the box started with smaller cards in the front, gradually increasing in size towards the back. This way, when looking directly at the box from the front, you can see not only the first card completely but several at once. You can see exactly how I trimmed and manipulated the file cards in the following pictures.
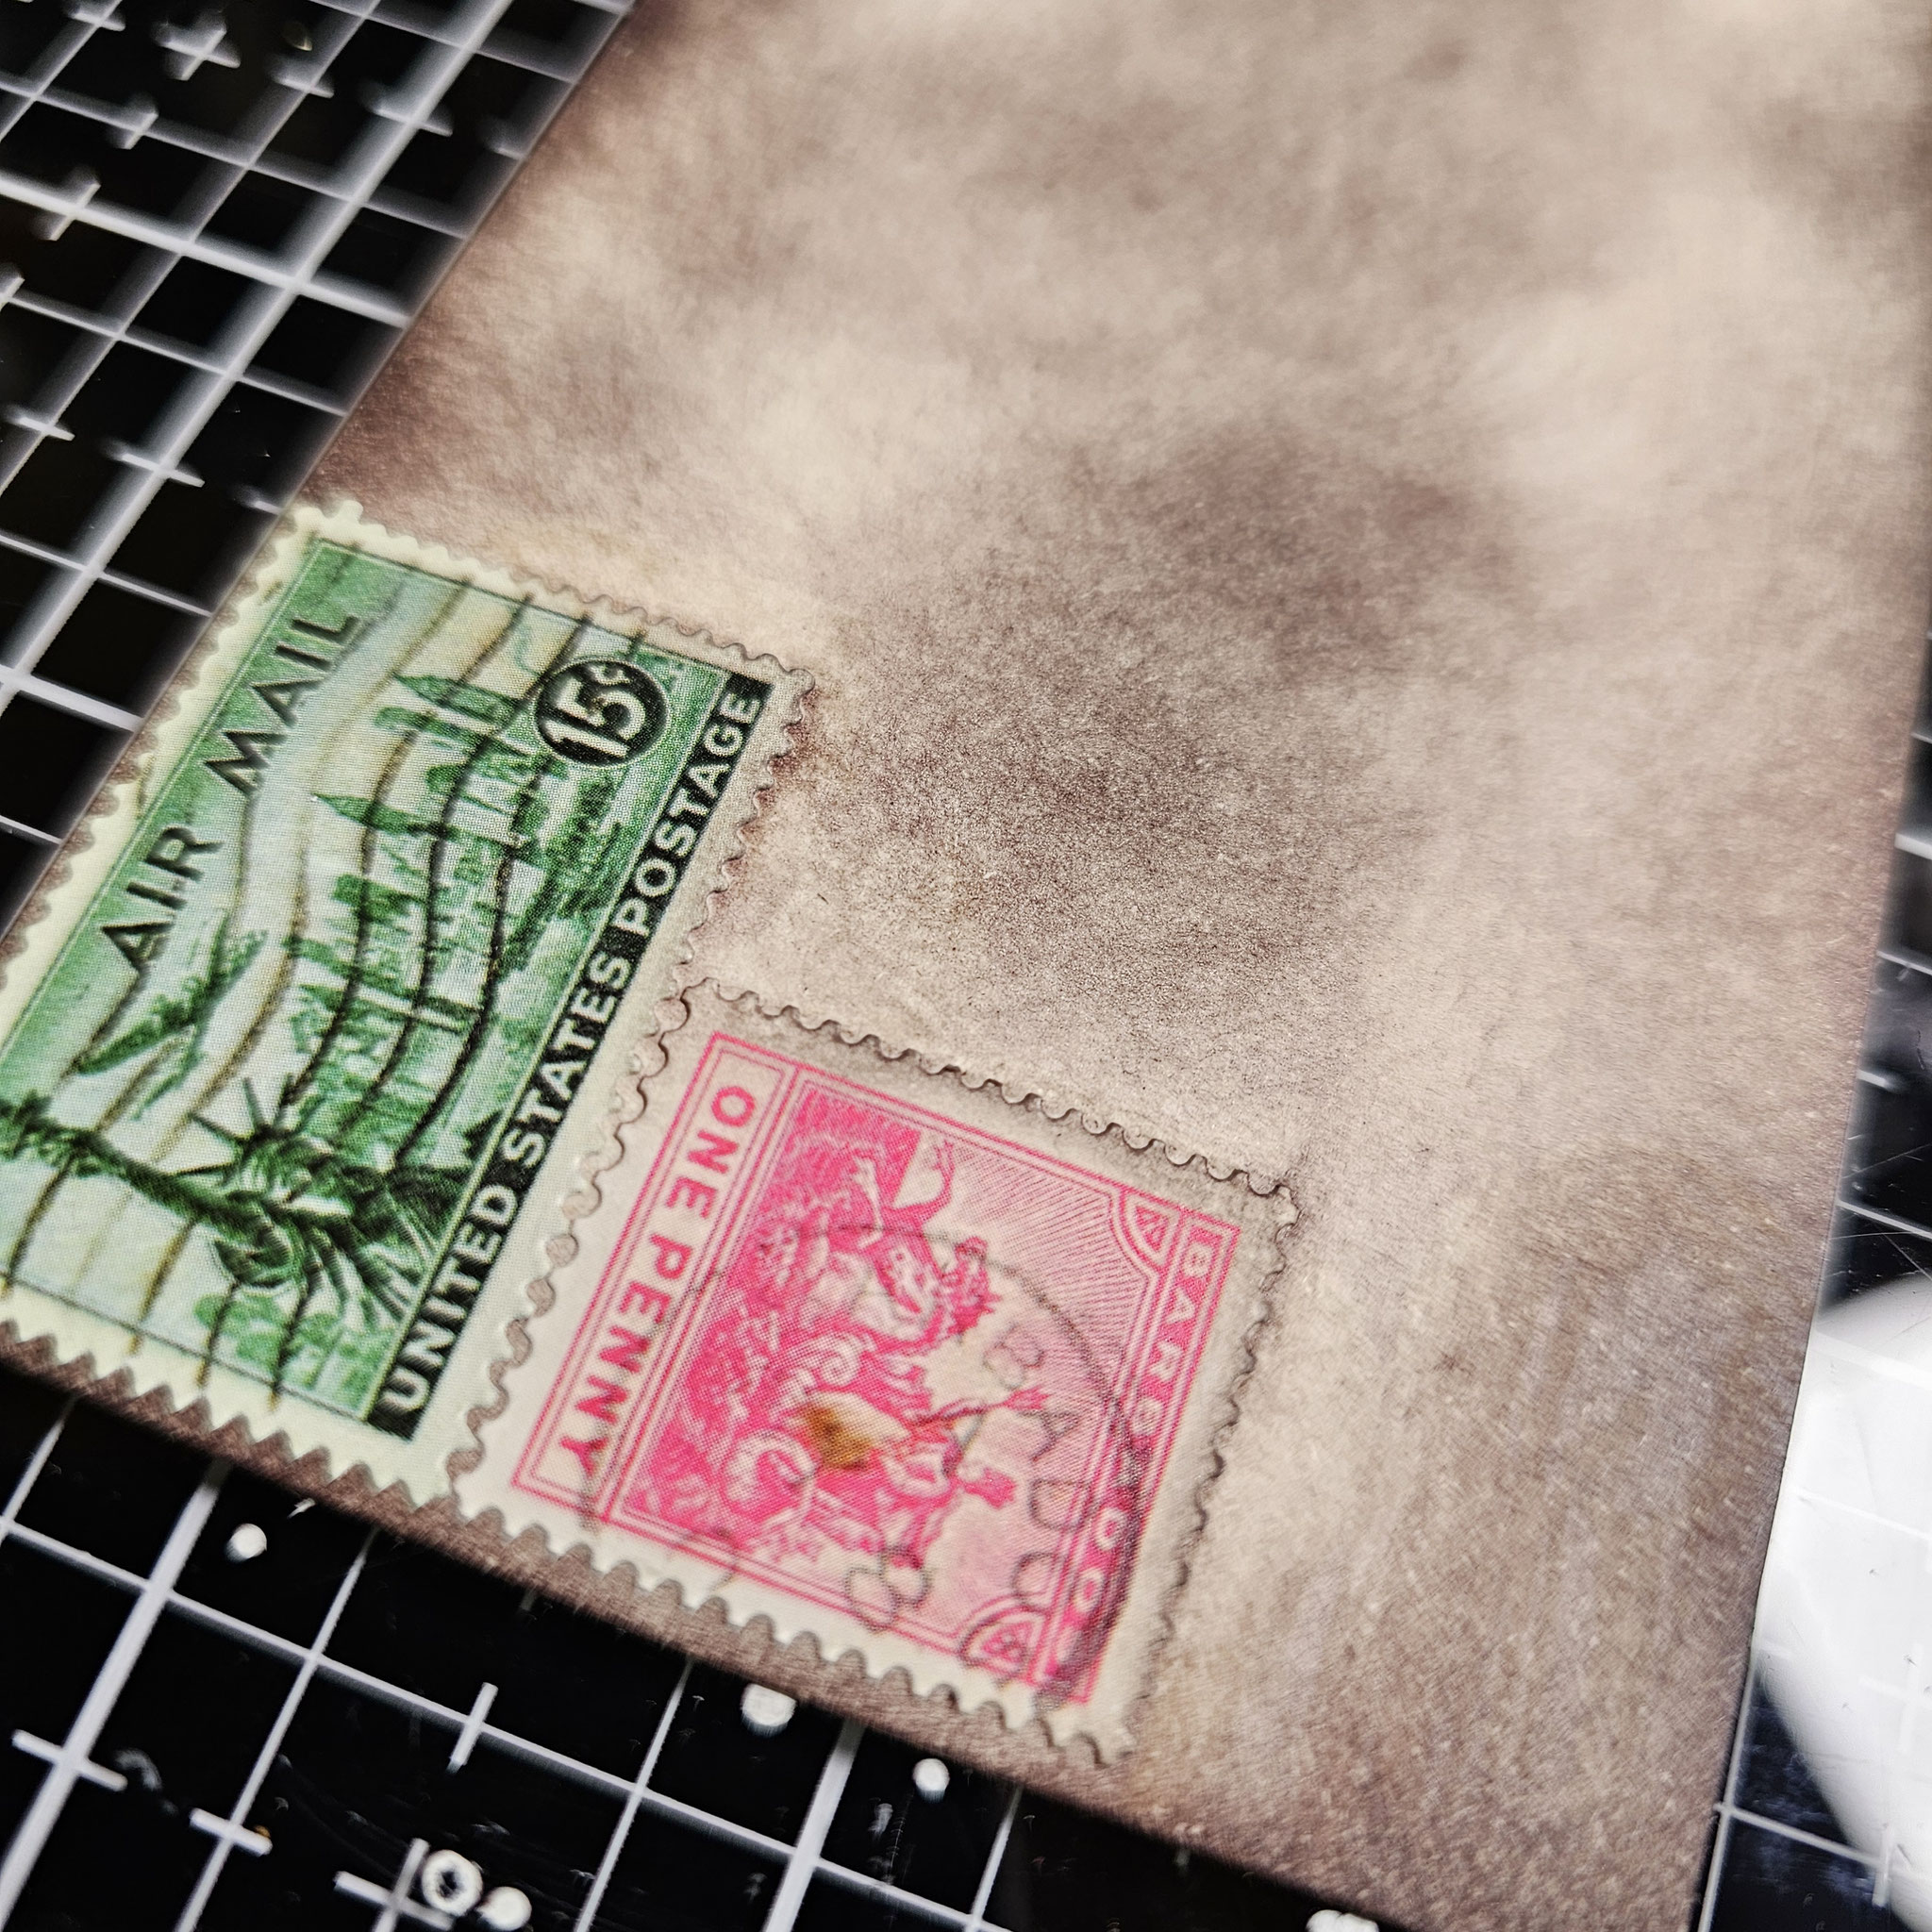
I started with the last file card, which is at the very back of my box, because it is the largest element of the whole project and it gave me the opportunity to better assess the size for the other pieces.
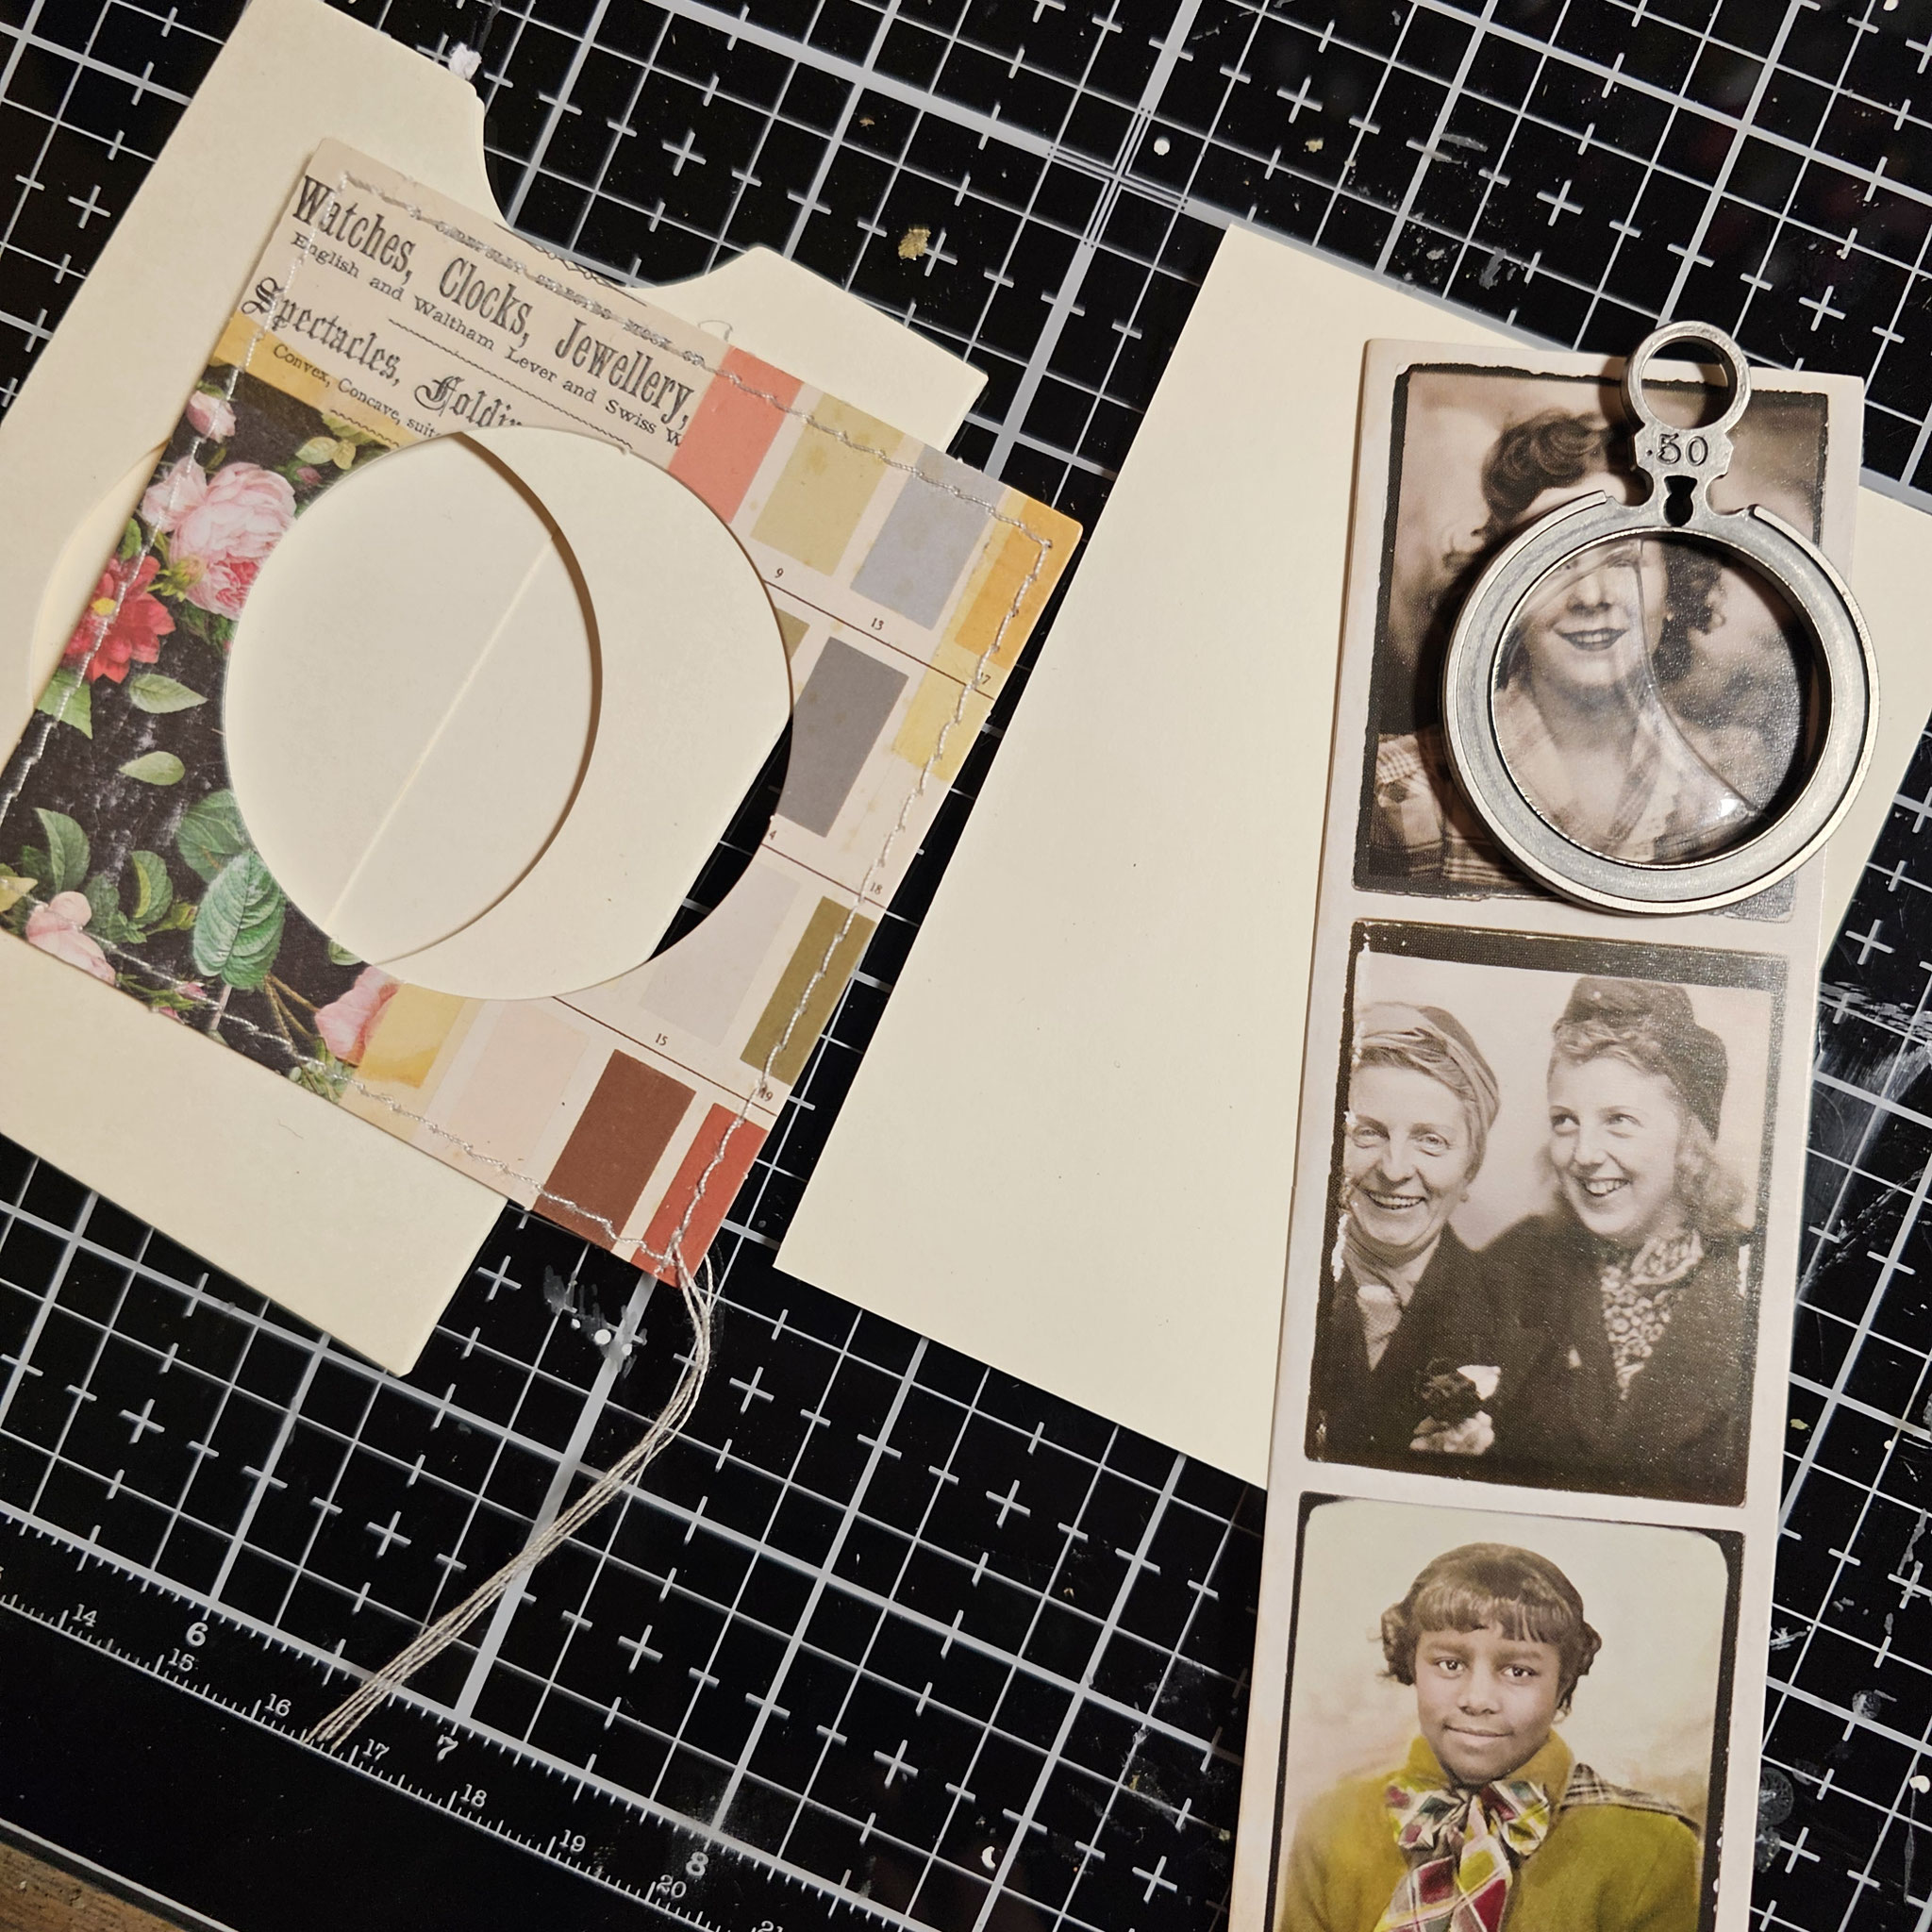
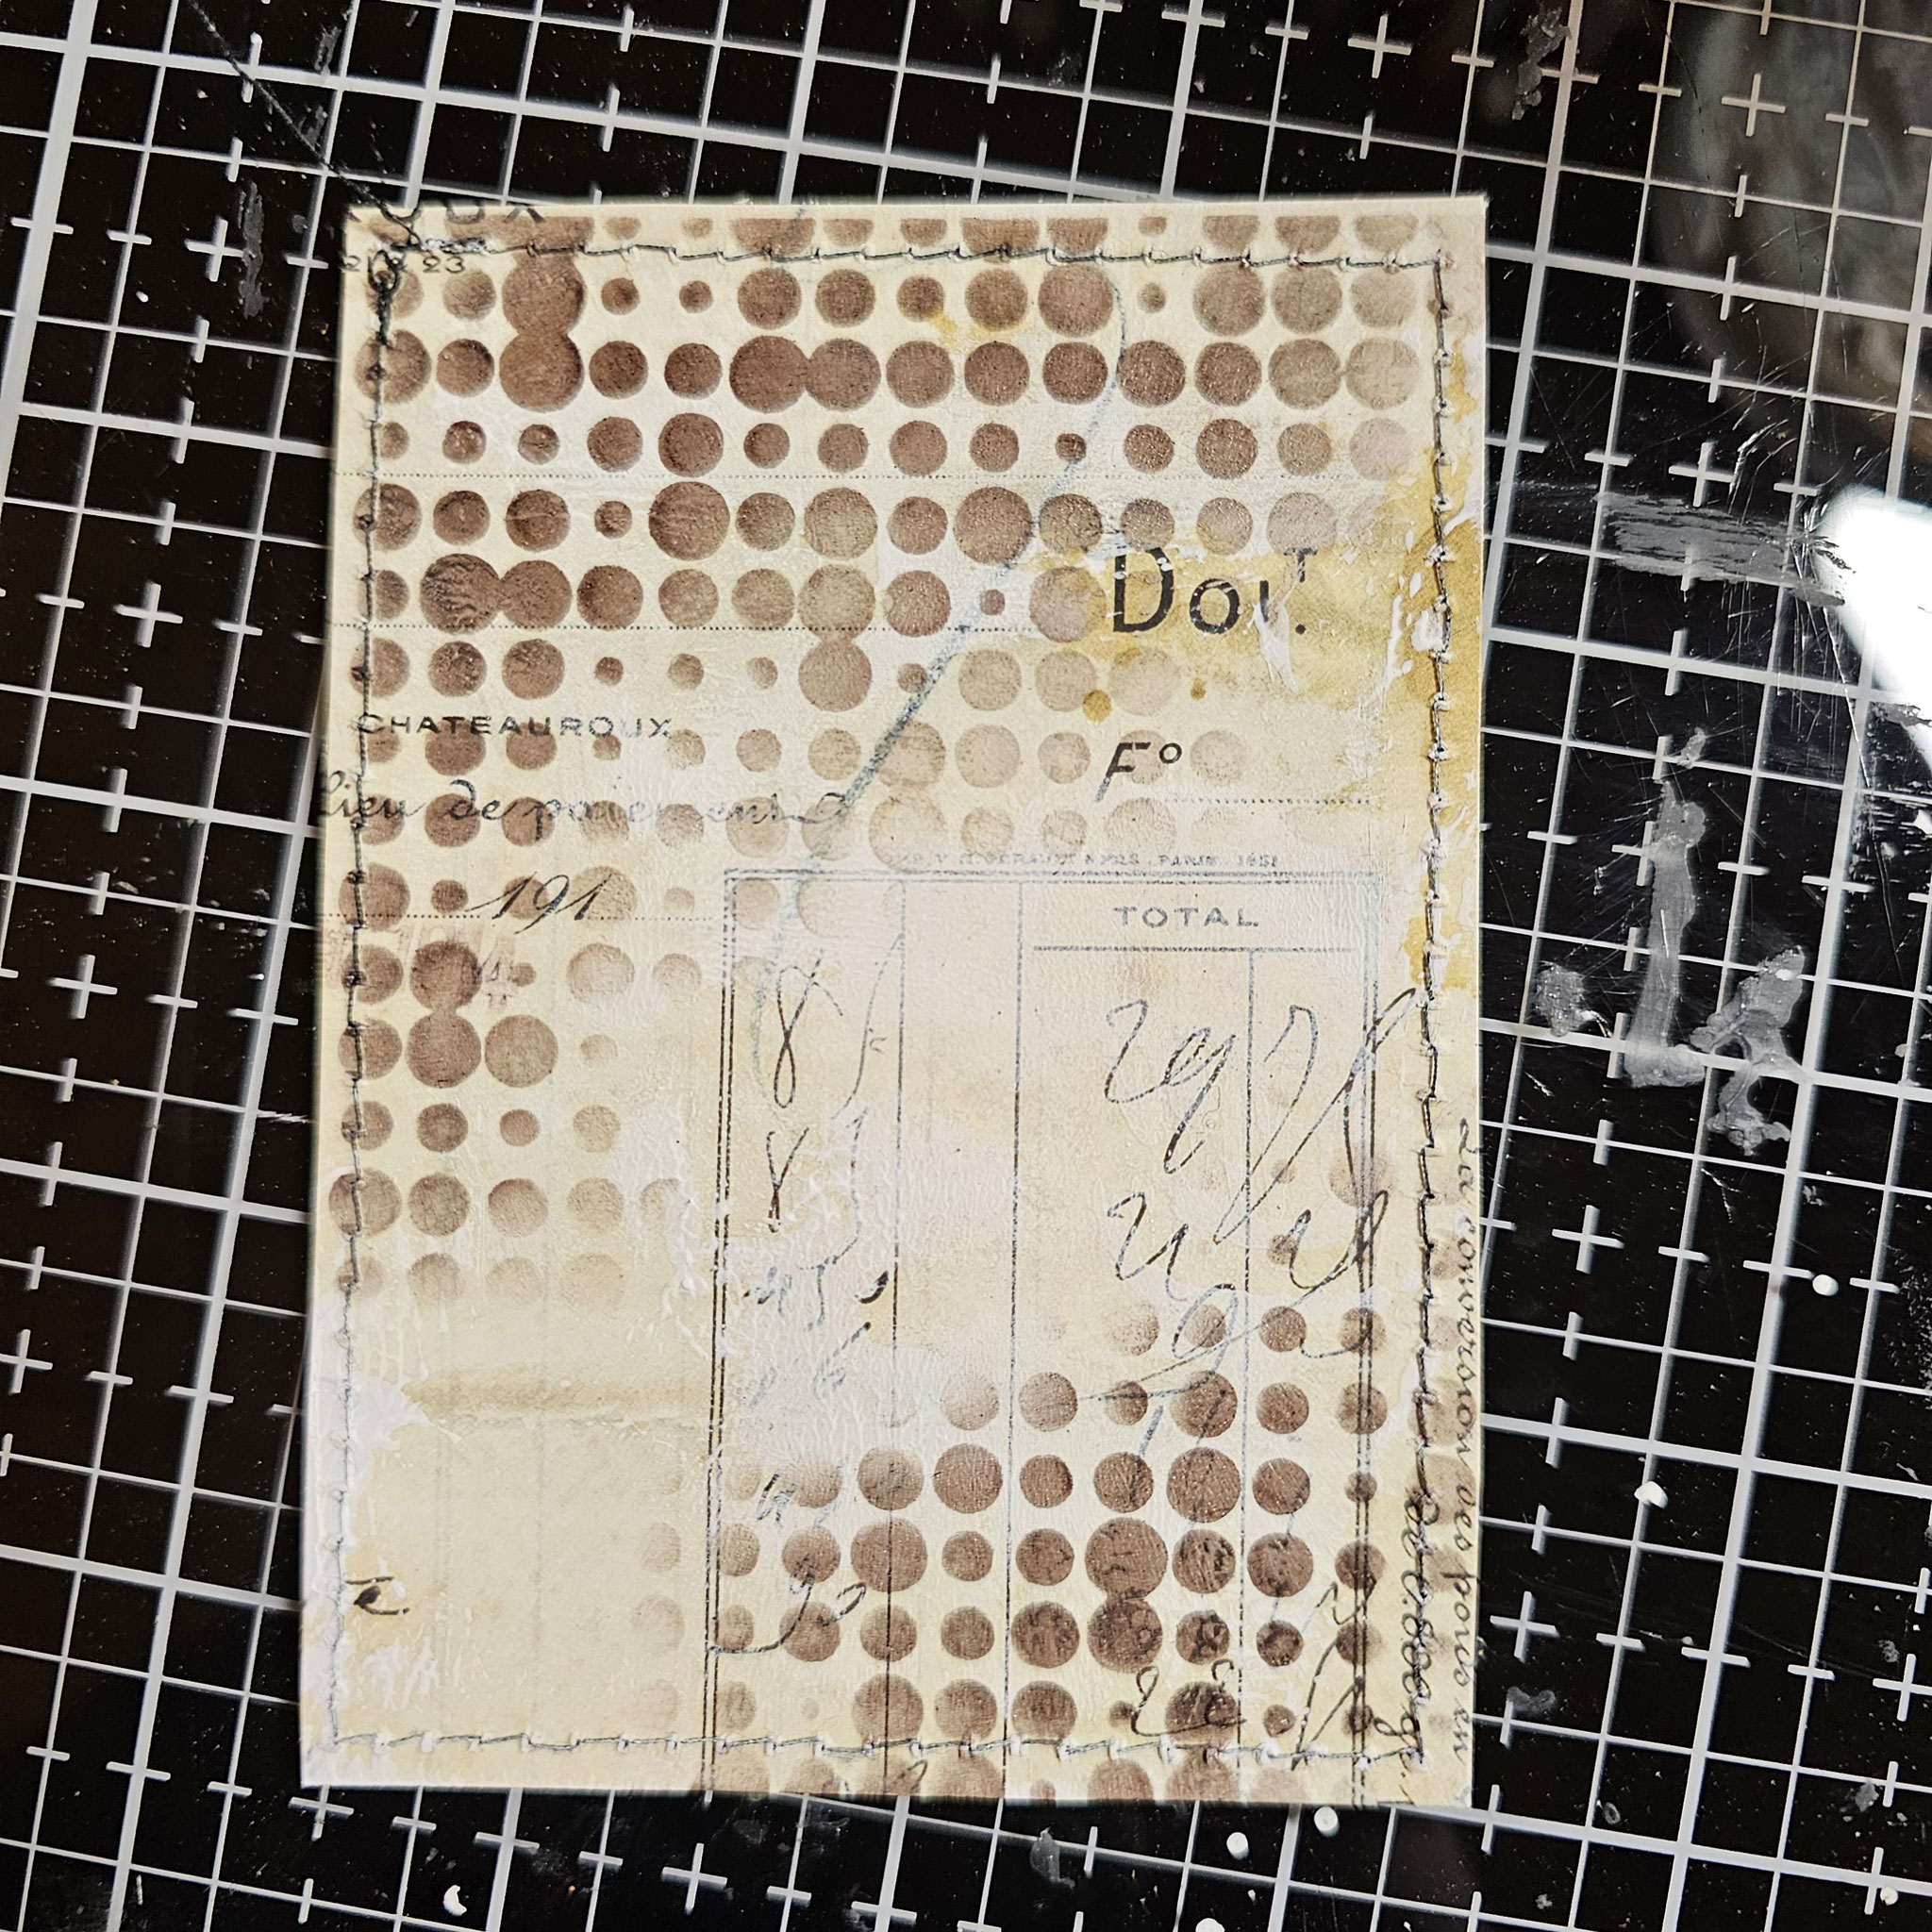
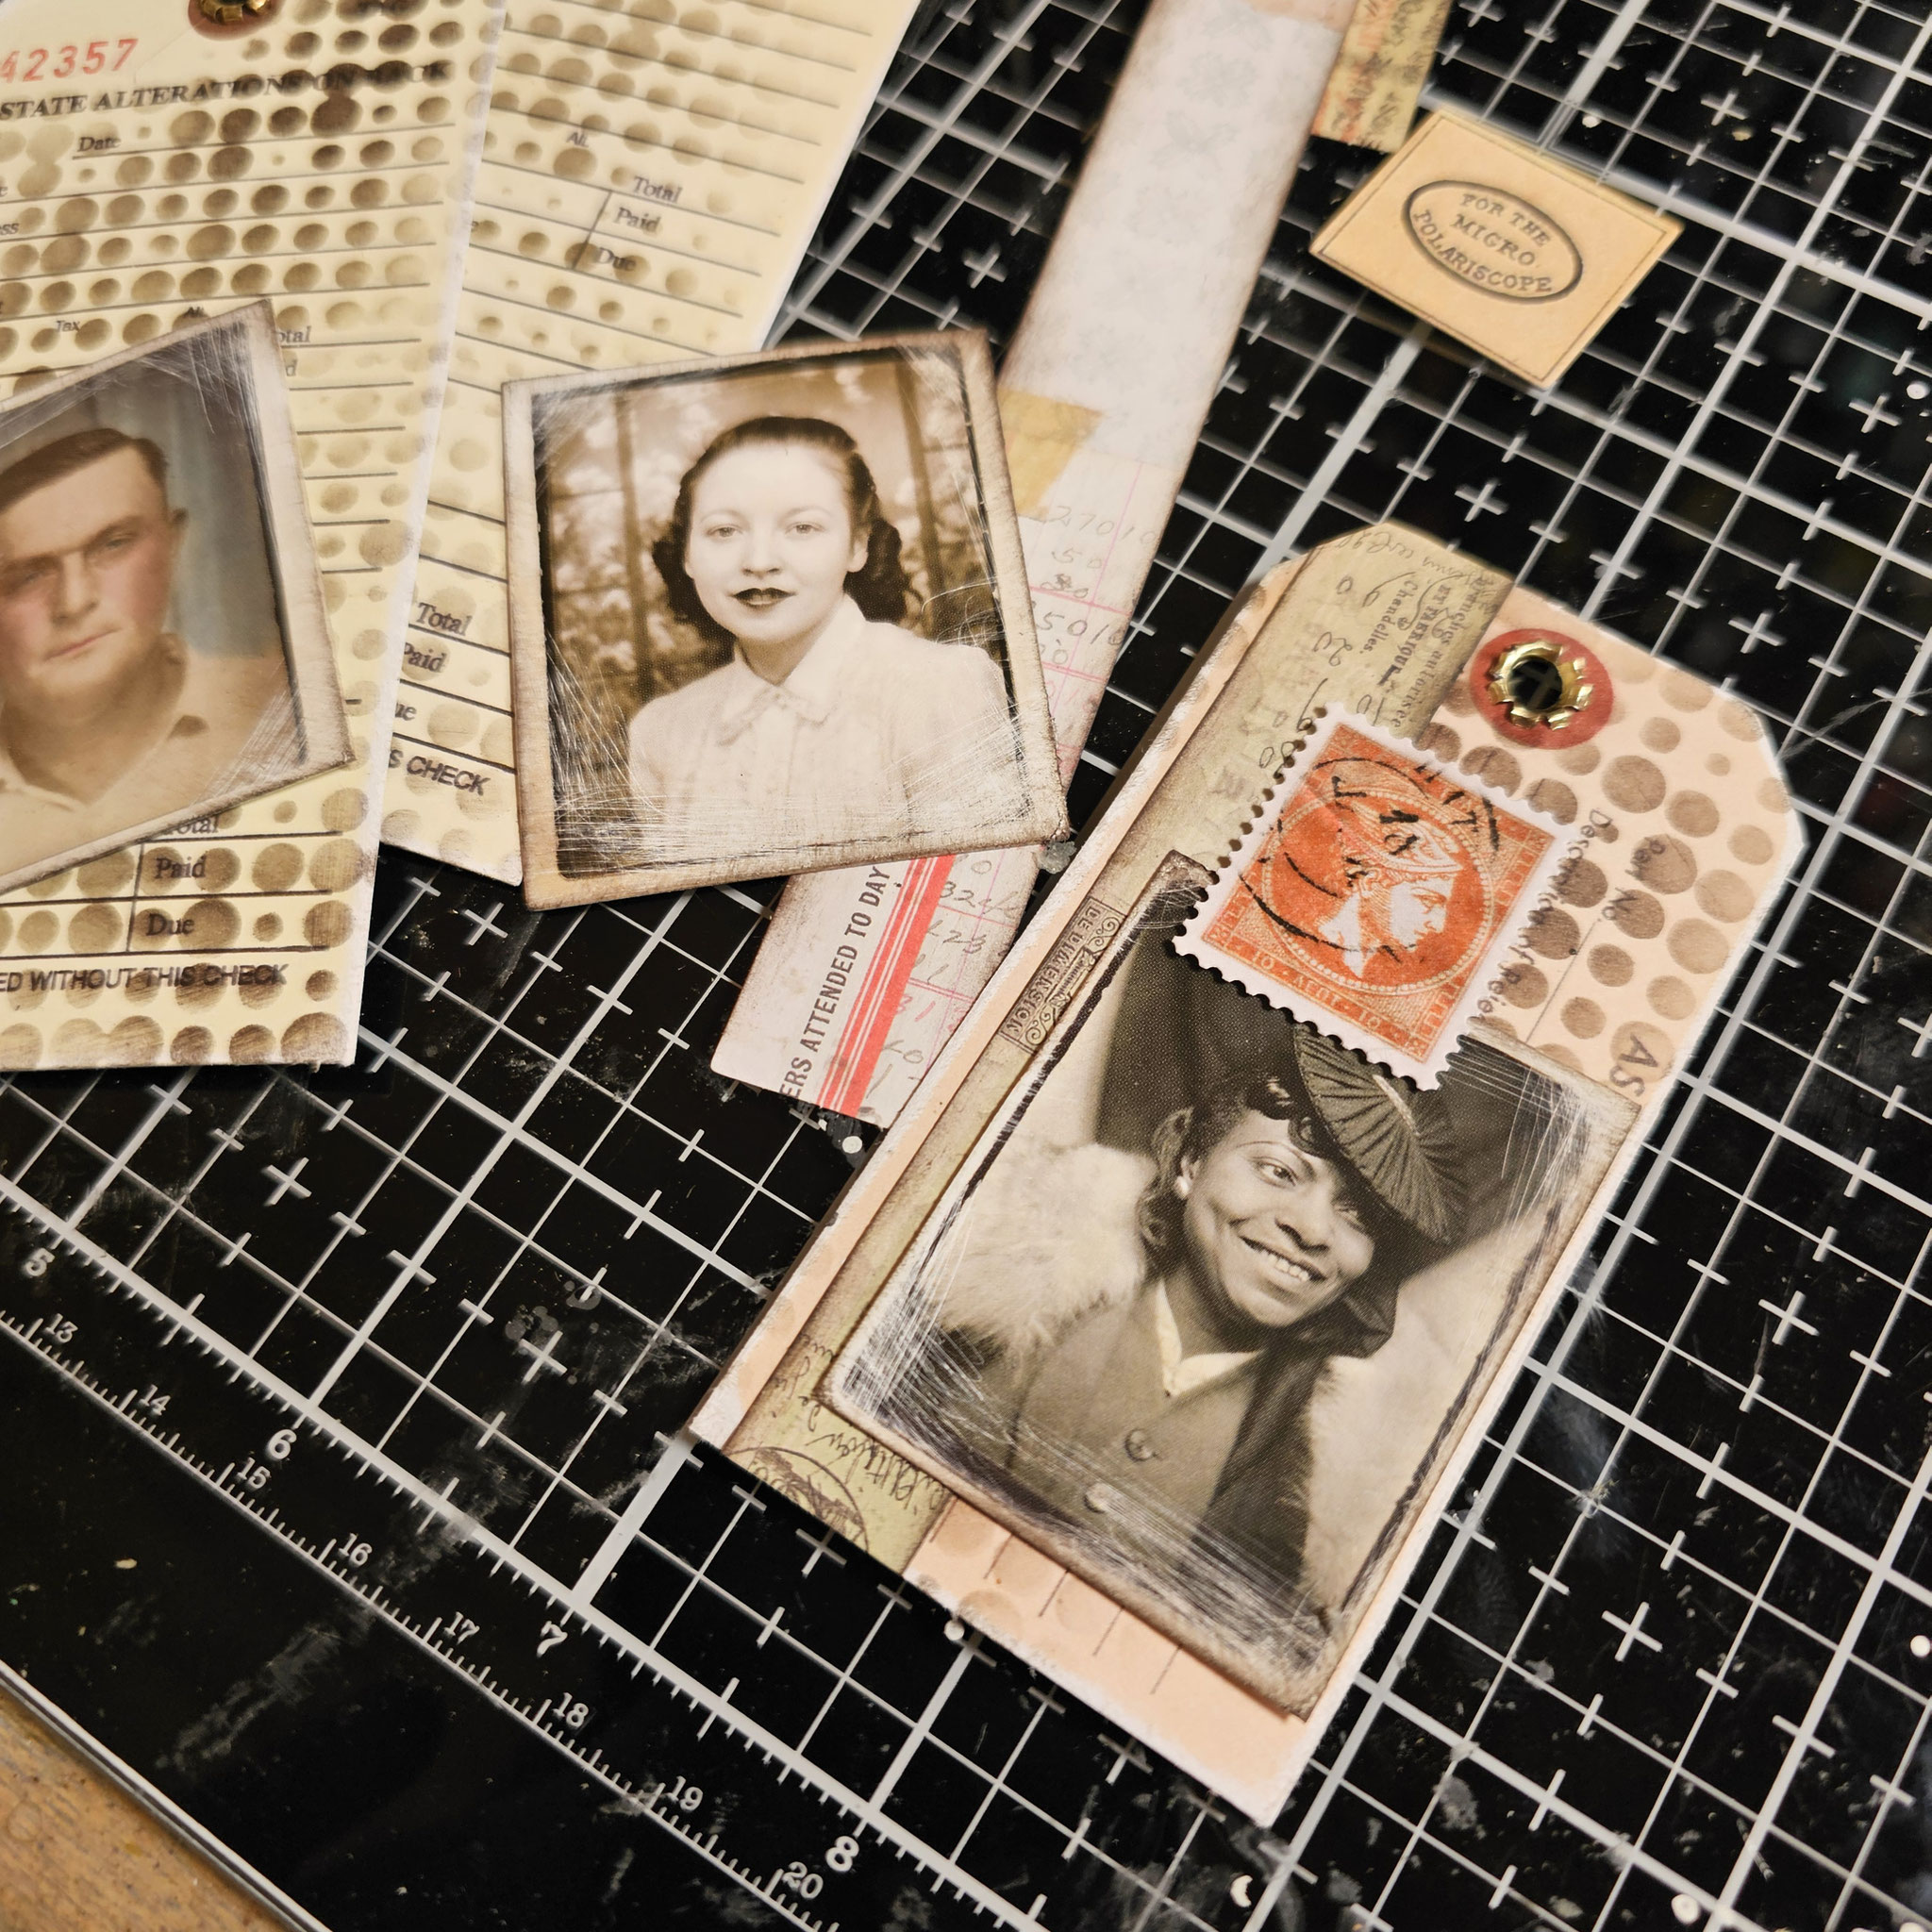
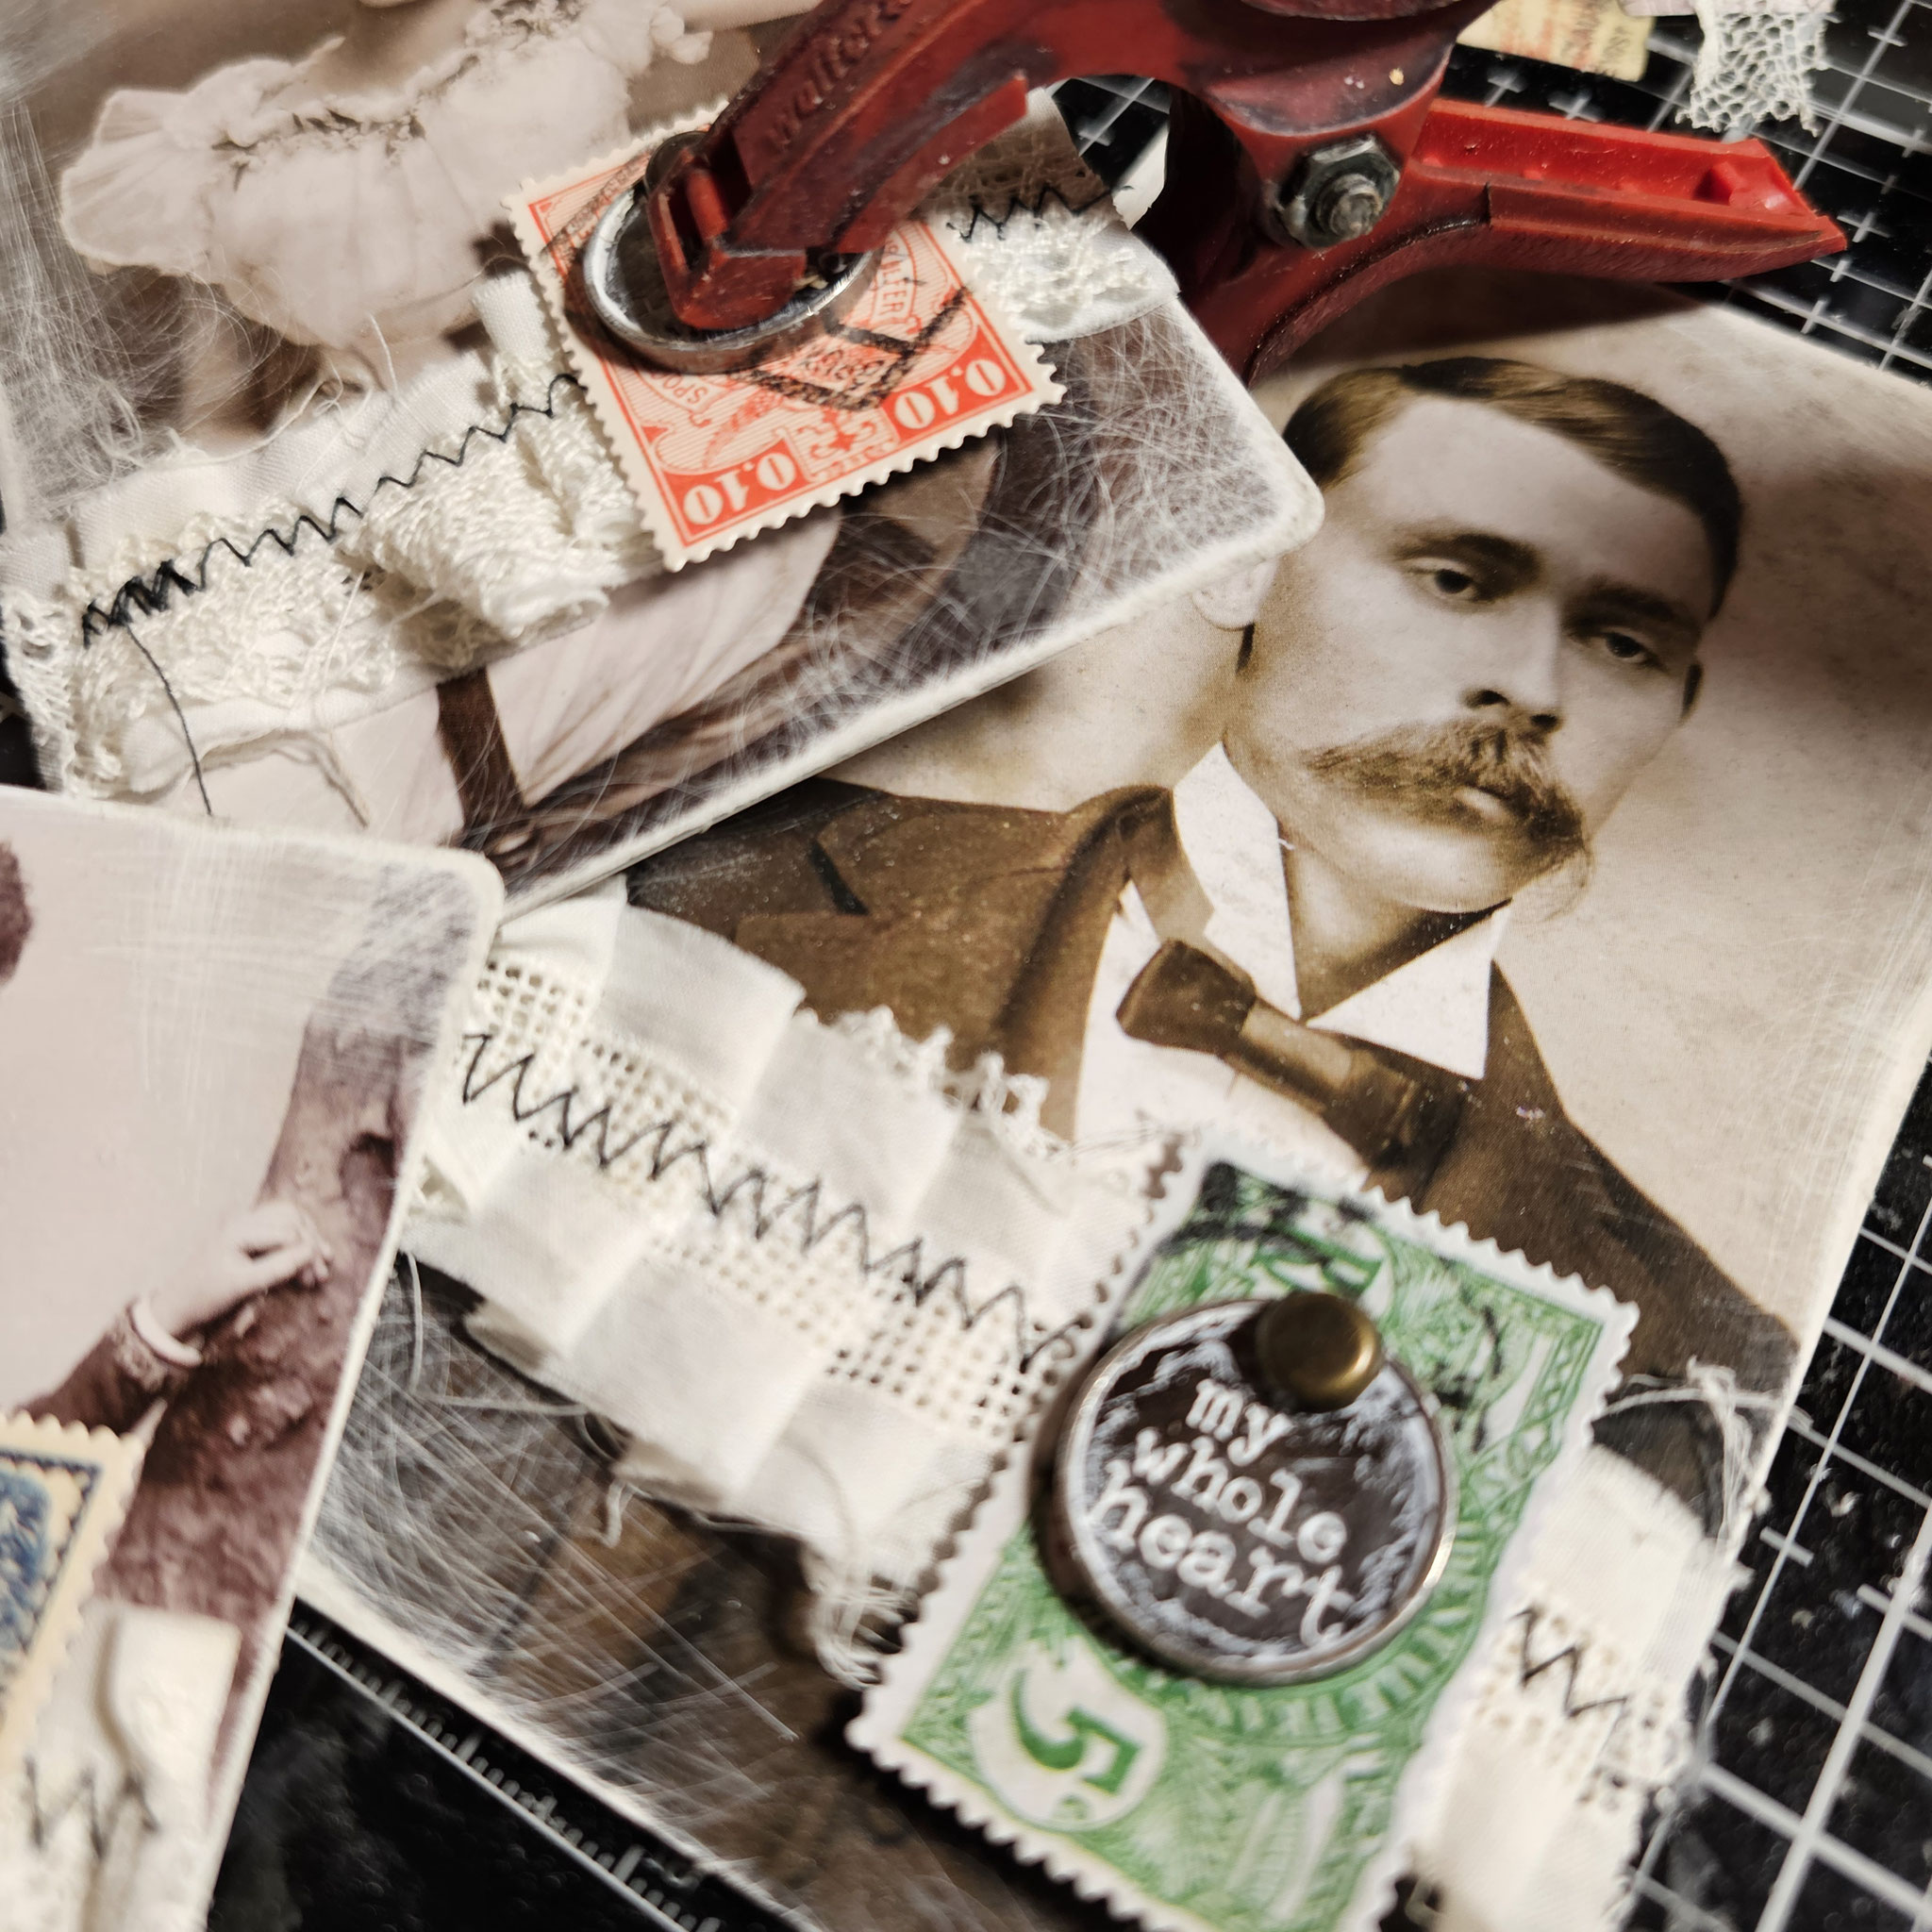
First, I created a tag #8, and later, I placed the pocket with the round hole over it as a belly band.
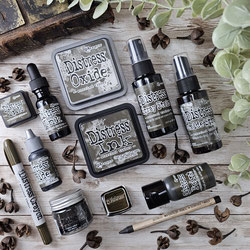
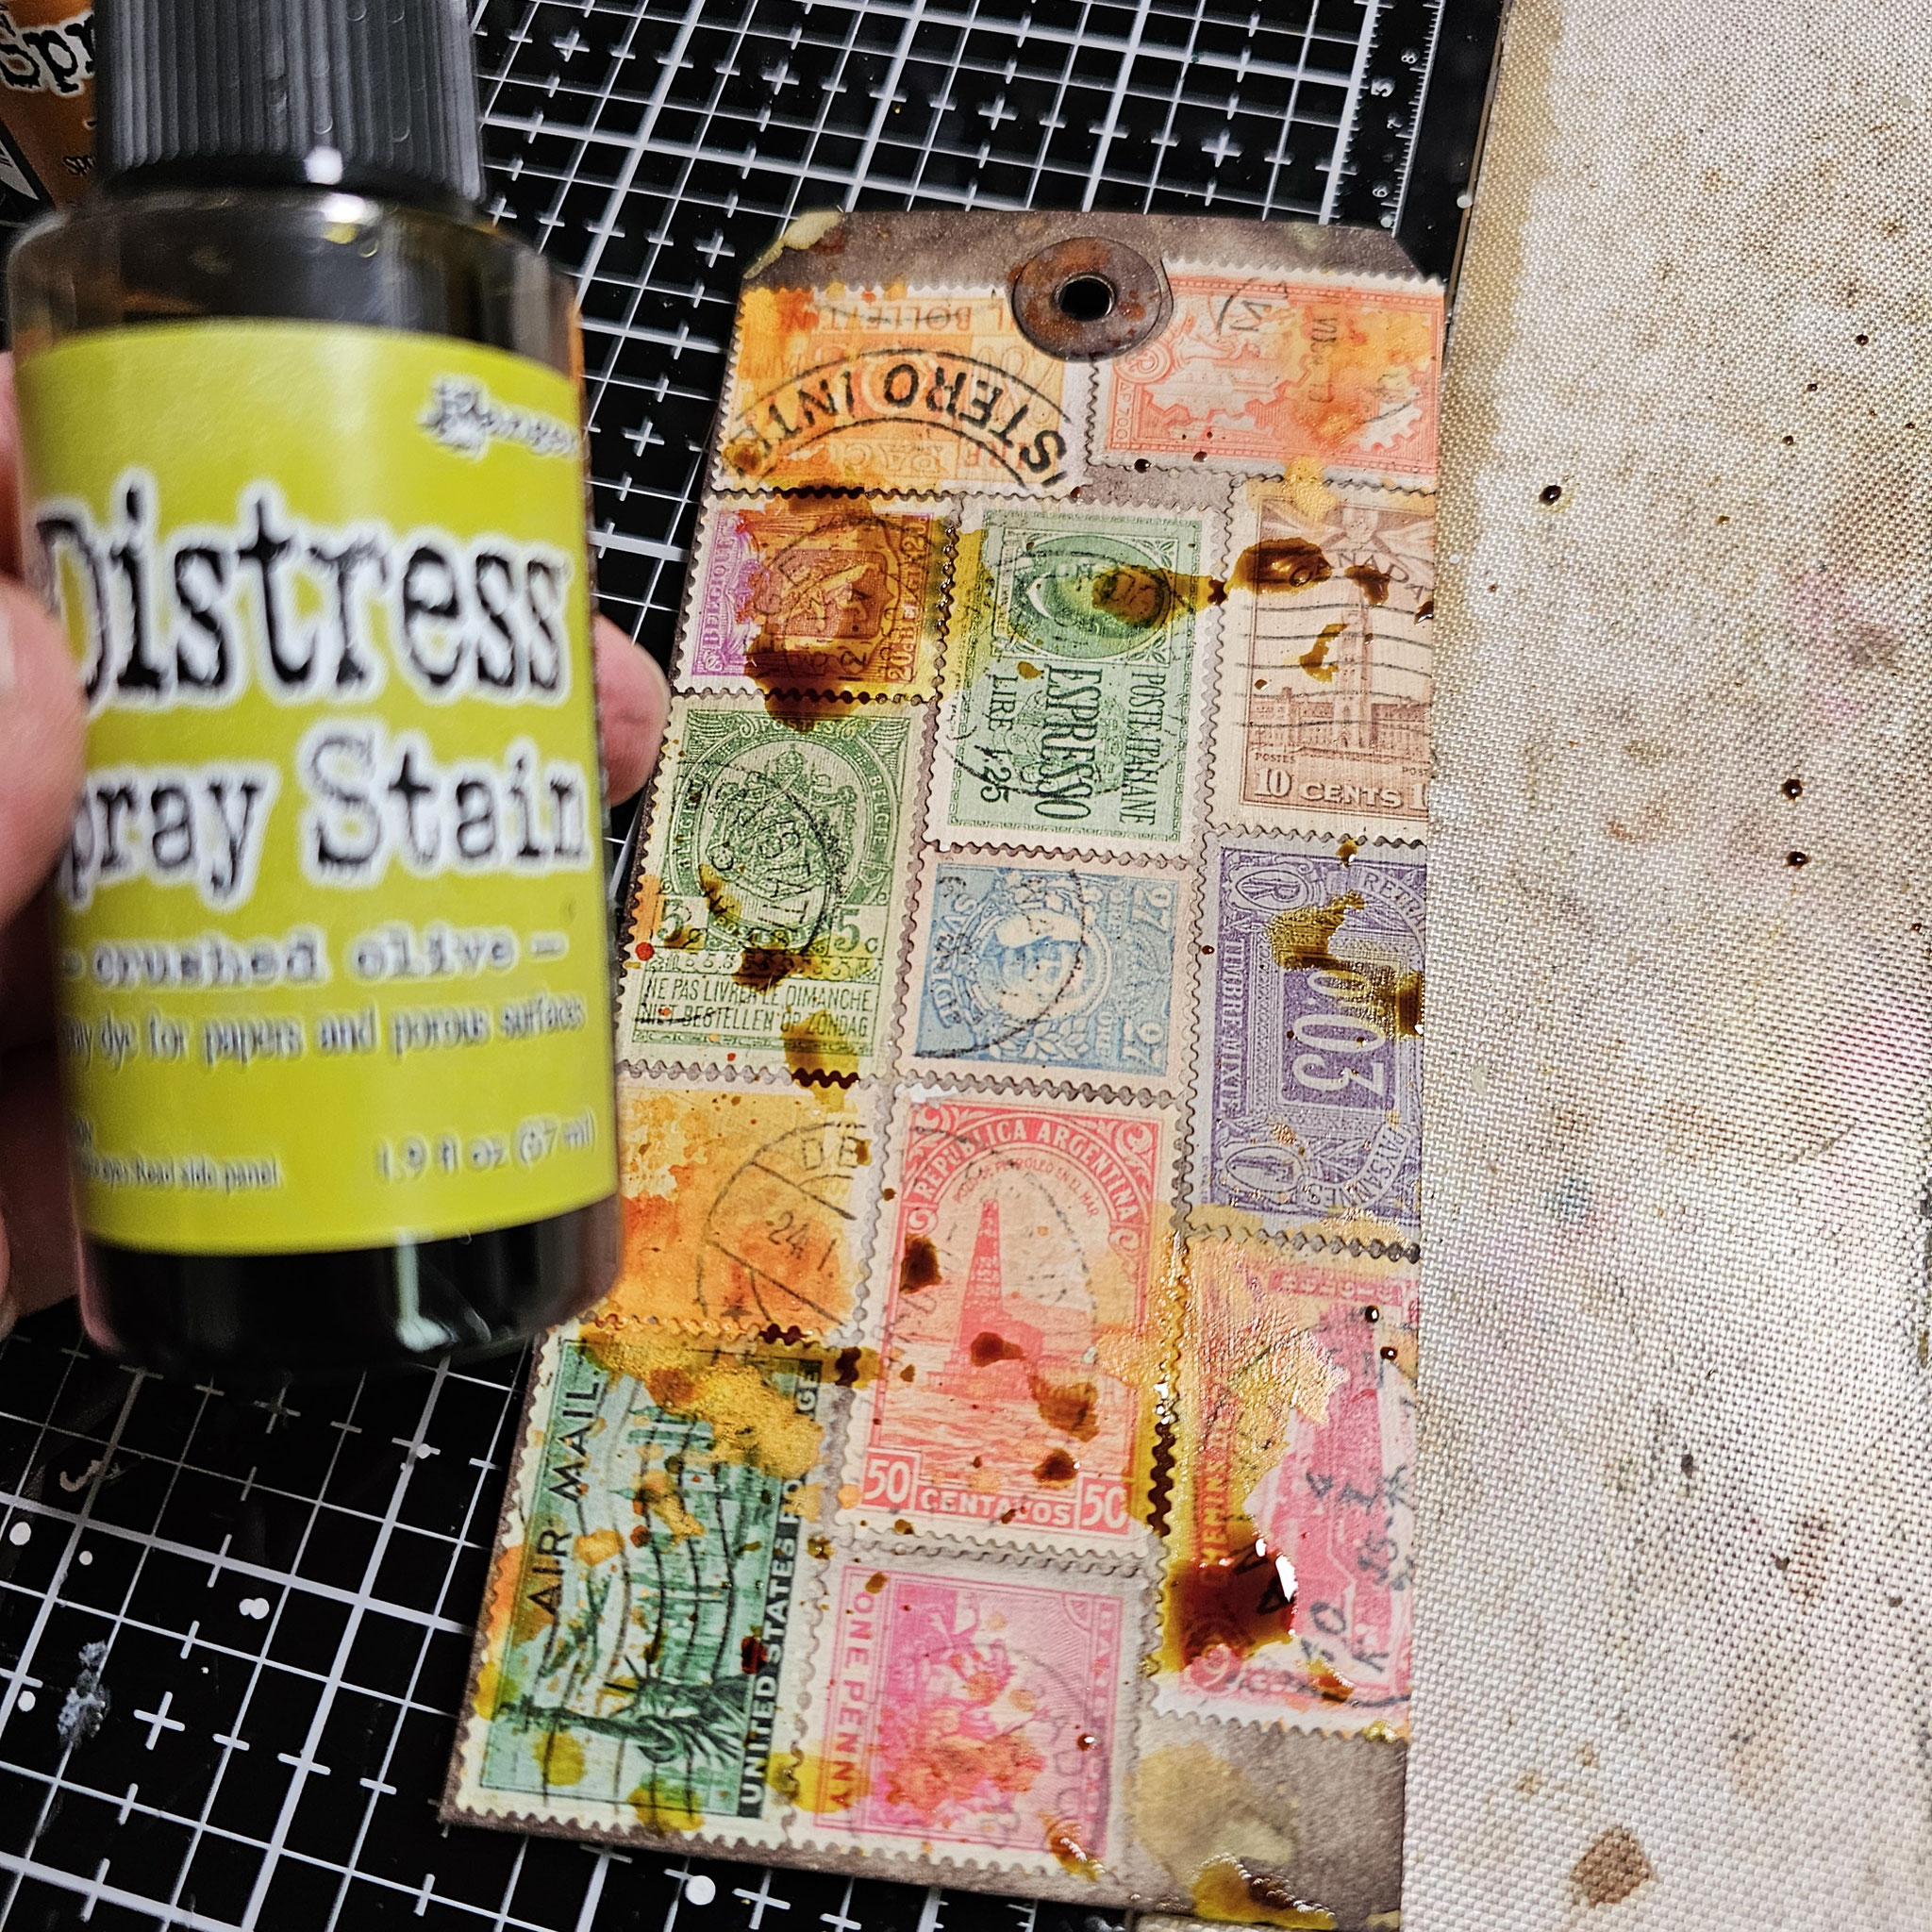
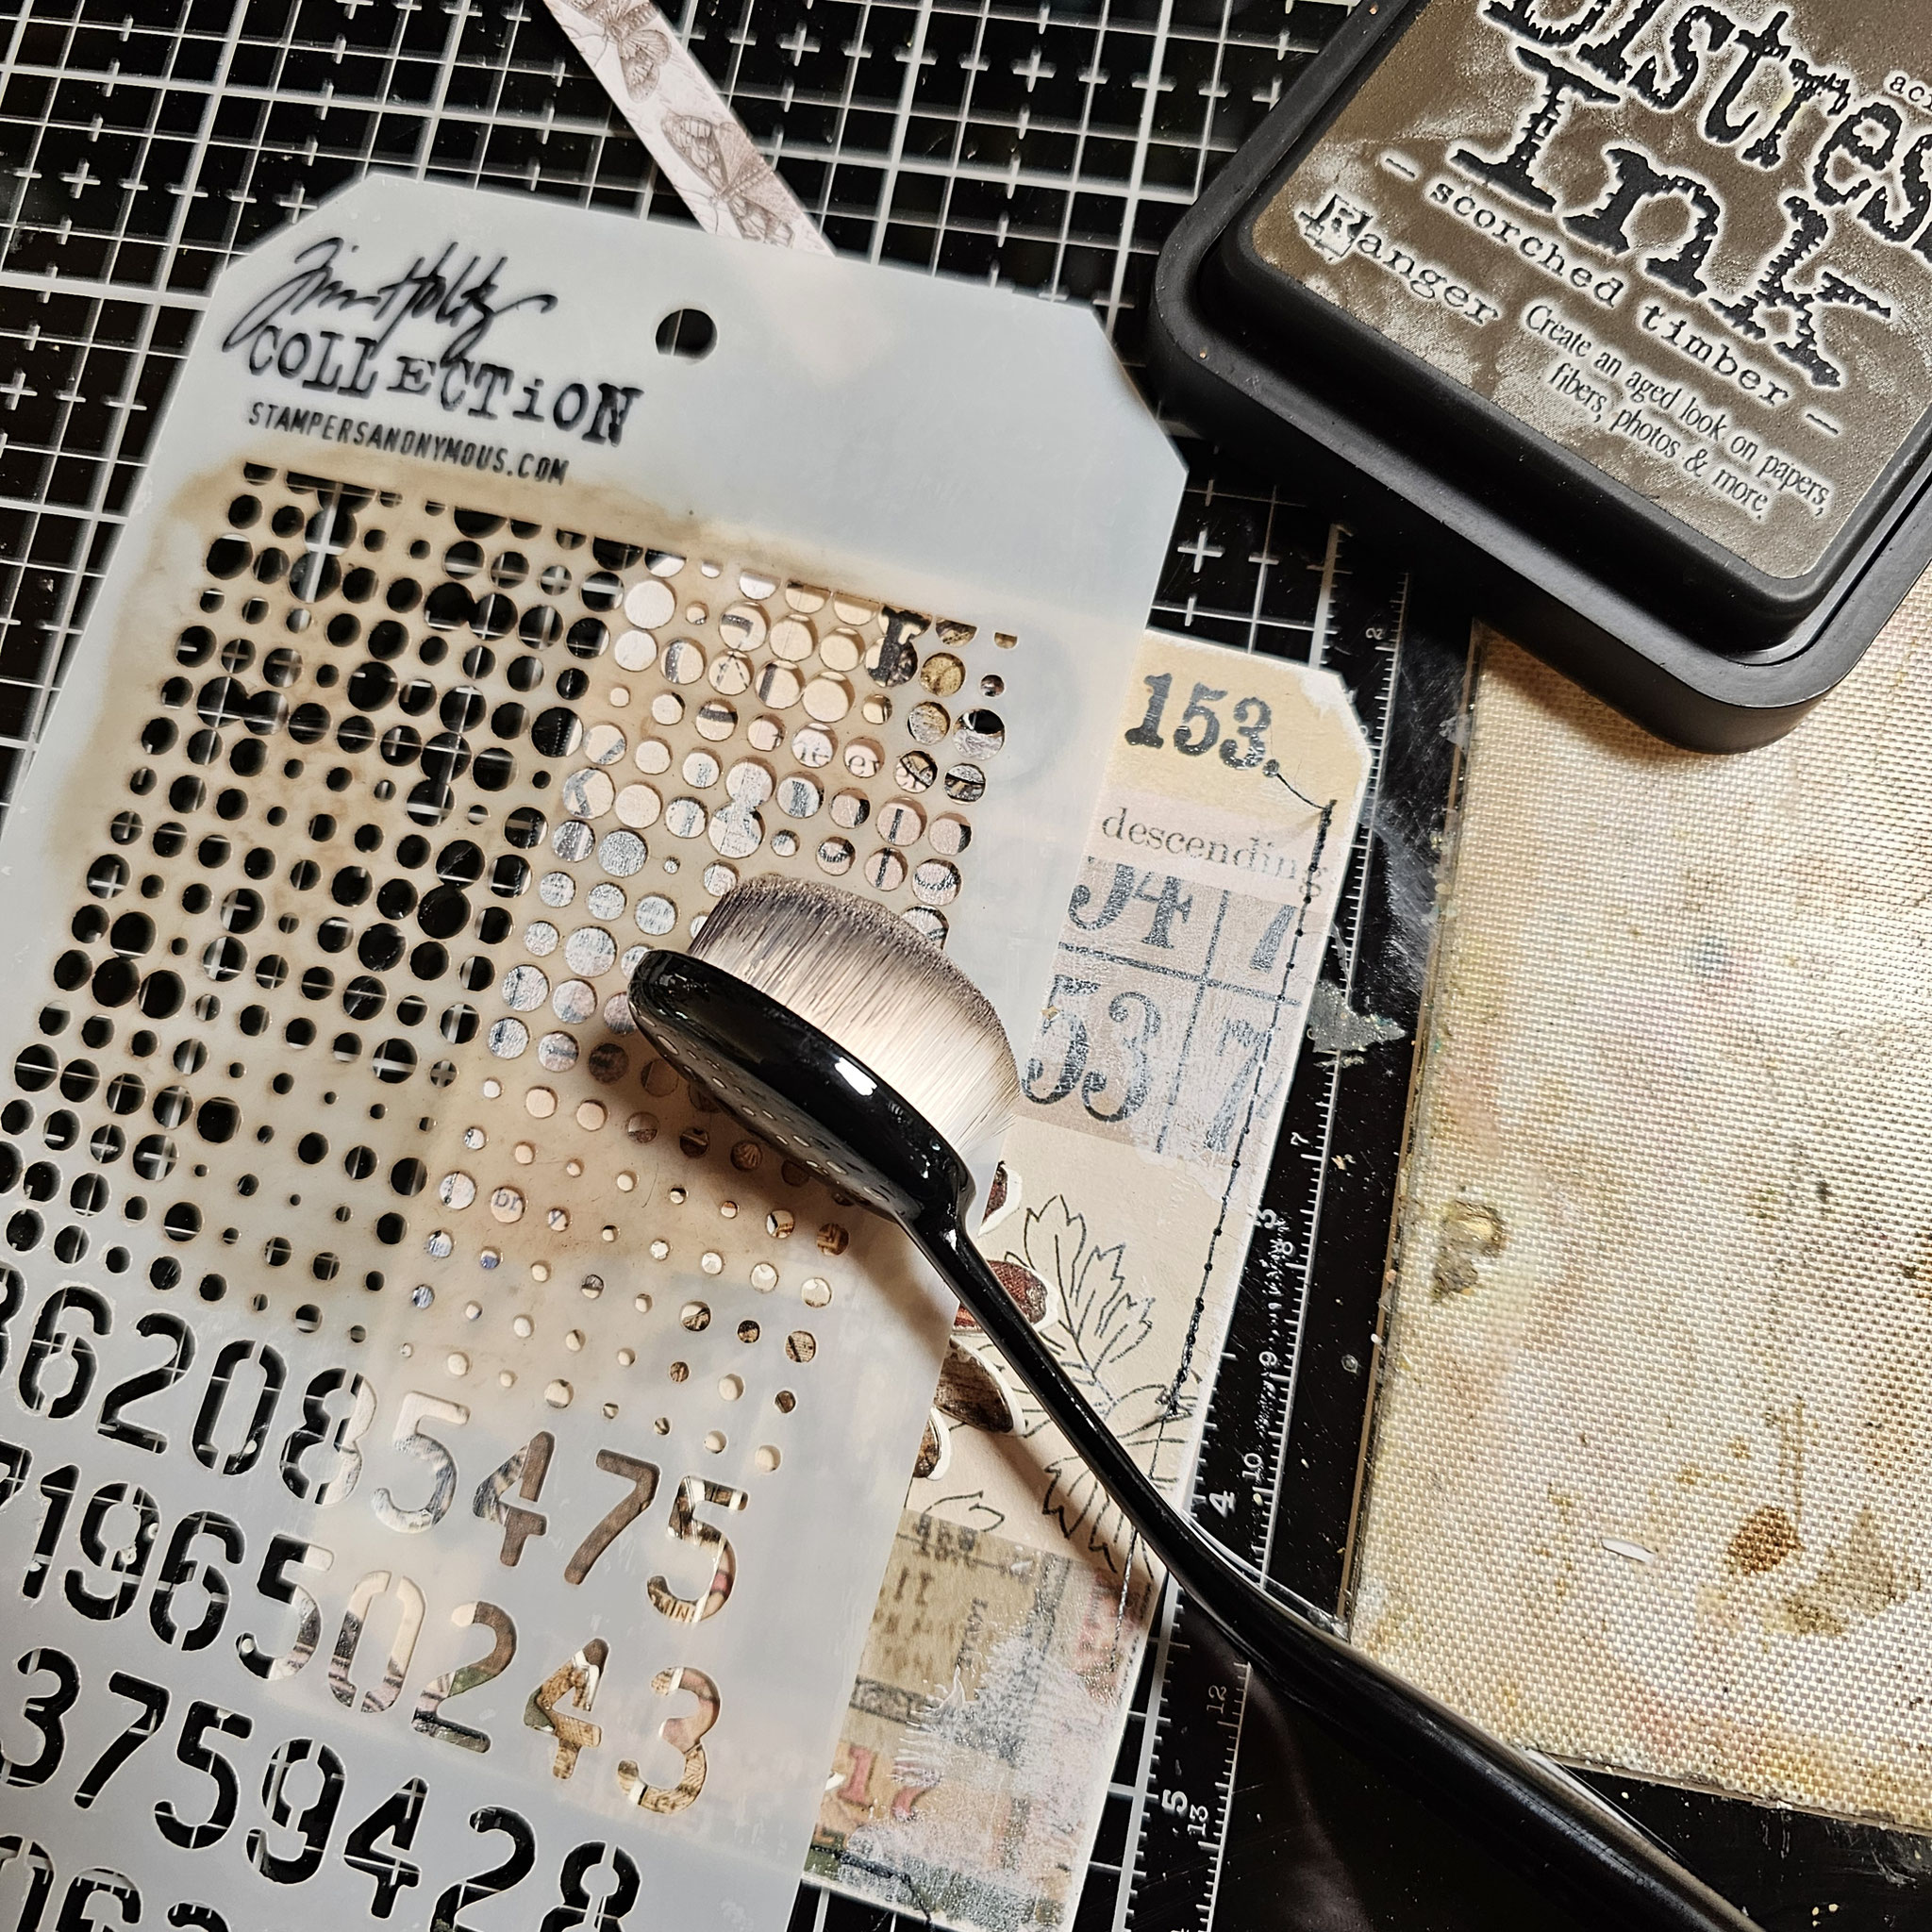
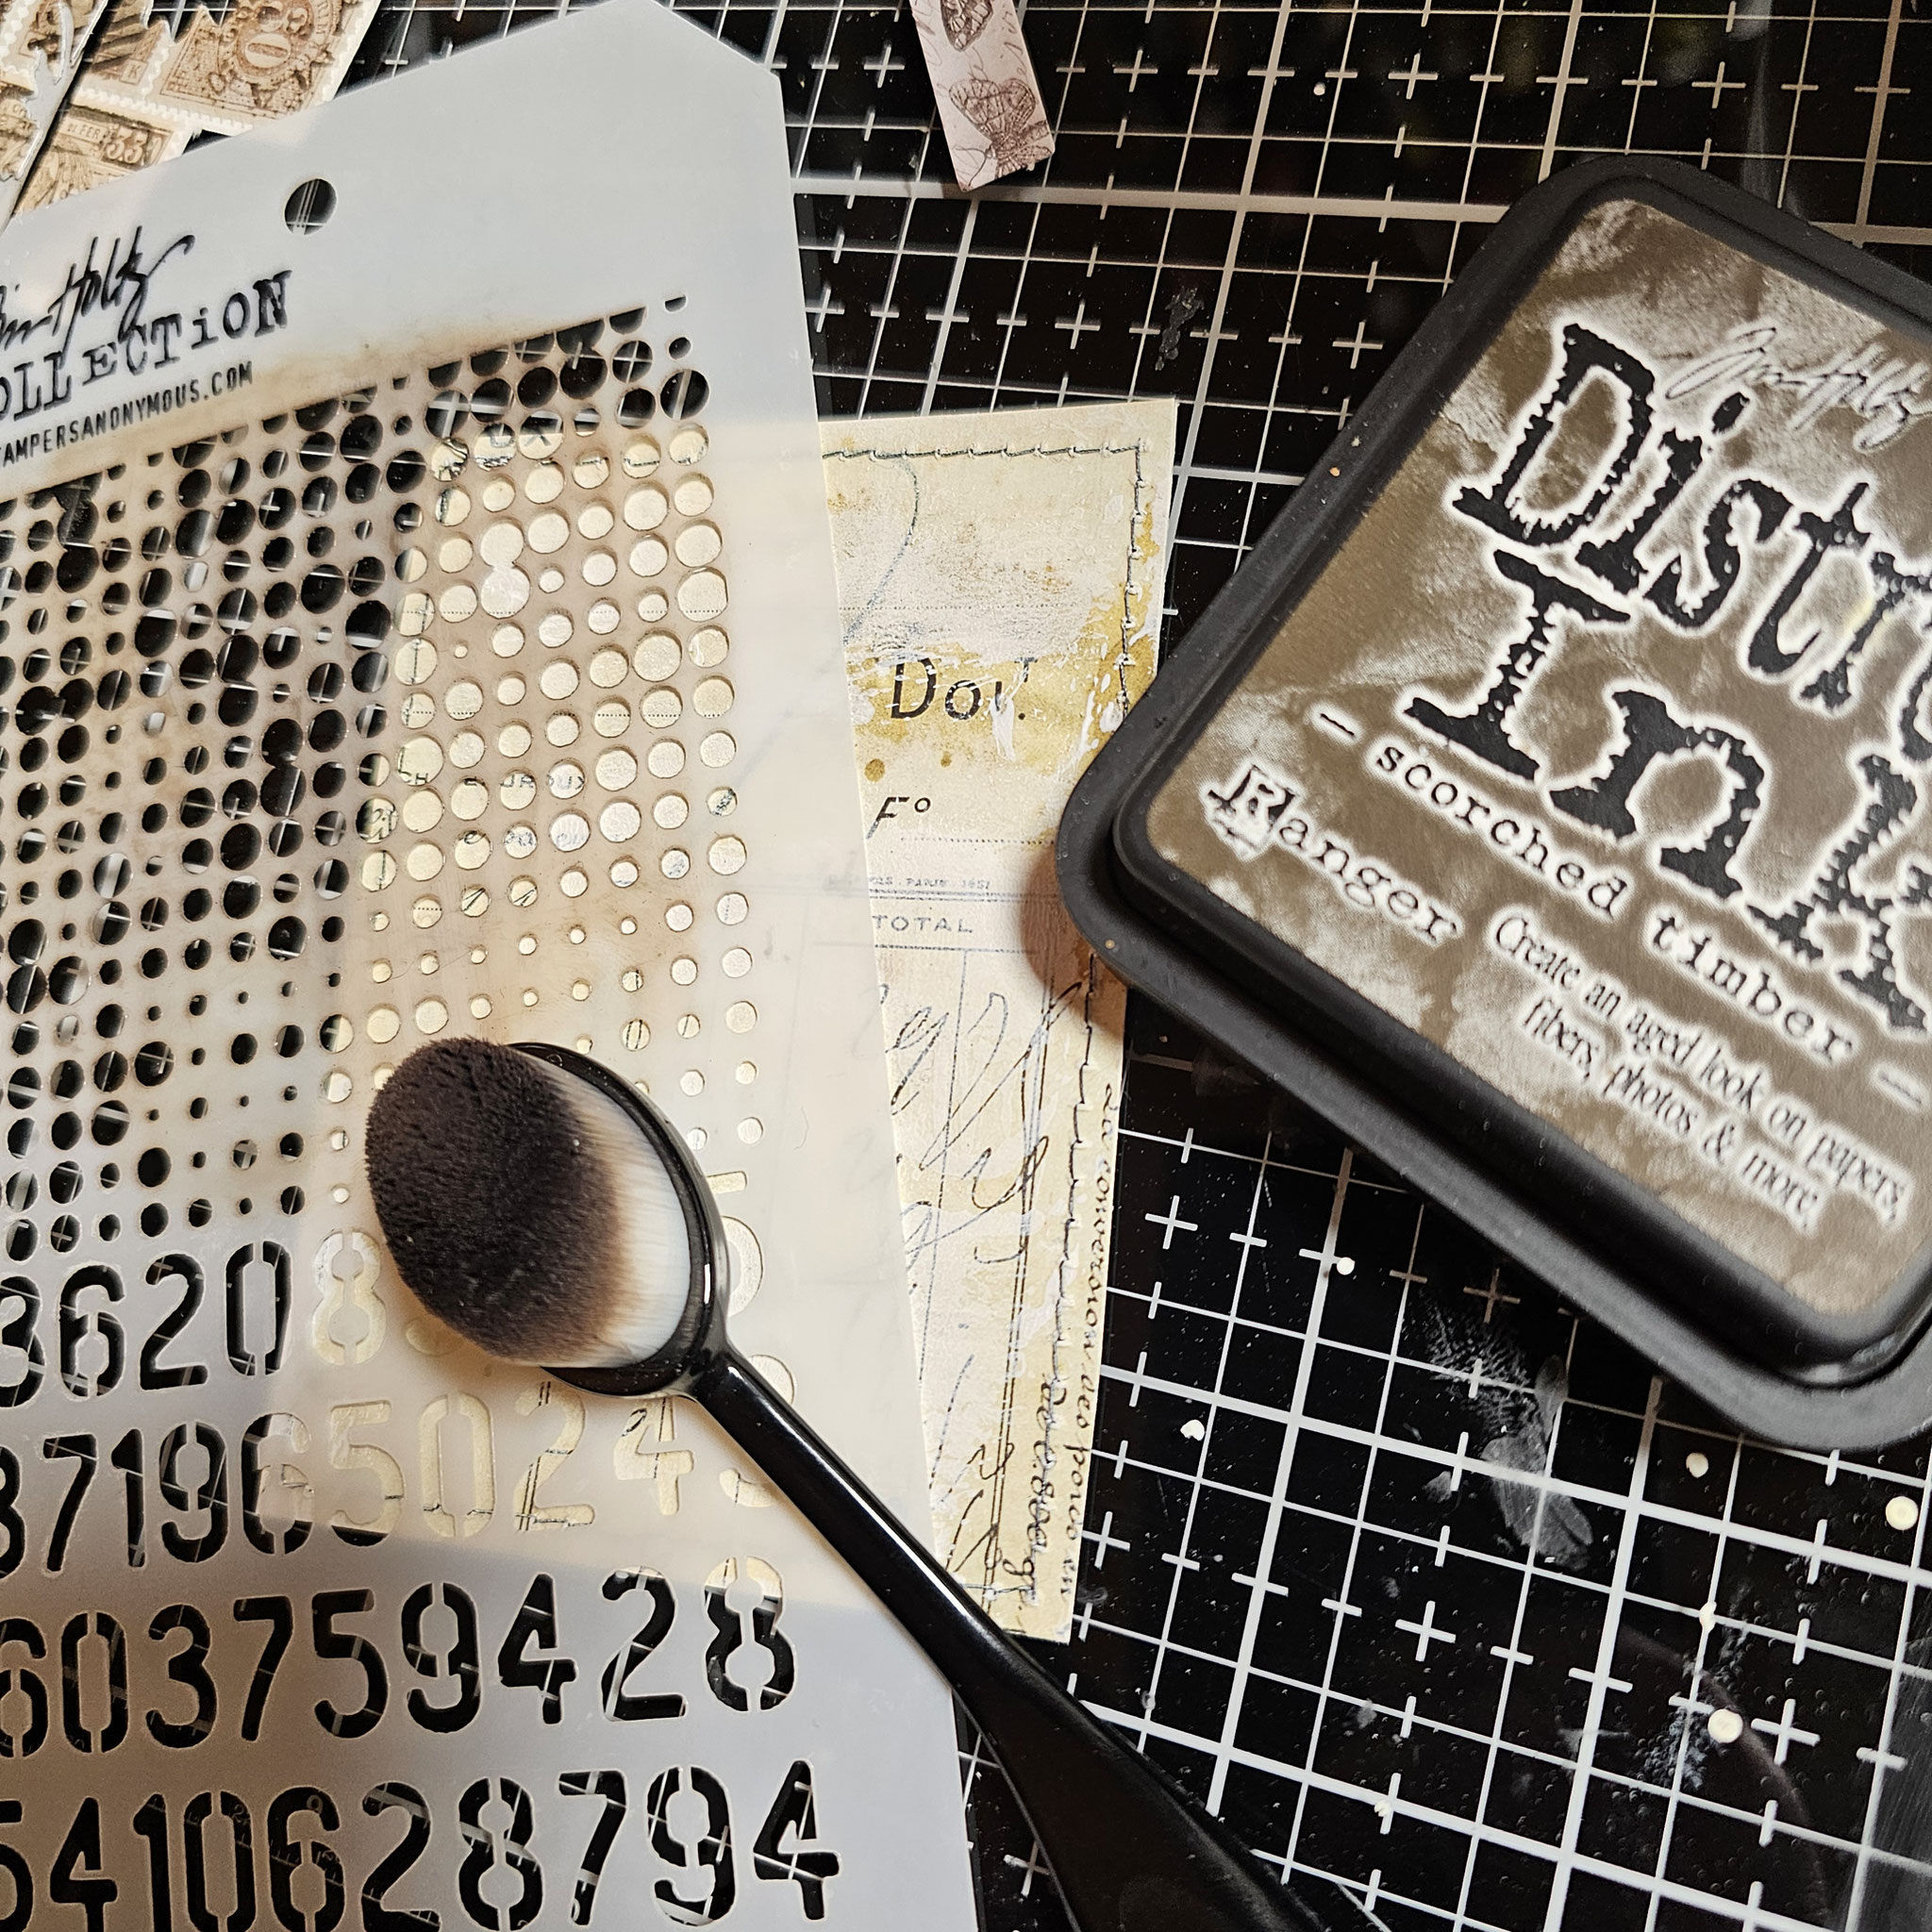
I covered the tag with stamps from the sticker book and distressed it with distress spray stain and oxide spray to give it a grungy look.


For the belly band, I cut open the pocket at the bottom end so that the tag can slide through later. I covered the pocket with parts from the collage strips.
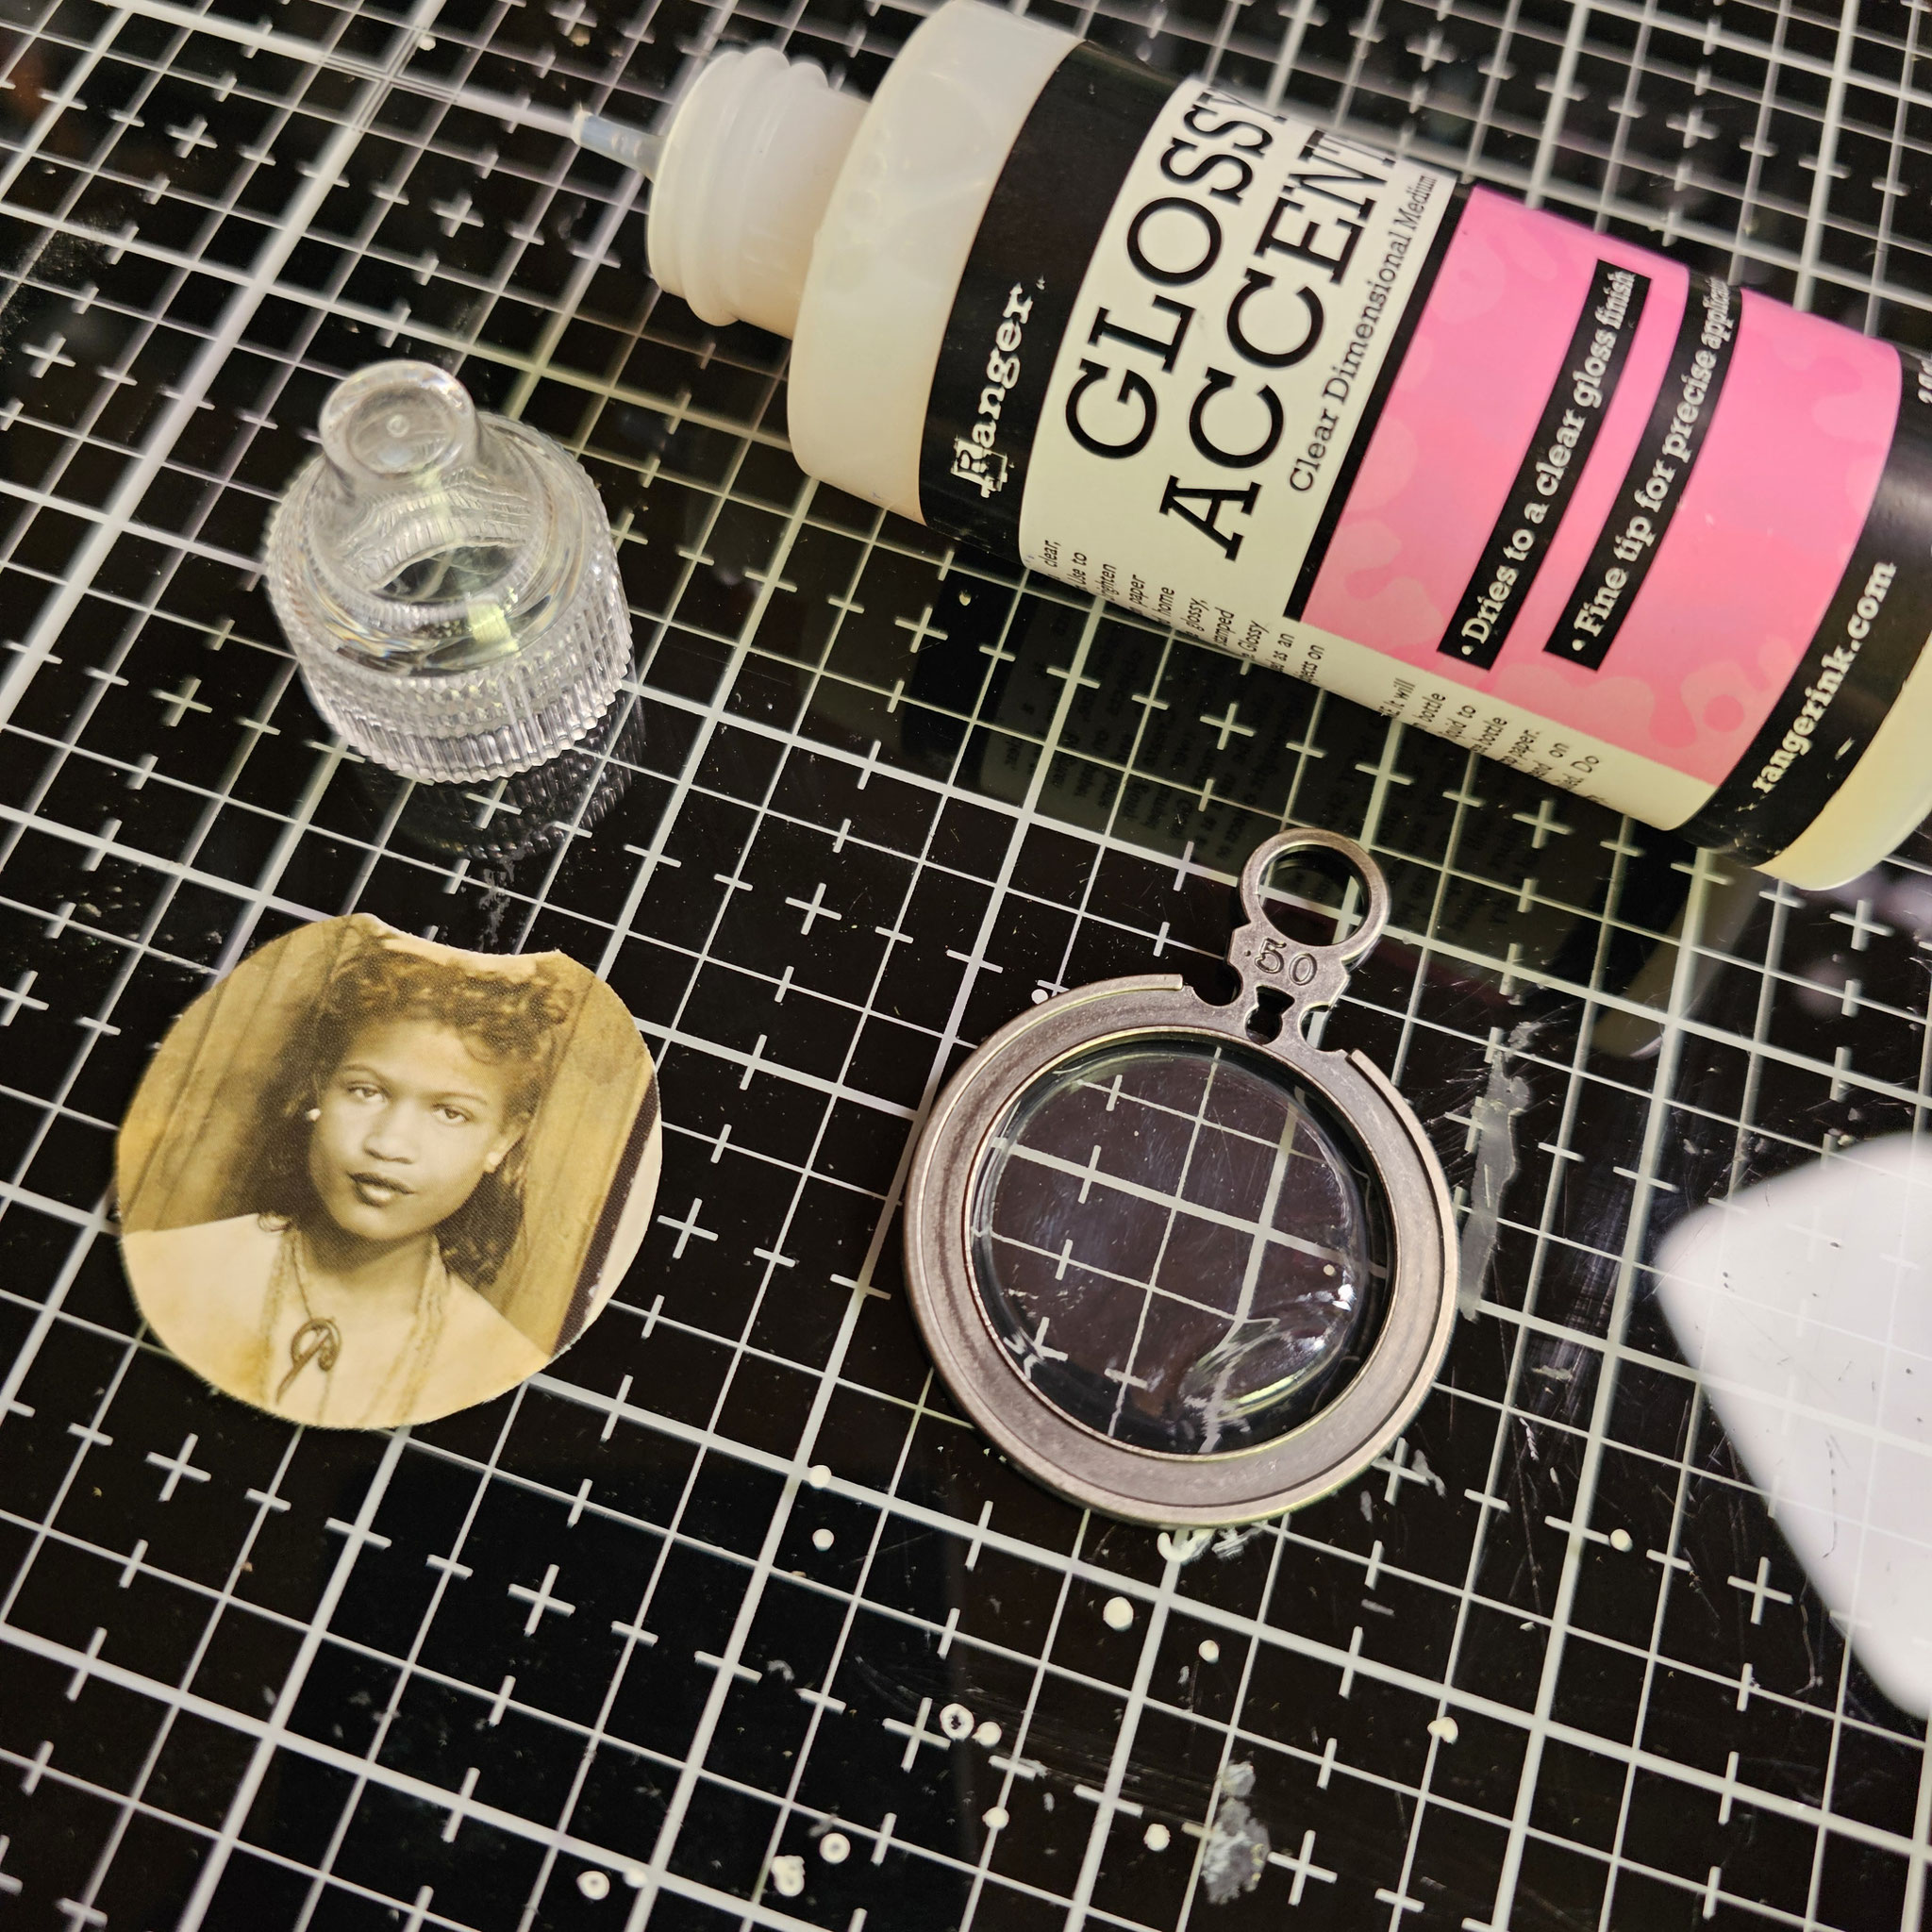
I've chosen a photo to put into one of the optic frames, cut it into the right size by using the optic frame as a template and used the plastic part of the packaging material to make a fake glass. Thanks a lot to Tim for sending me his original package! I think it makes those projects more interesting when we use "junk" materials which normally would go into the trash can. And the packaging automatically has the right shape and size - that's cool, so why not use it?!


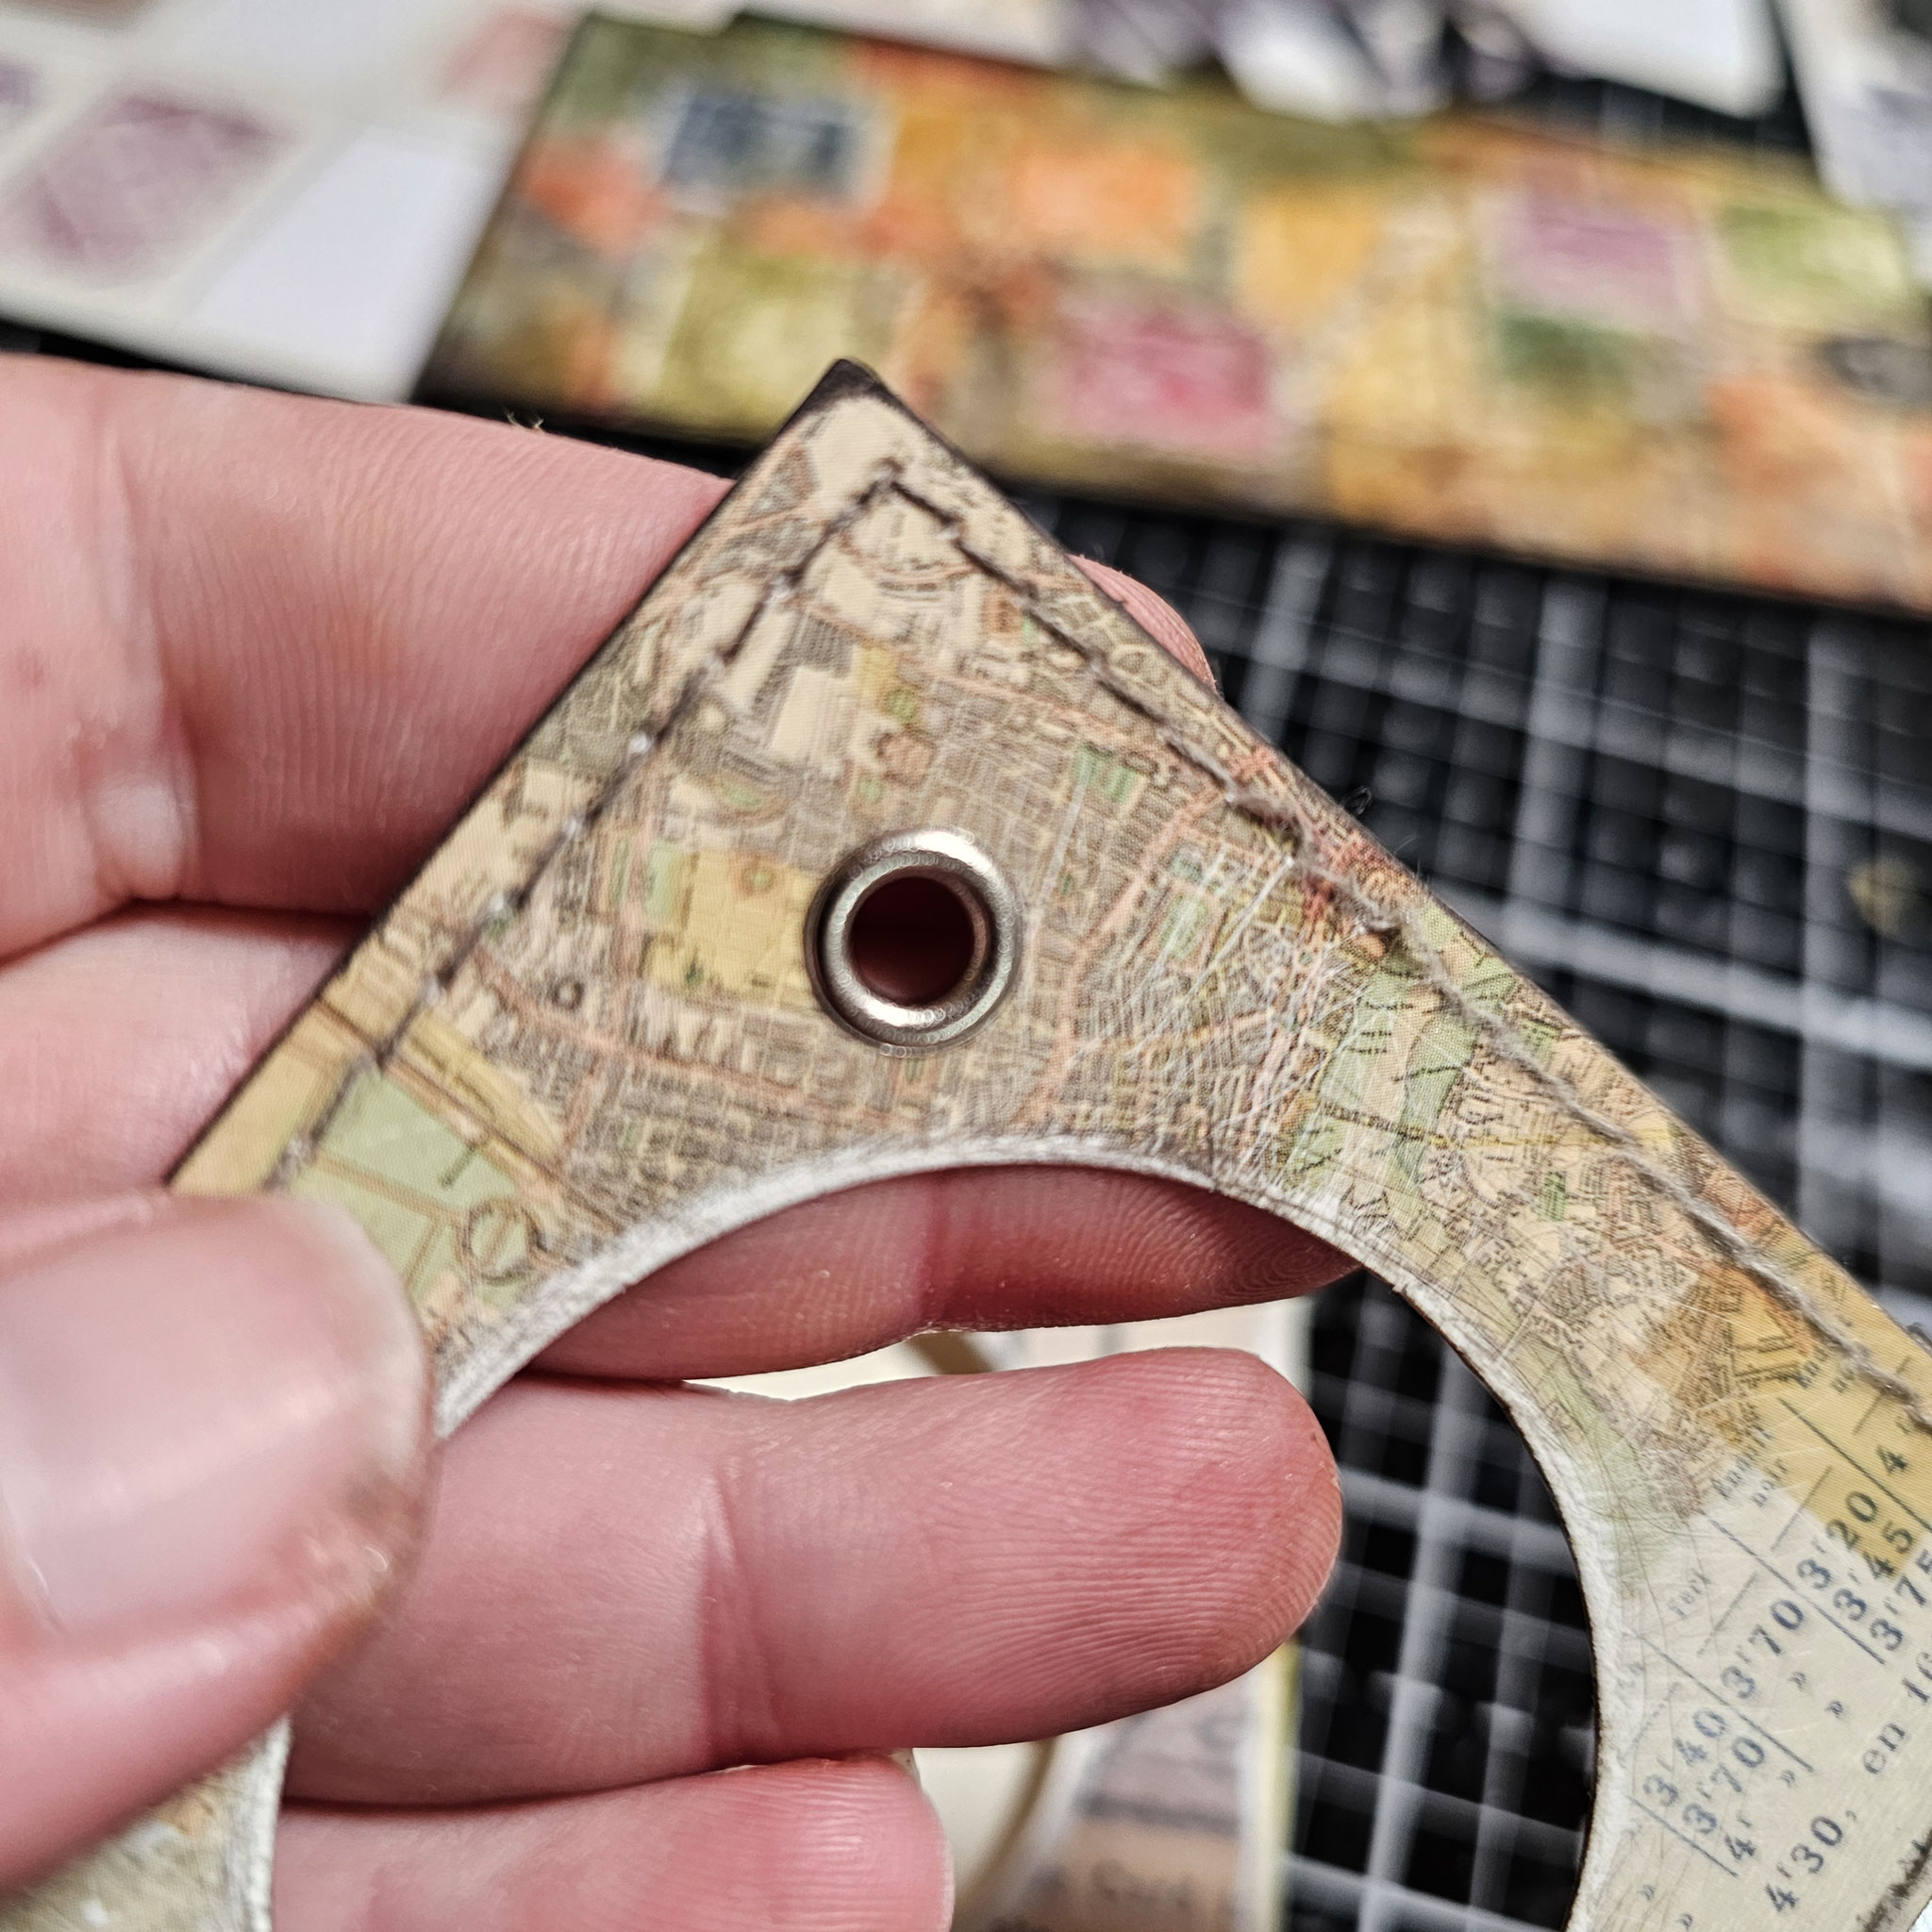
To make my belly band more interesting I used one of the layer frames and grunged it up a bit. Those paper frames are constructed of heavyweight coated cardstock, perfect for sanding & inking & distressing. I also set an eyelet which I used to hang a postage stamp dangle later.


For the next pocket with the whole I cut a #8 tag a bit shorter and left the pocket in the original size. The elments I used to decorate this piece are very similar to the first one. I did that to create a cohhesive look thoughout the whole box.


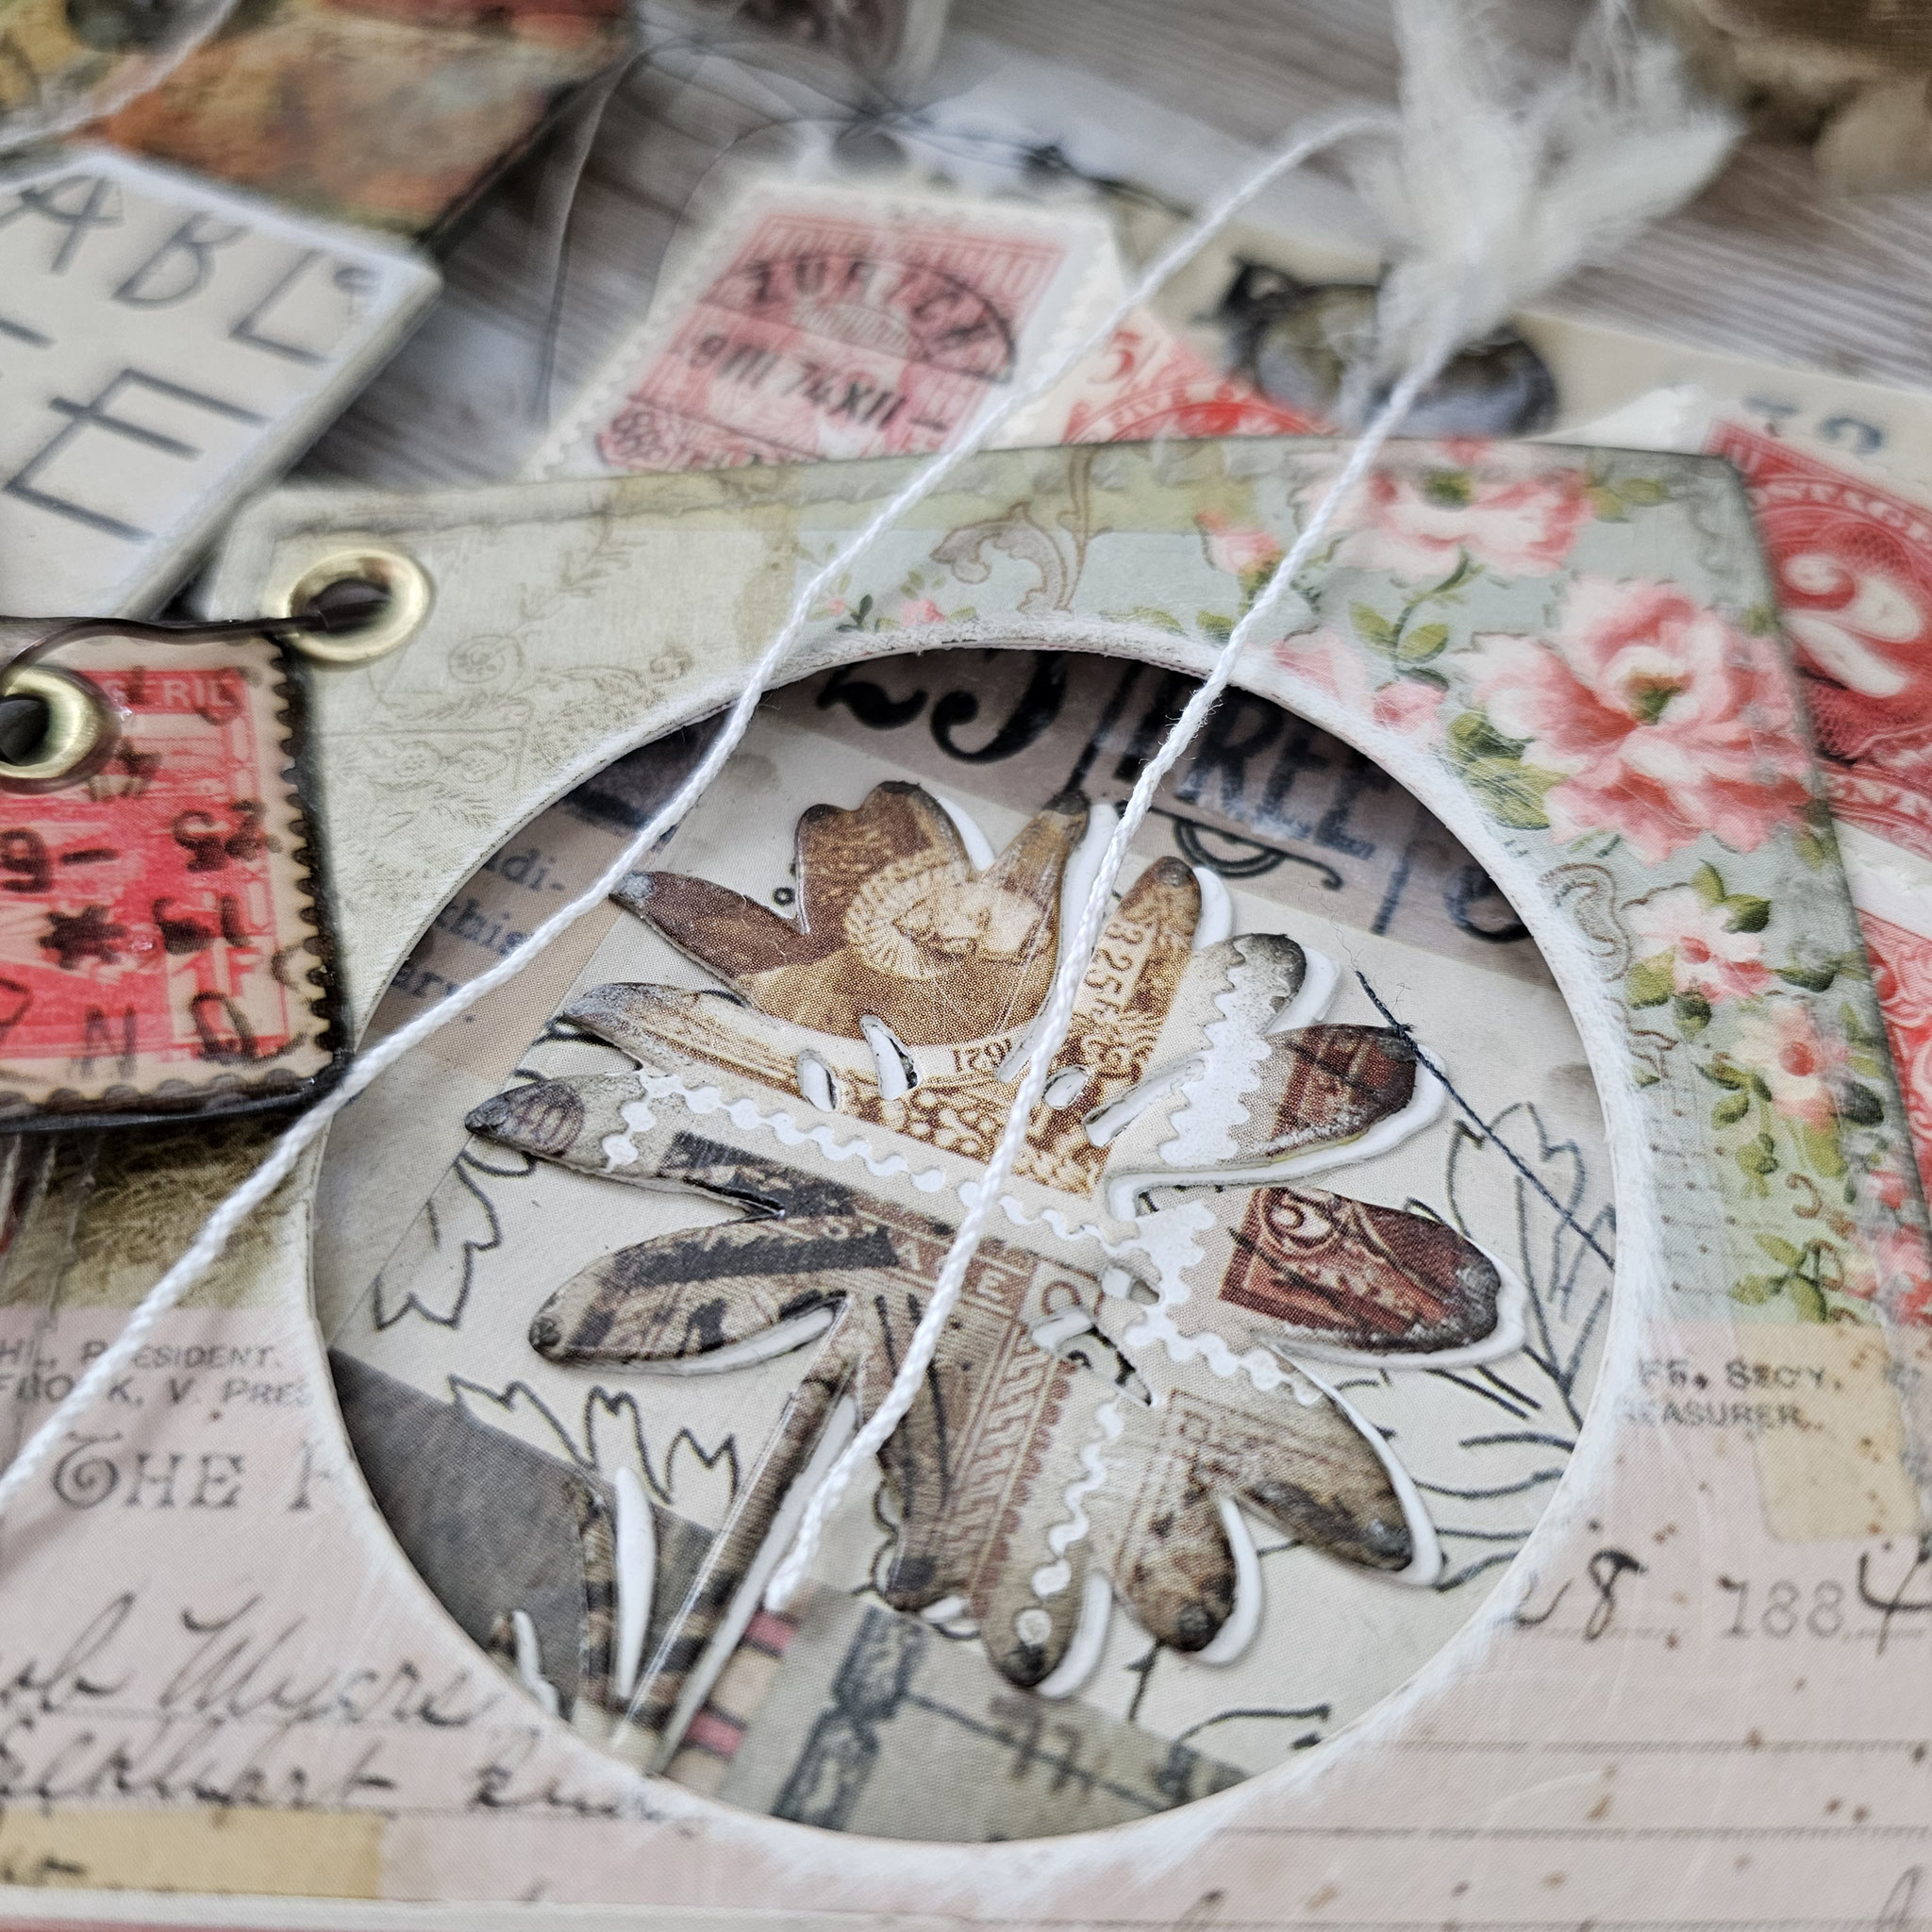
The third pocket with the whole has a card inside instead of a tag. That gives another variation and brings in a different shape.
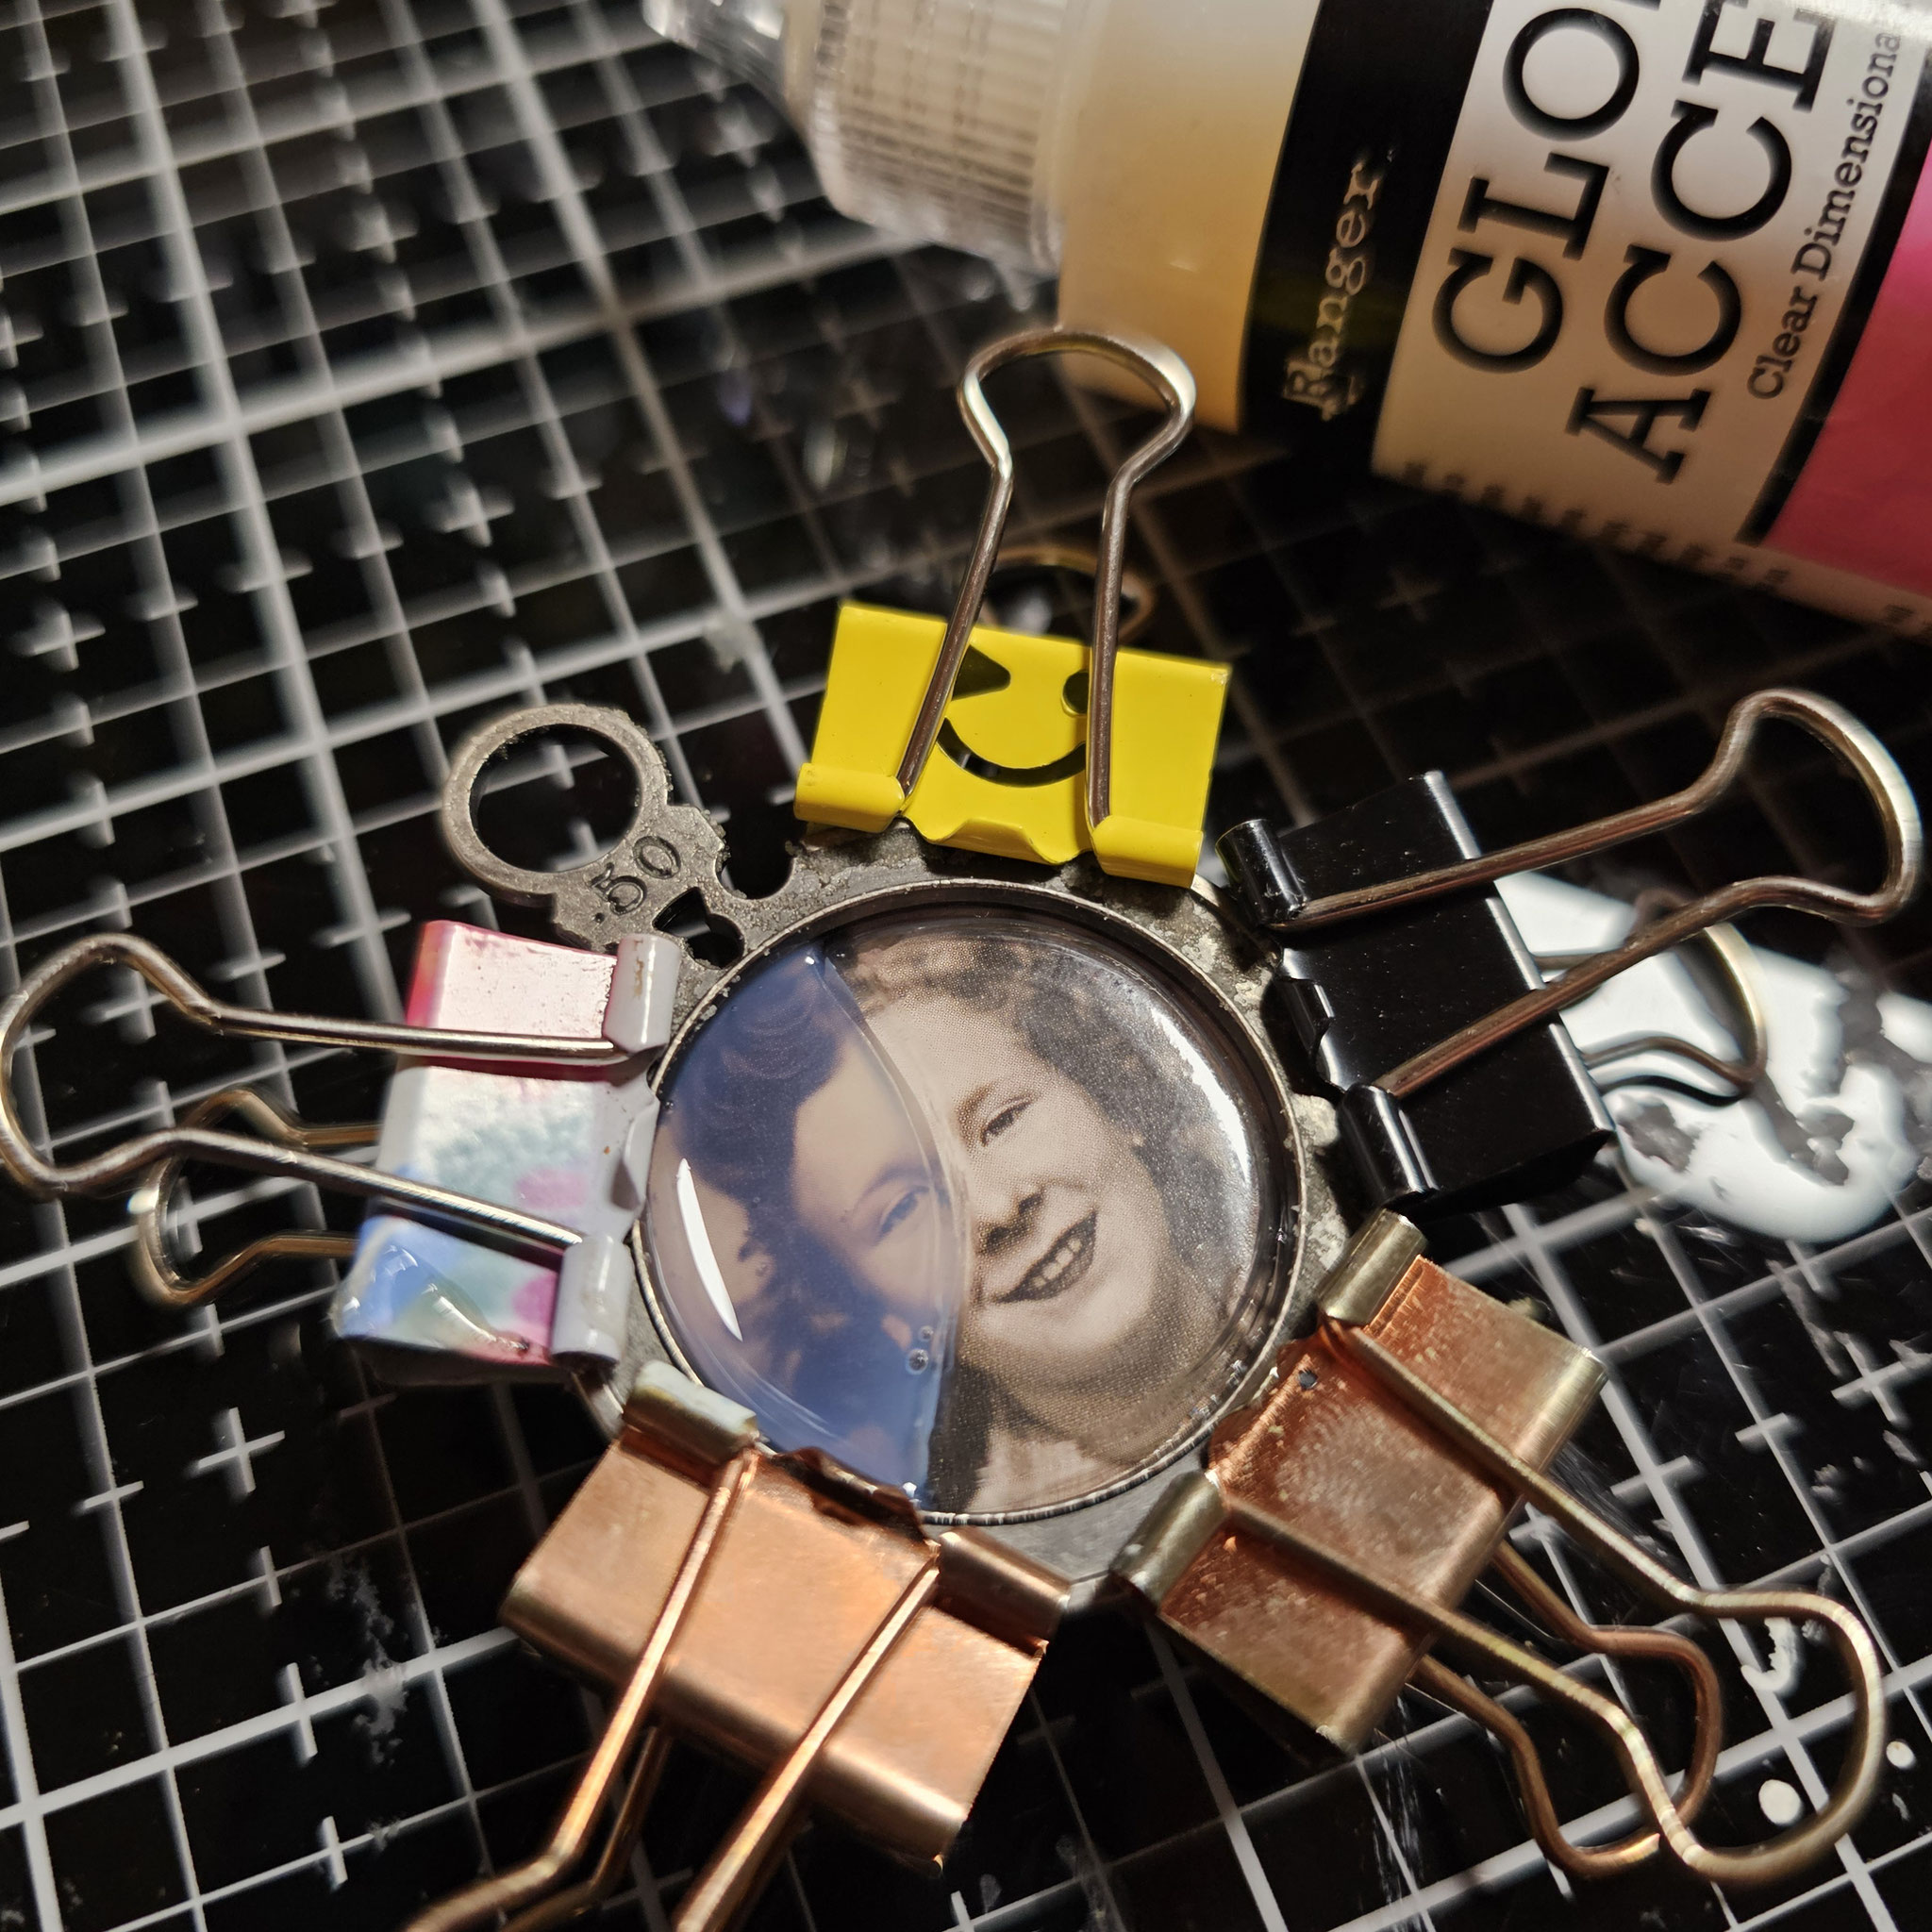
For the optic frame I attached to this piece I used the rest of the plastic packaging material and filled the missing parts with some glossy accents. That way the fake glass looks a bit like a half moon. Really love how that came out.


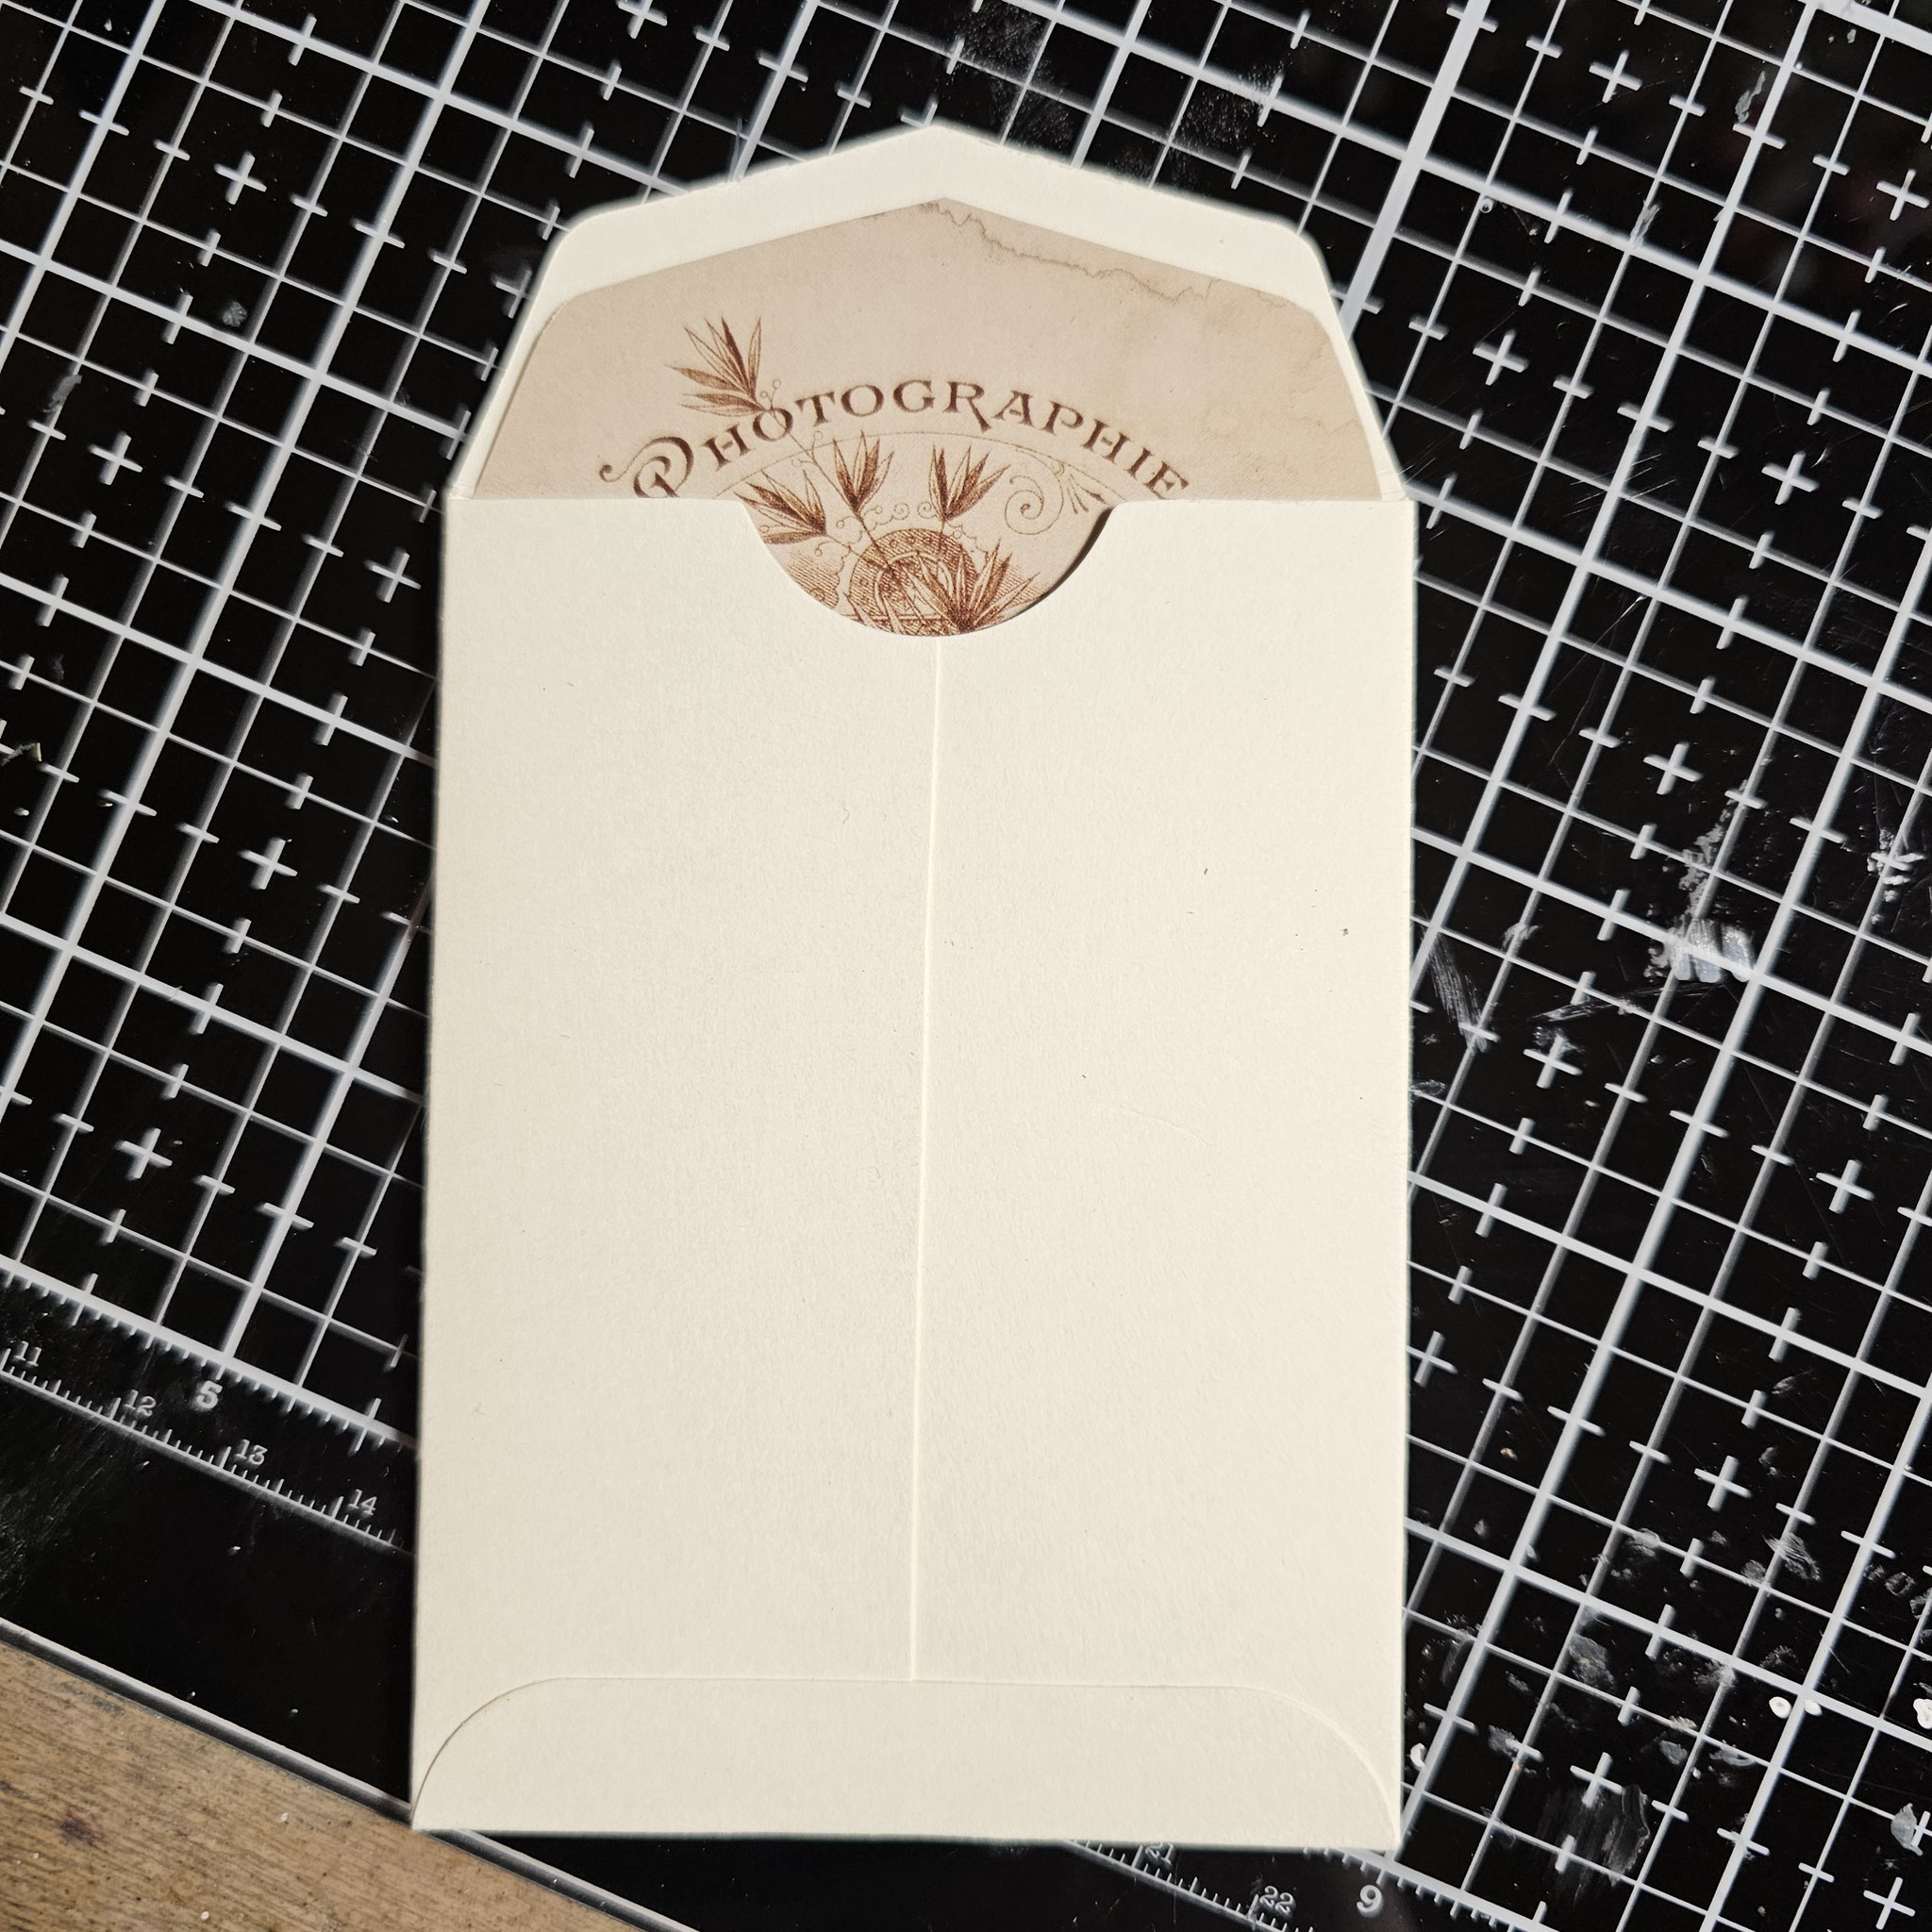
Next, let's take a look at the envelopes coming with the file cards 2. I also wanted different sizes for those.
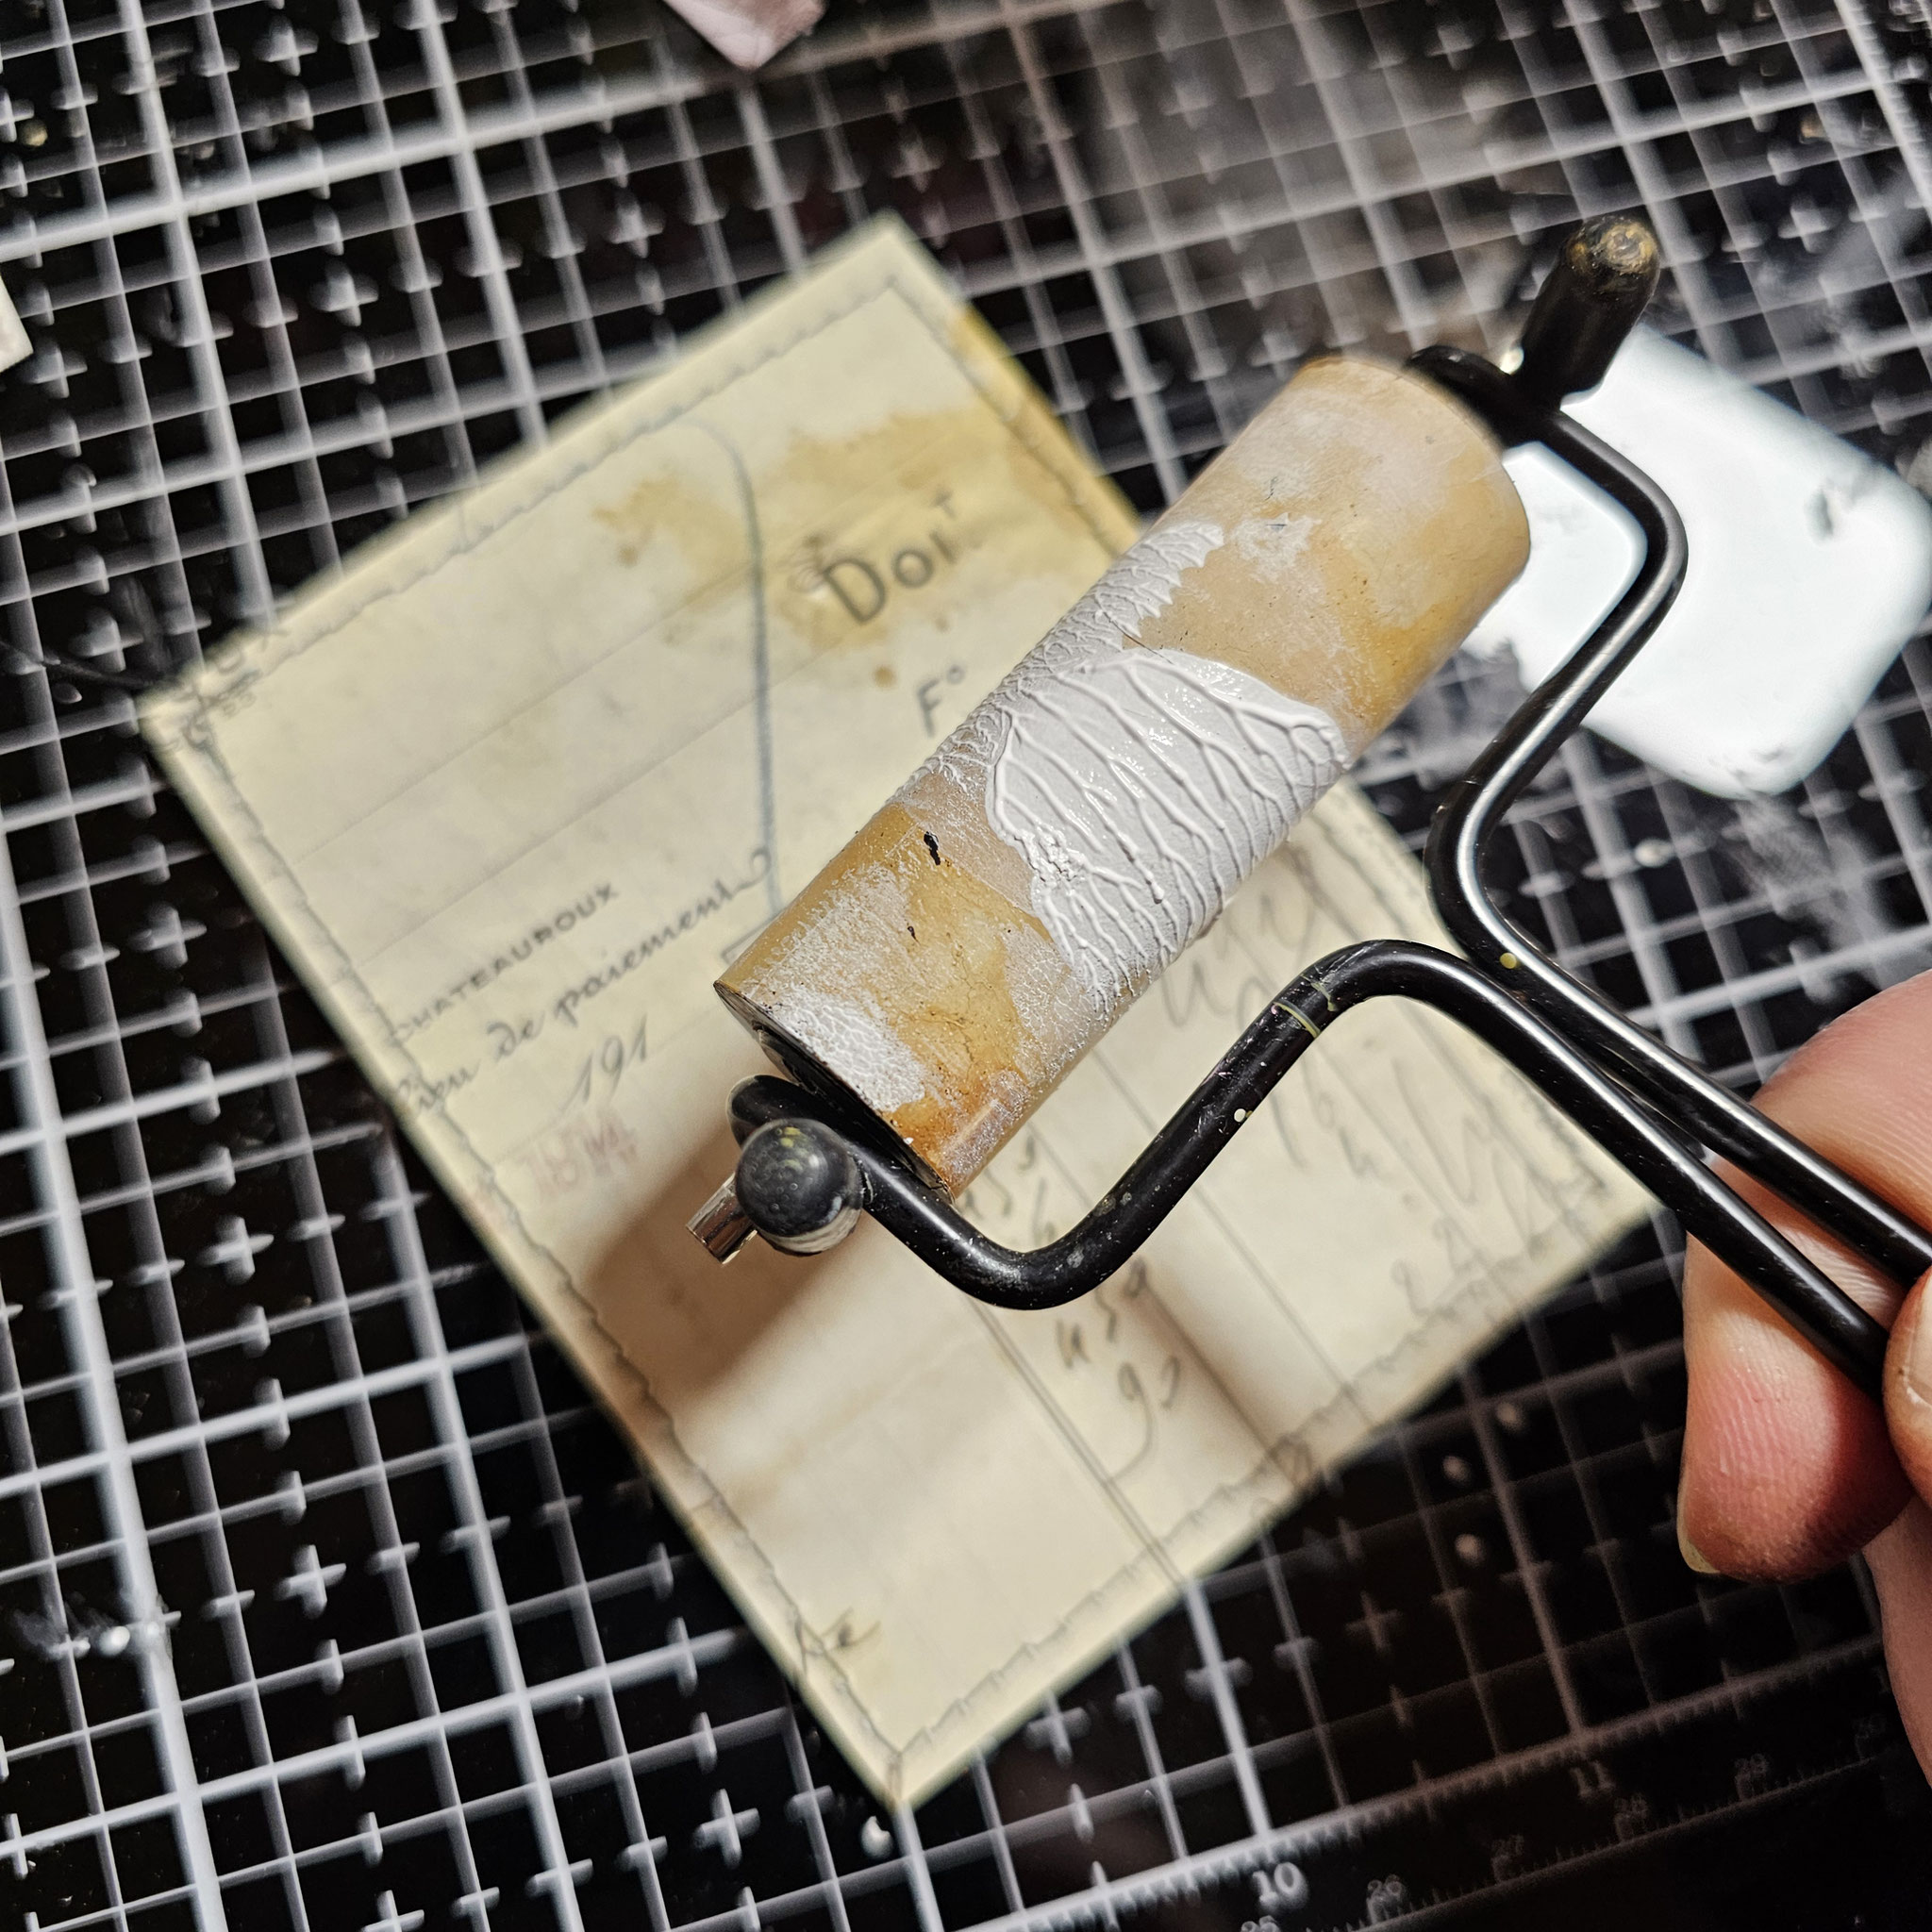
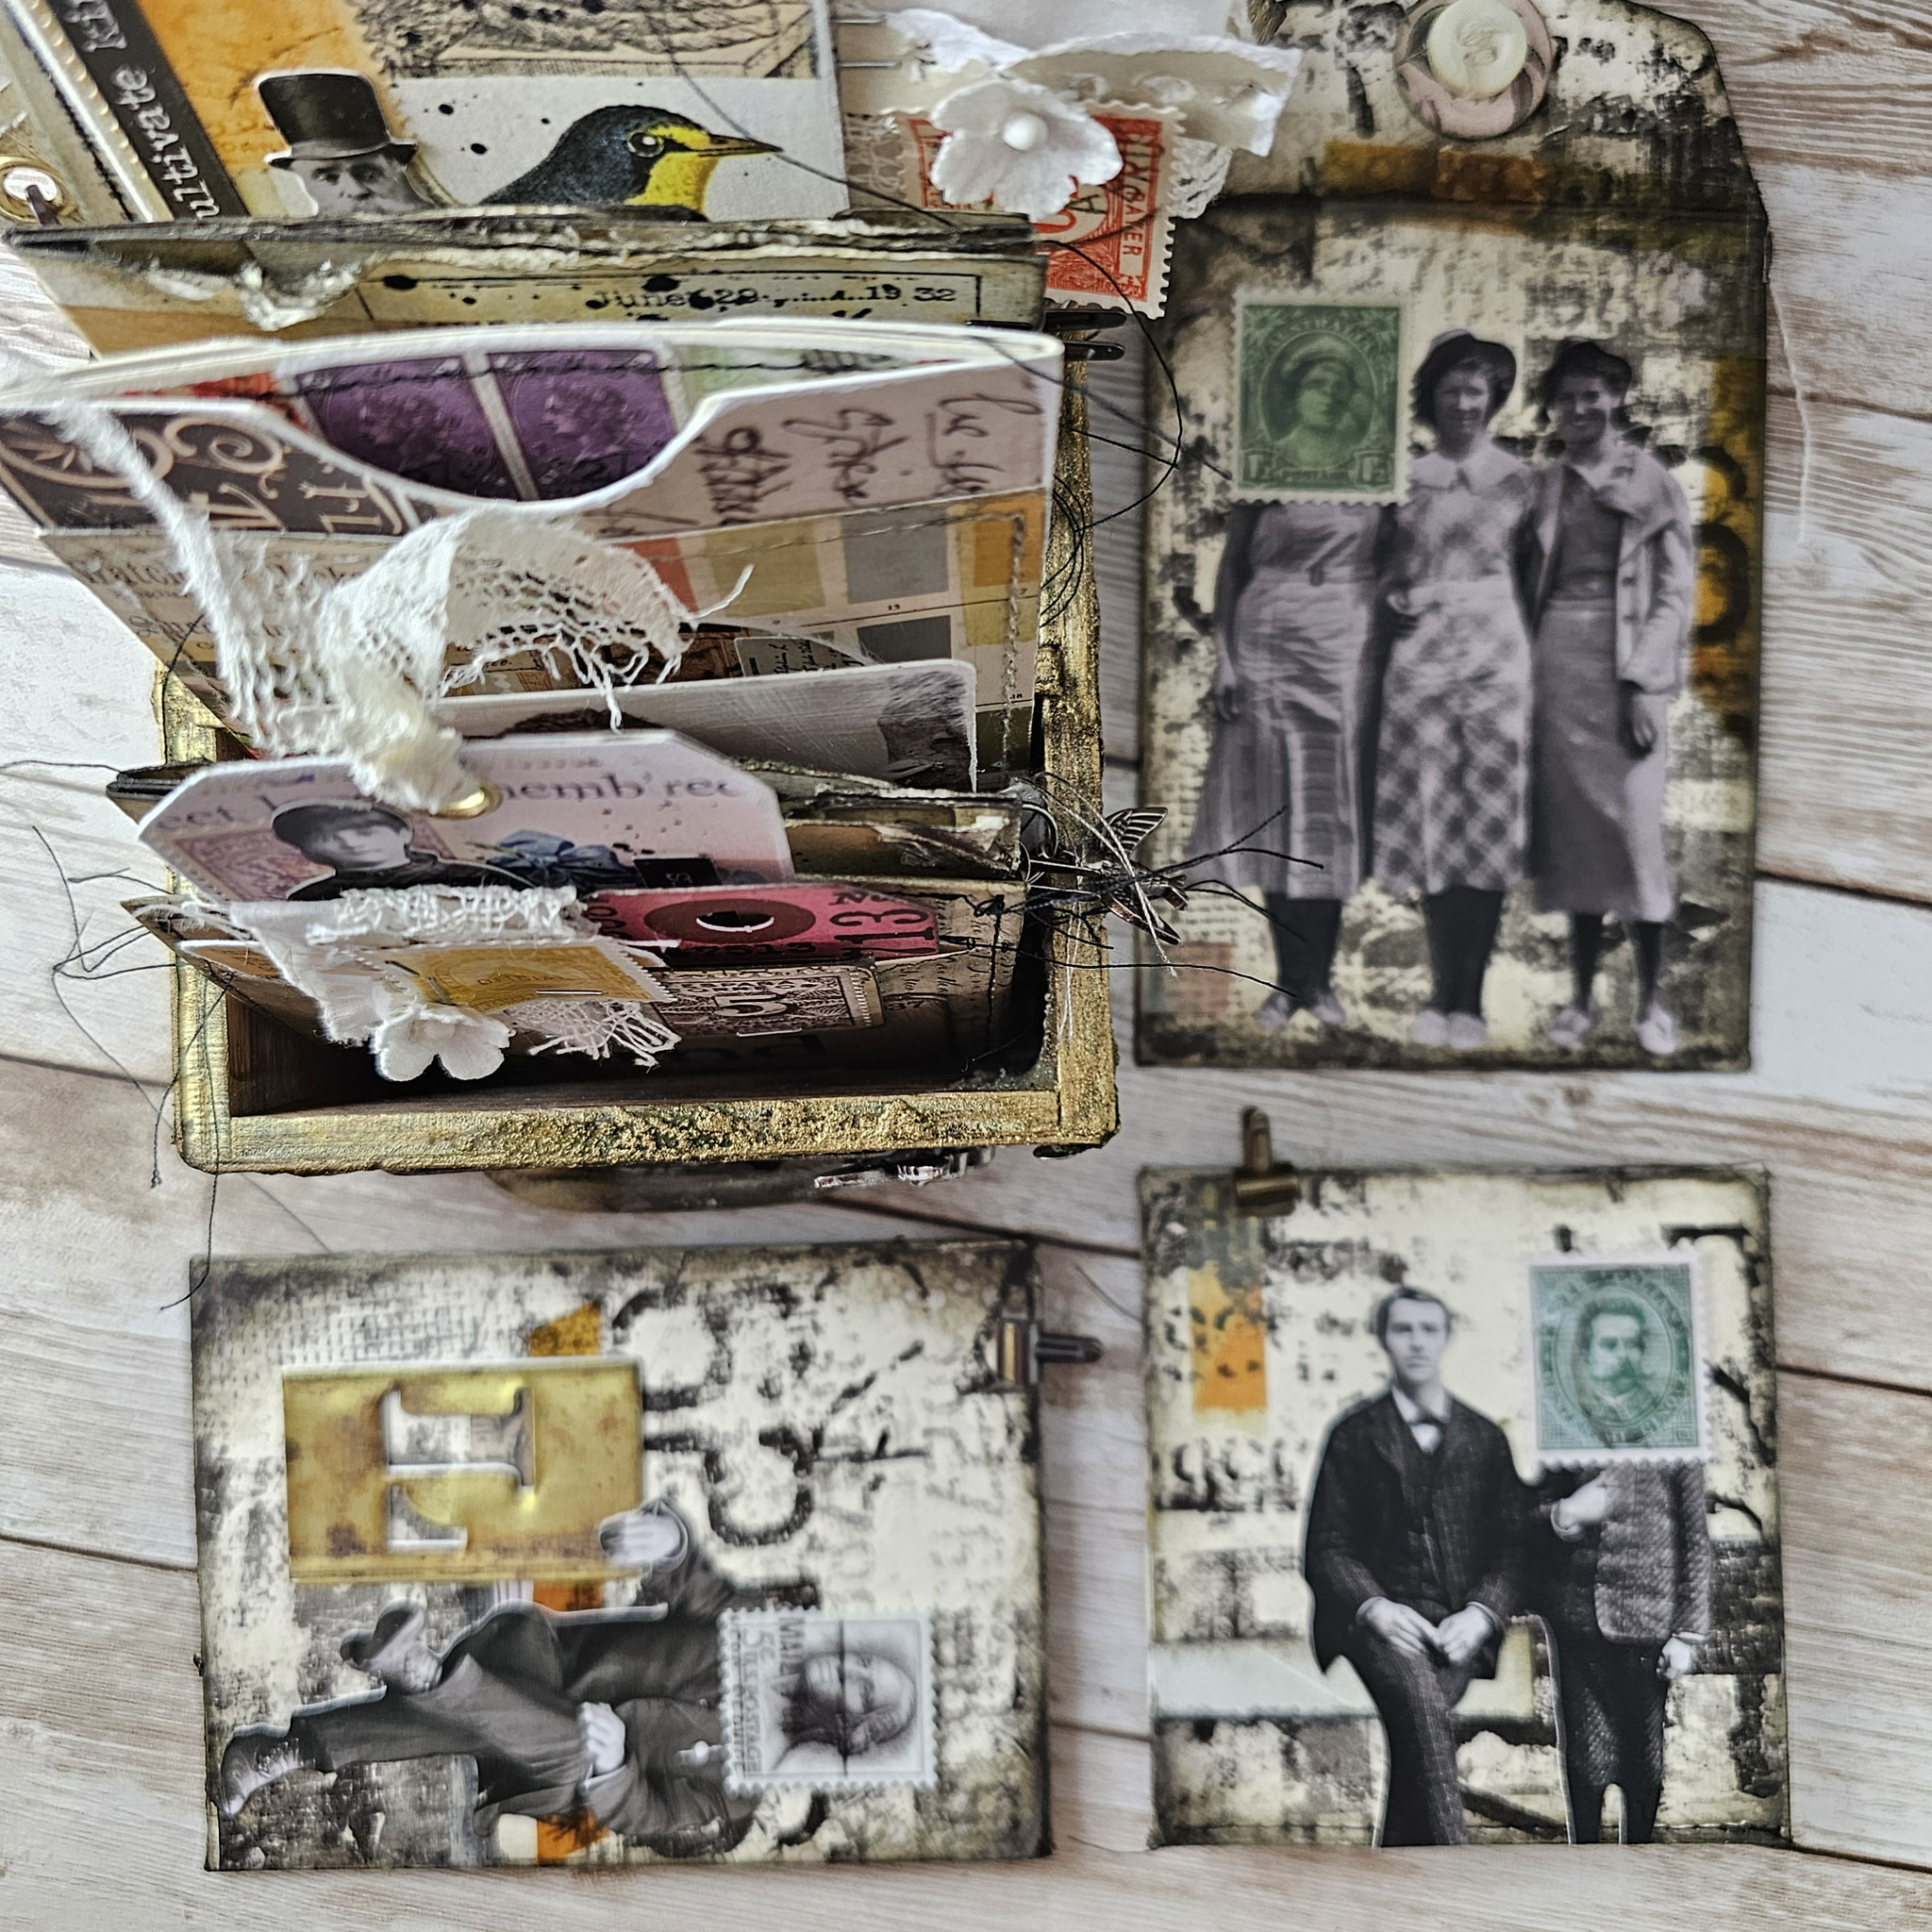
To make one of the envelopes bigger, I just opened the flap and made it stiff with some backdrop paper. I used one of the photo studio layers to create a tag for putting into the envelope.
The outside of the envelope is covered with collage paper and inked with distress ink. I really like how grungy the new collage paper is, and with some ink and water.... just wow!


The paper dolls from this release have the perfect size and poses to give them some postage stamp heads! Do you like this idea?
The second envelope I left in it's original size and to make the third one a bit smaller I just cut a bit off and closed the bottom then.


The accordion elements I've turned into mini artsy postage stamp albums. I first aged them a bit with distress spray stain and some stamping. Then I glued some strips of vellum which I altered with distress oxide ink. And then, the fun part, I filled them with the postage stamps from the sticker book, but also some other tiny bits and pieces. The new cello sticker tape was the perfect addition to create a really authentically vintage look.


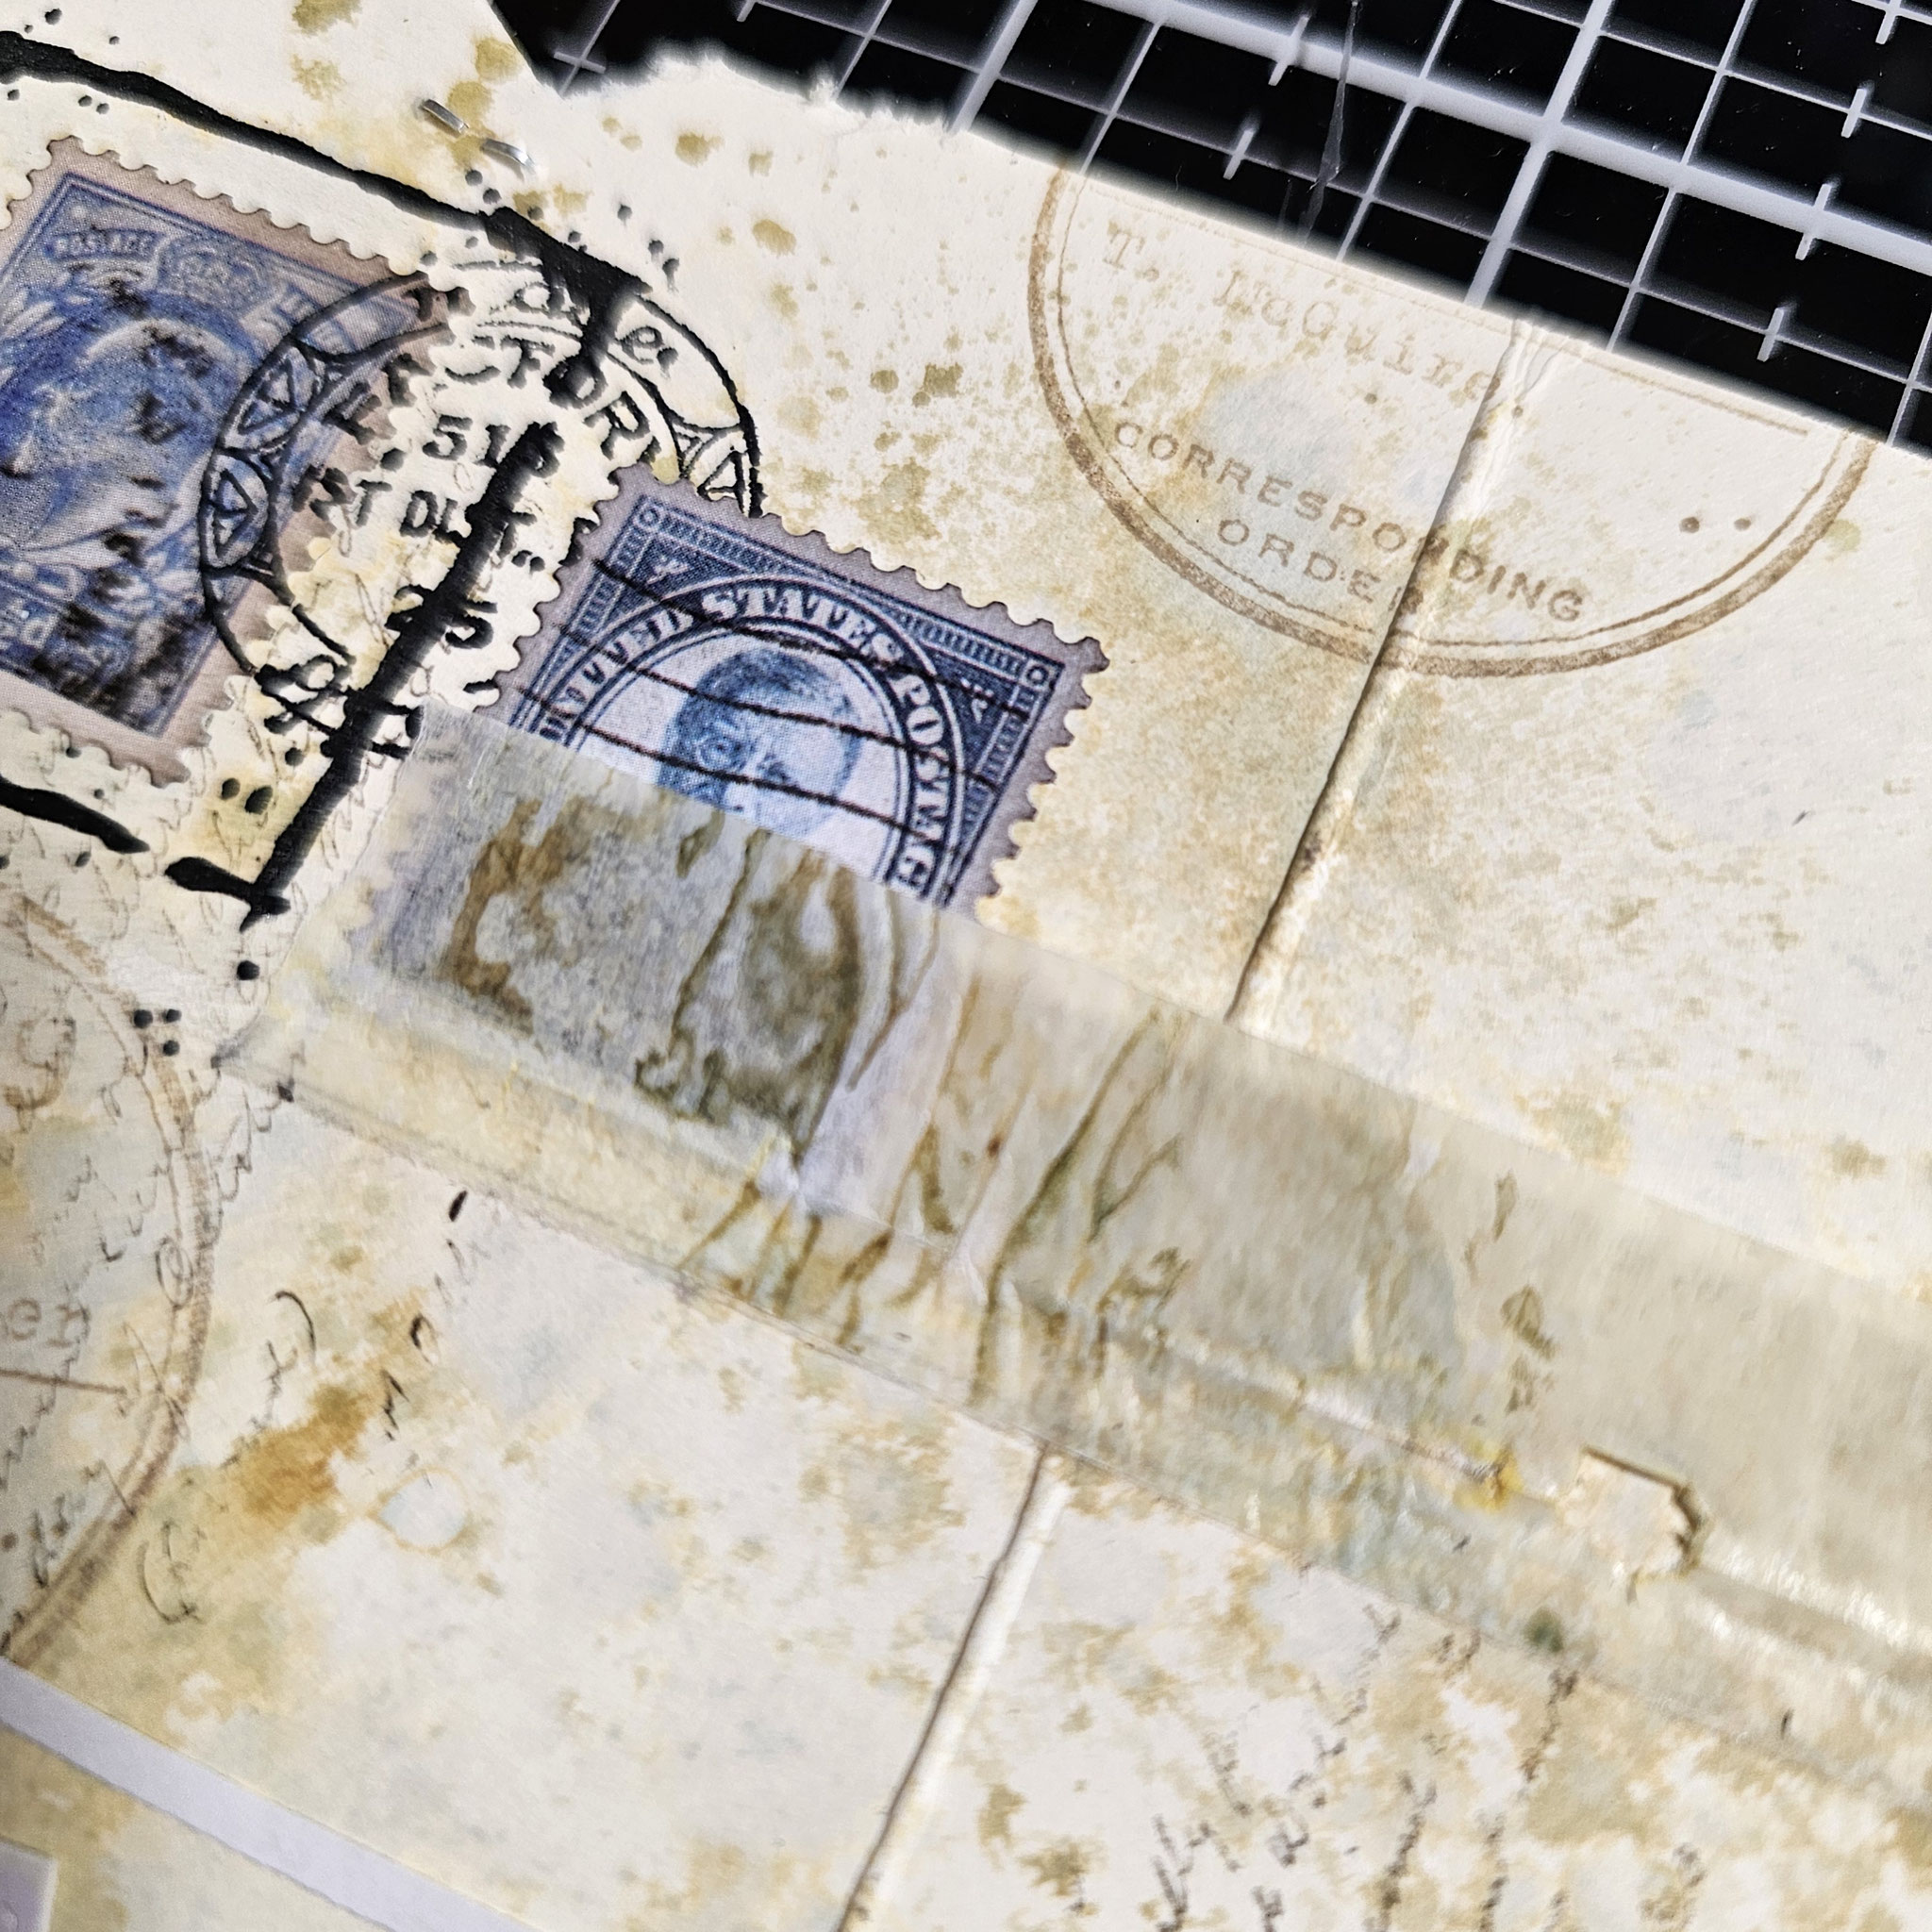


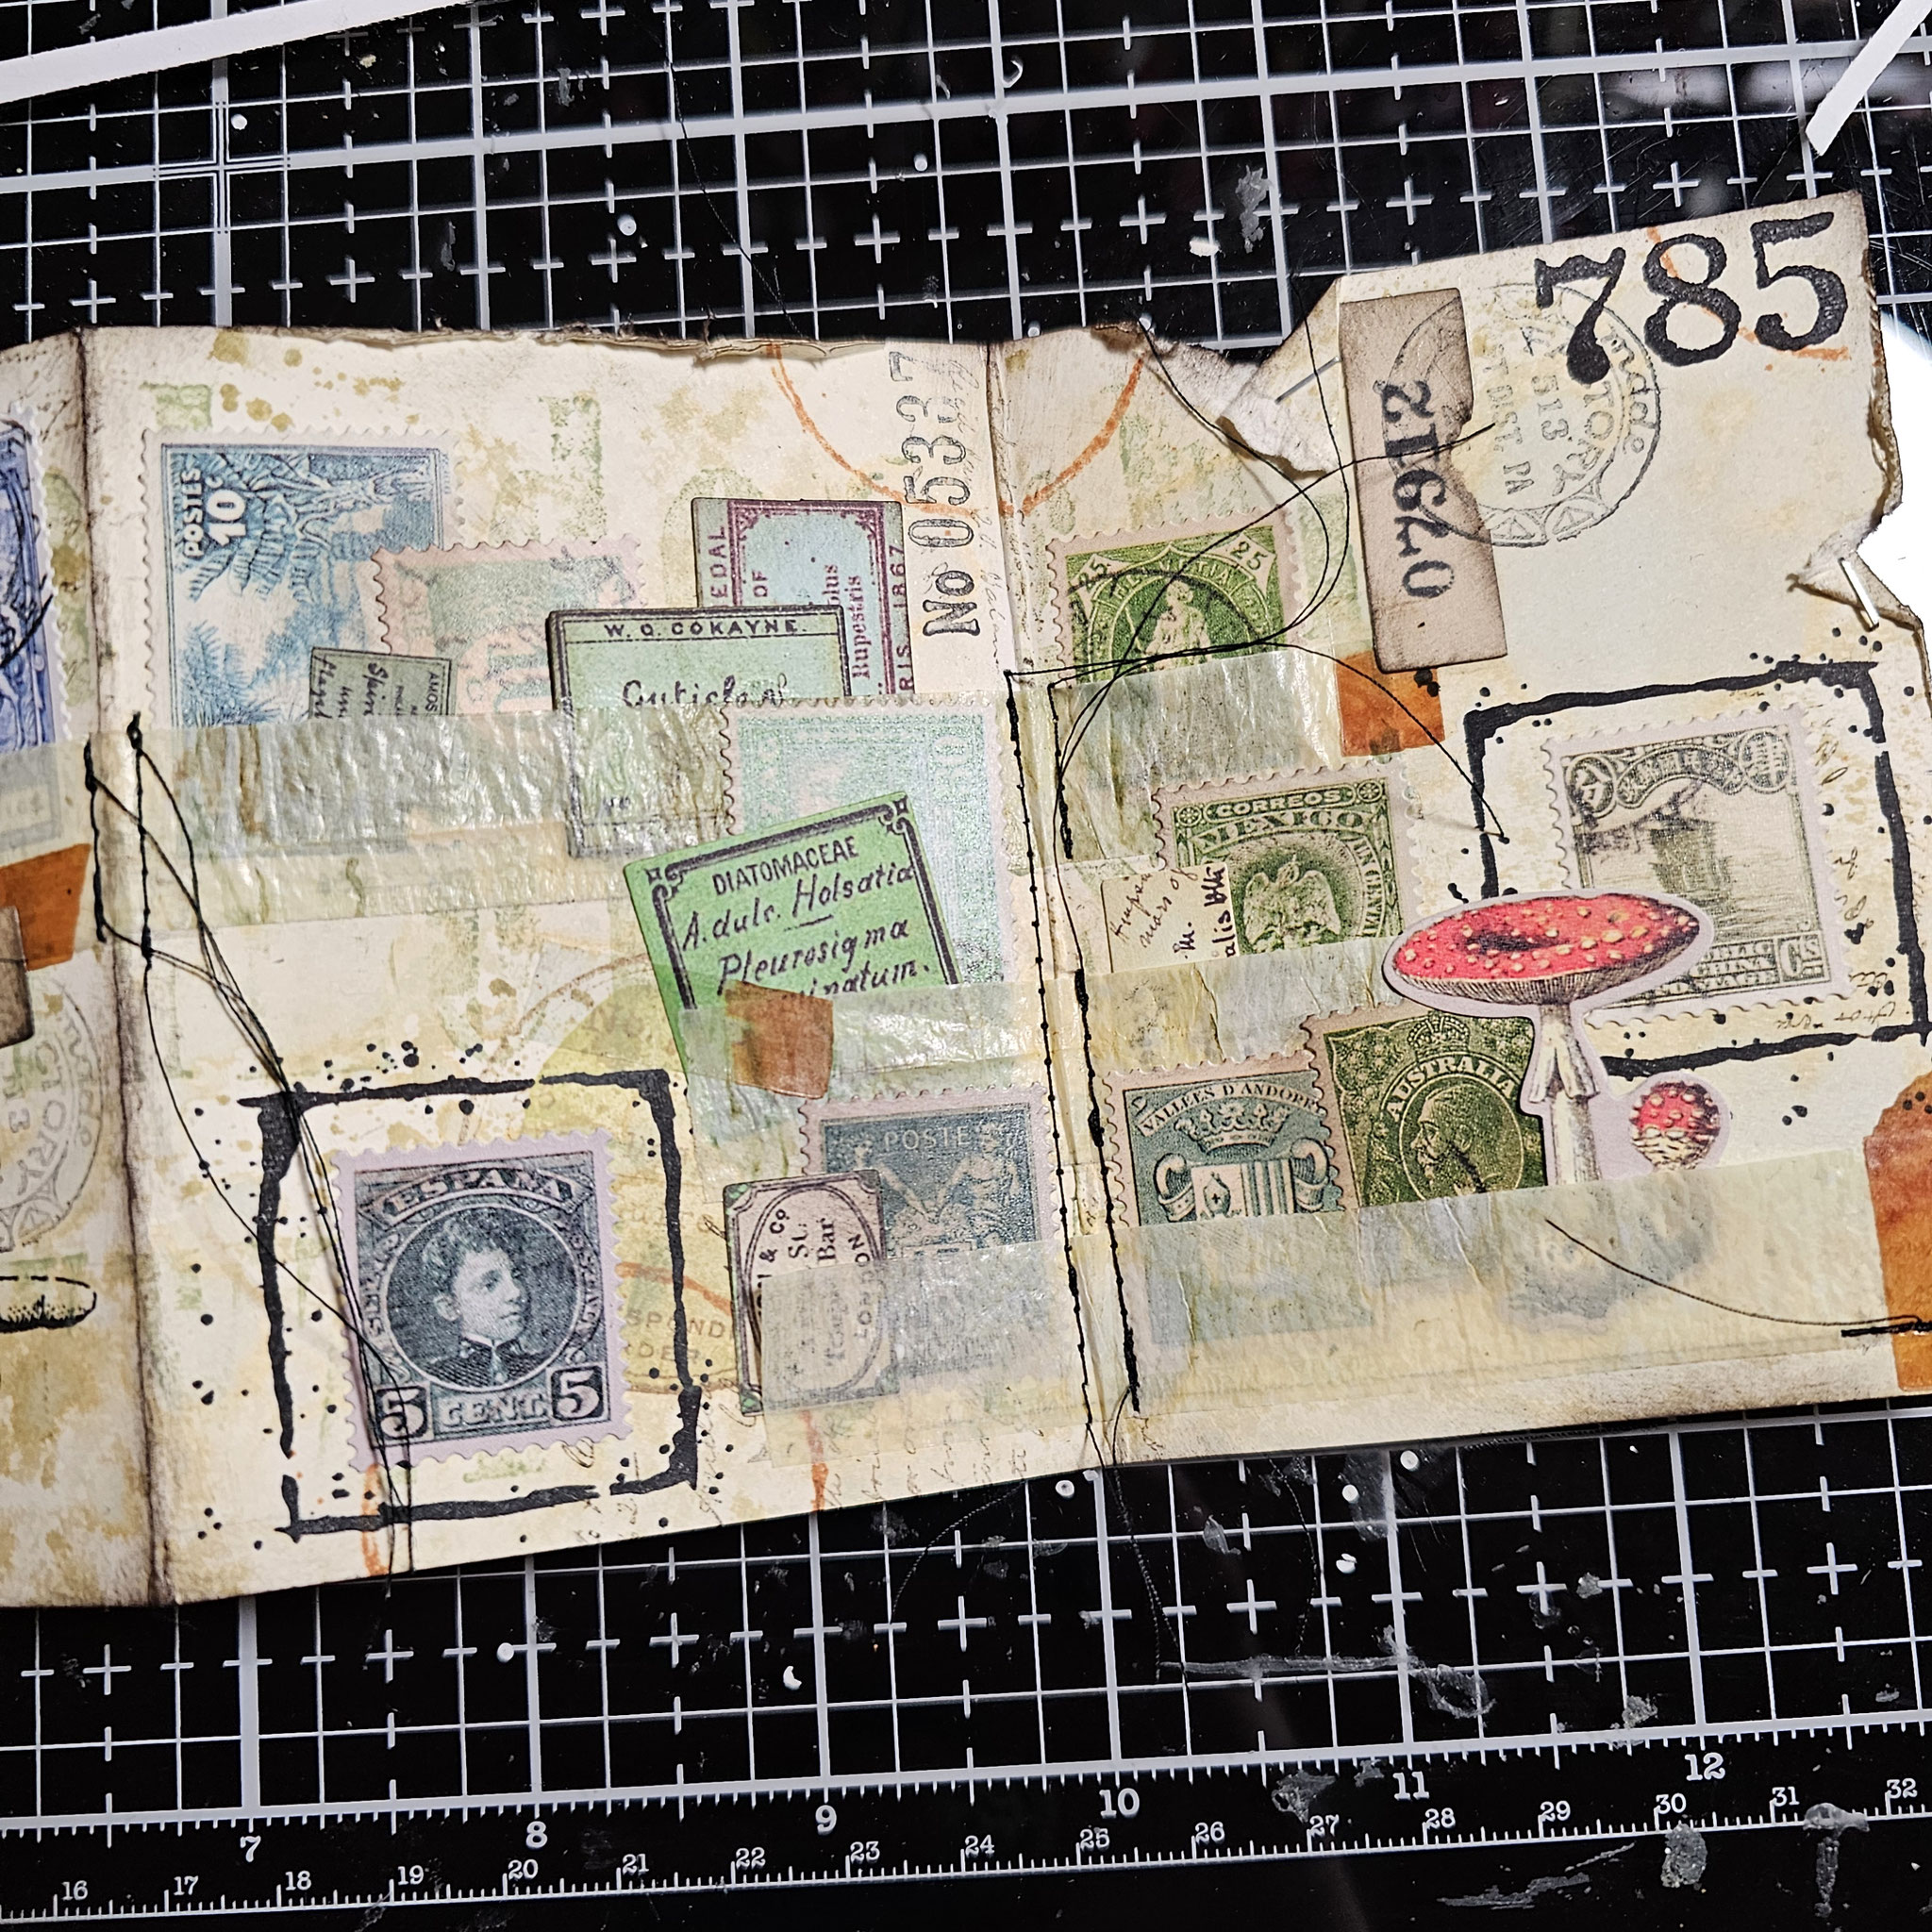

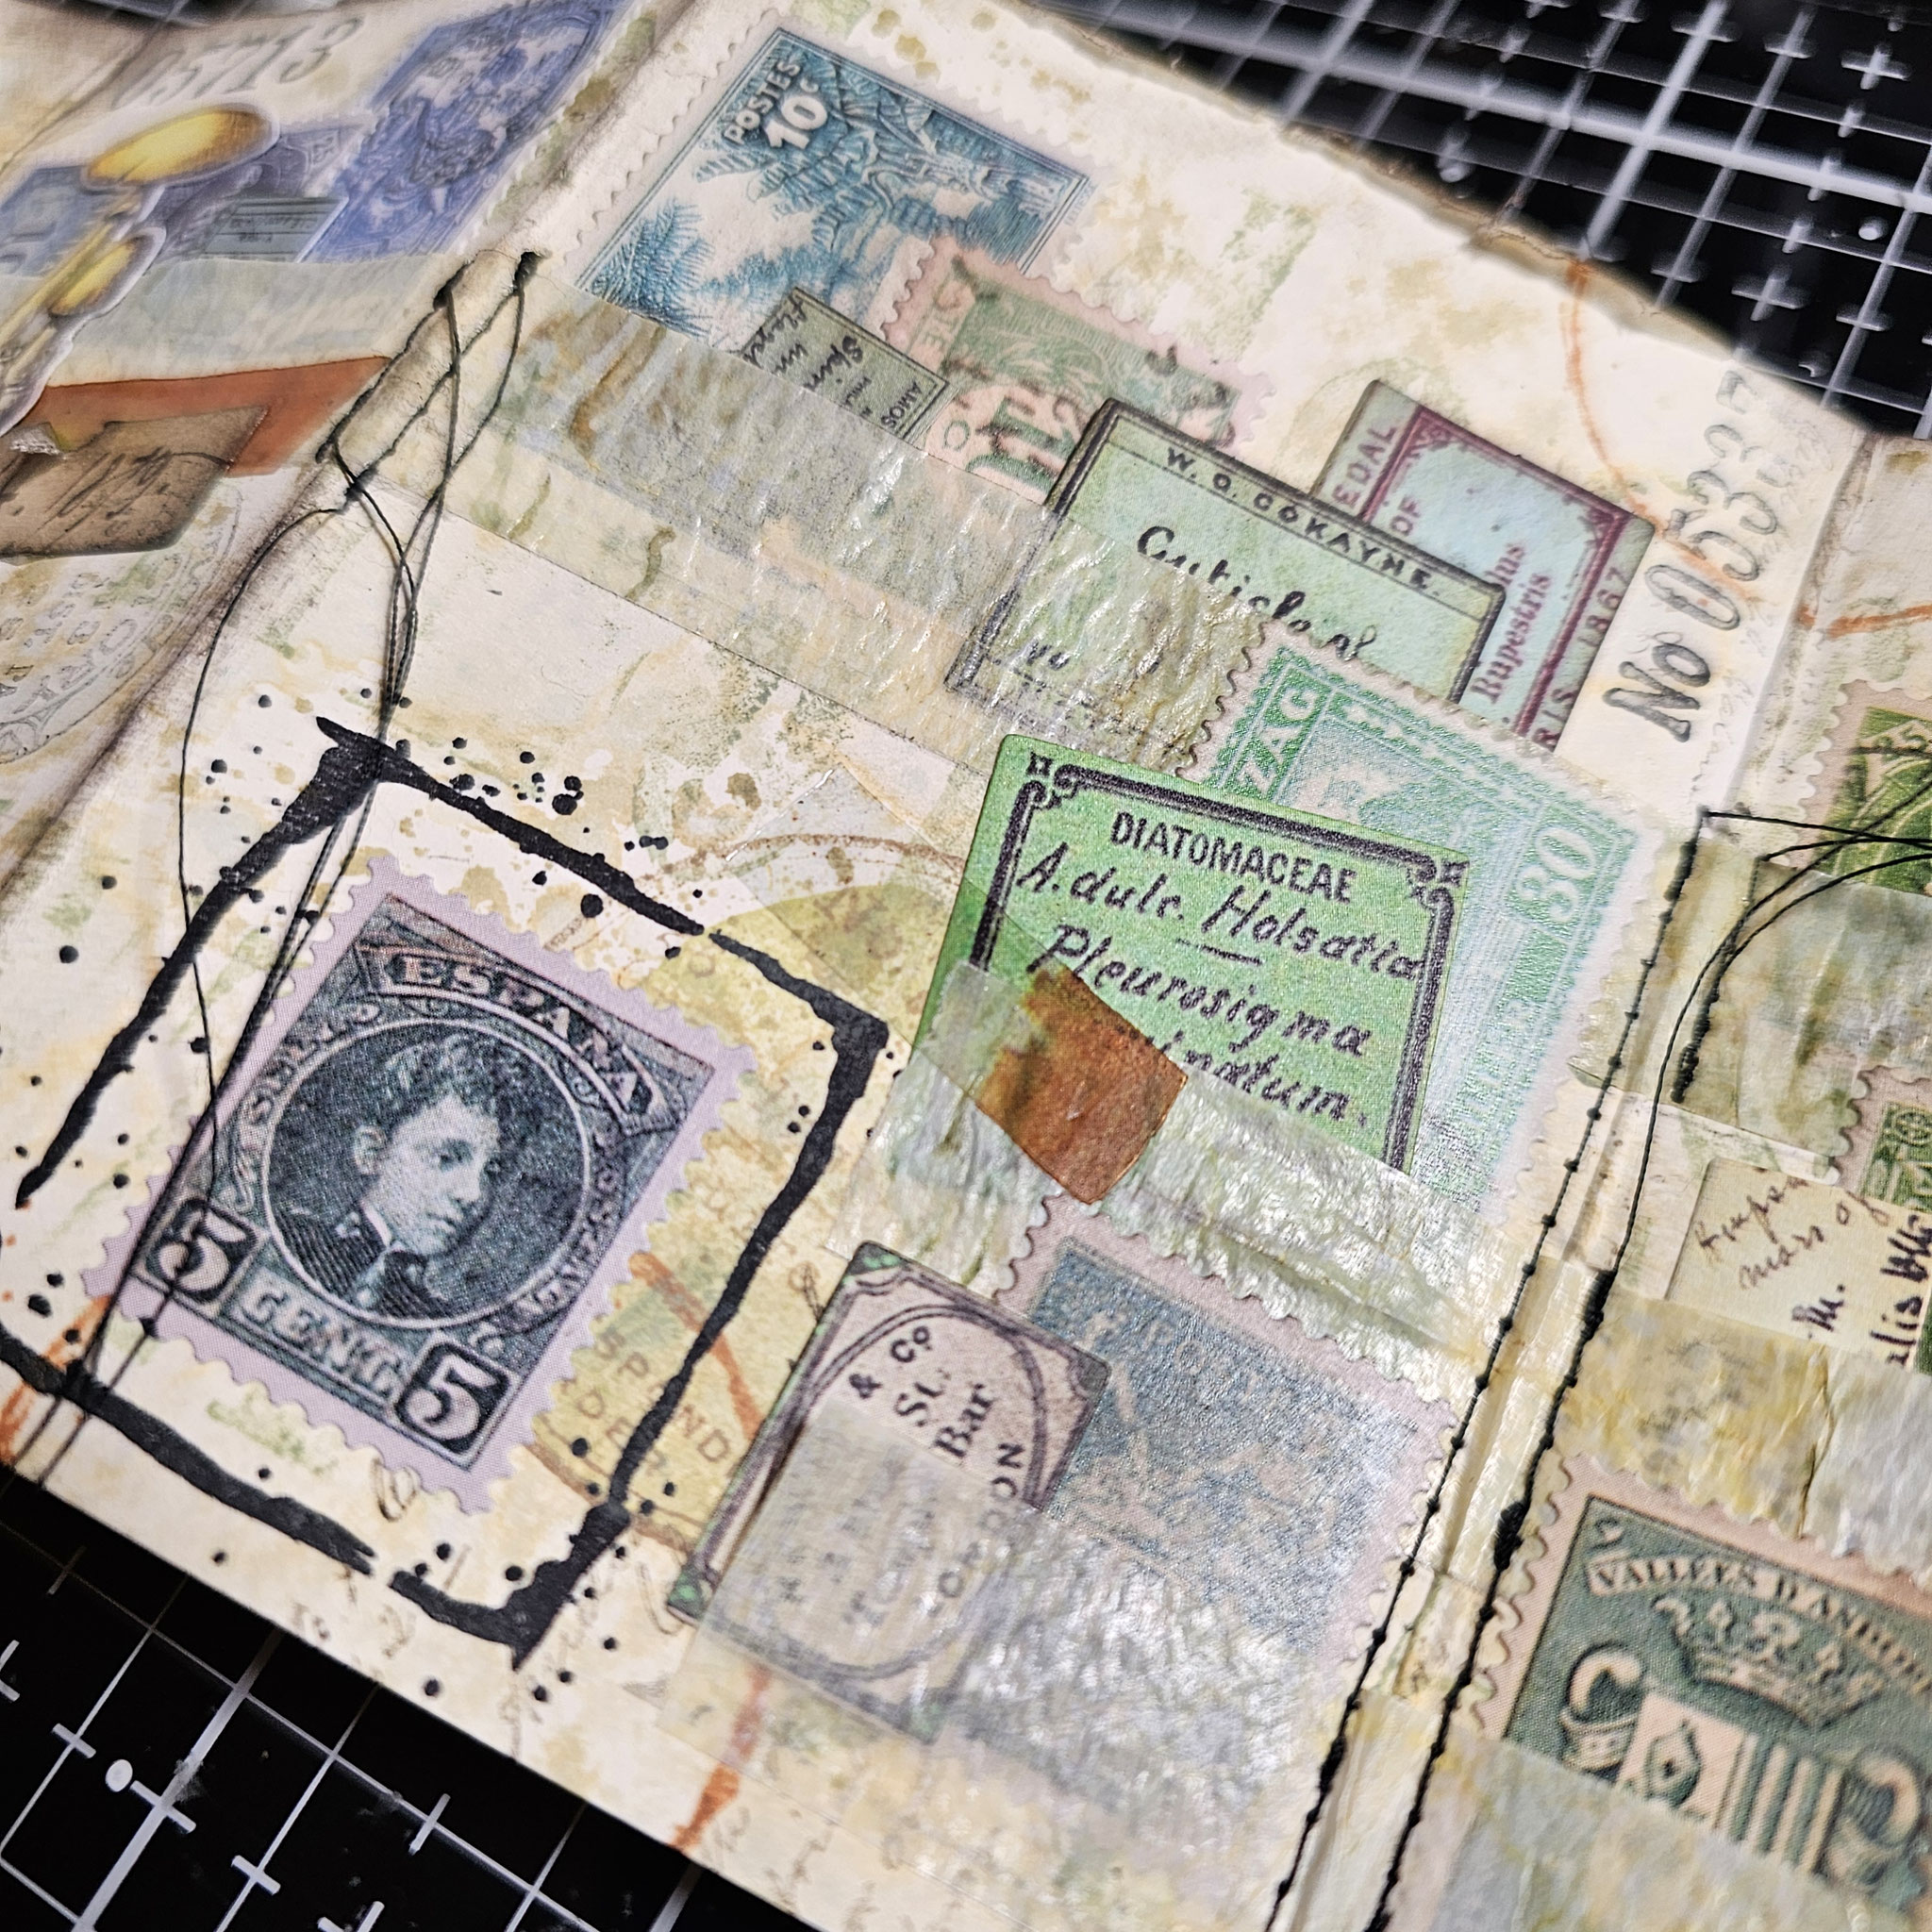

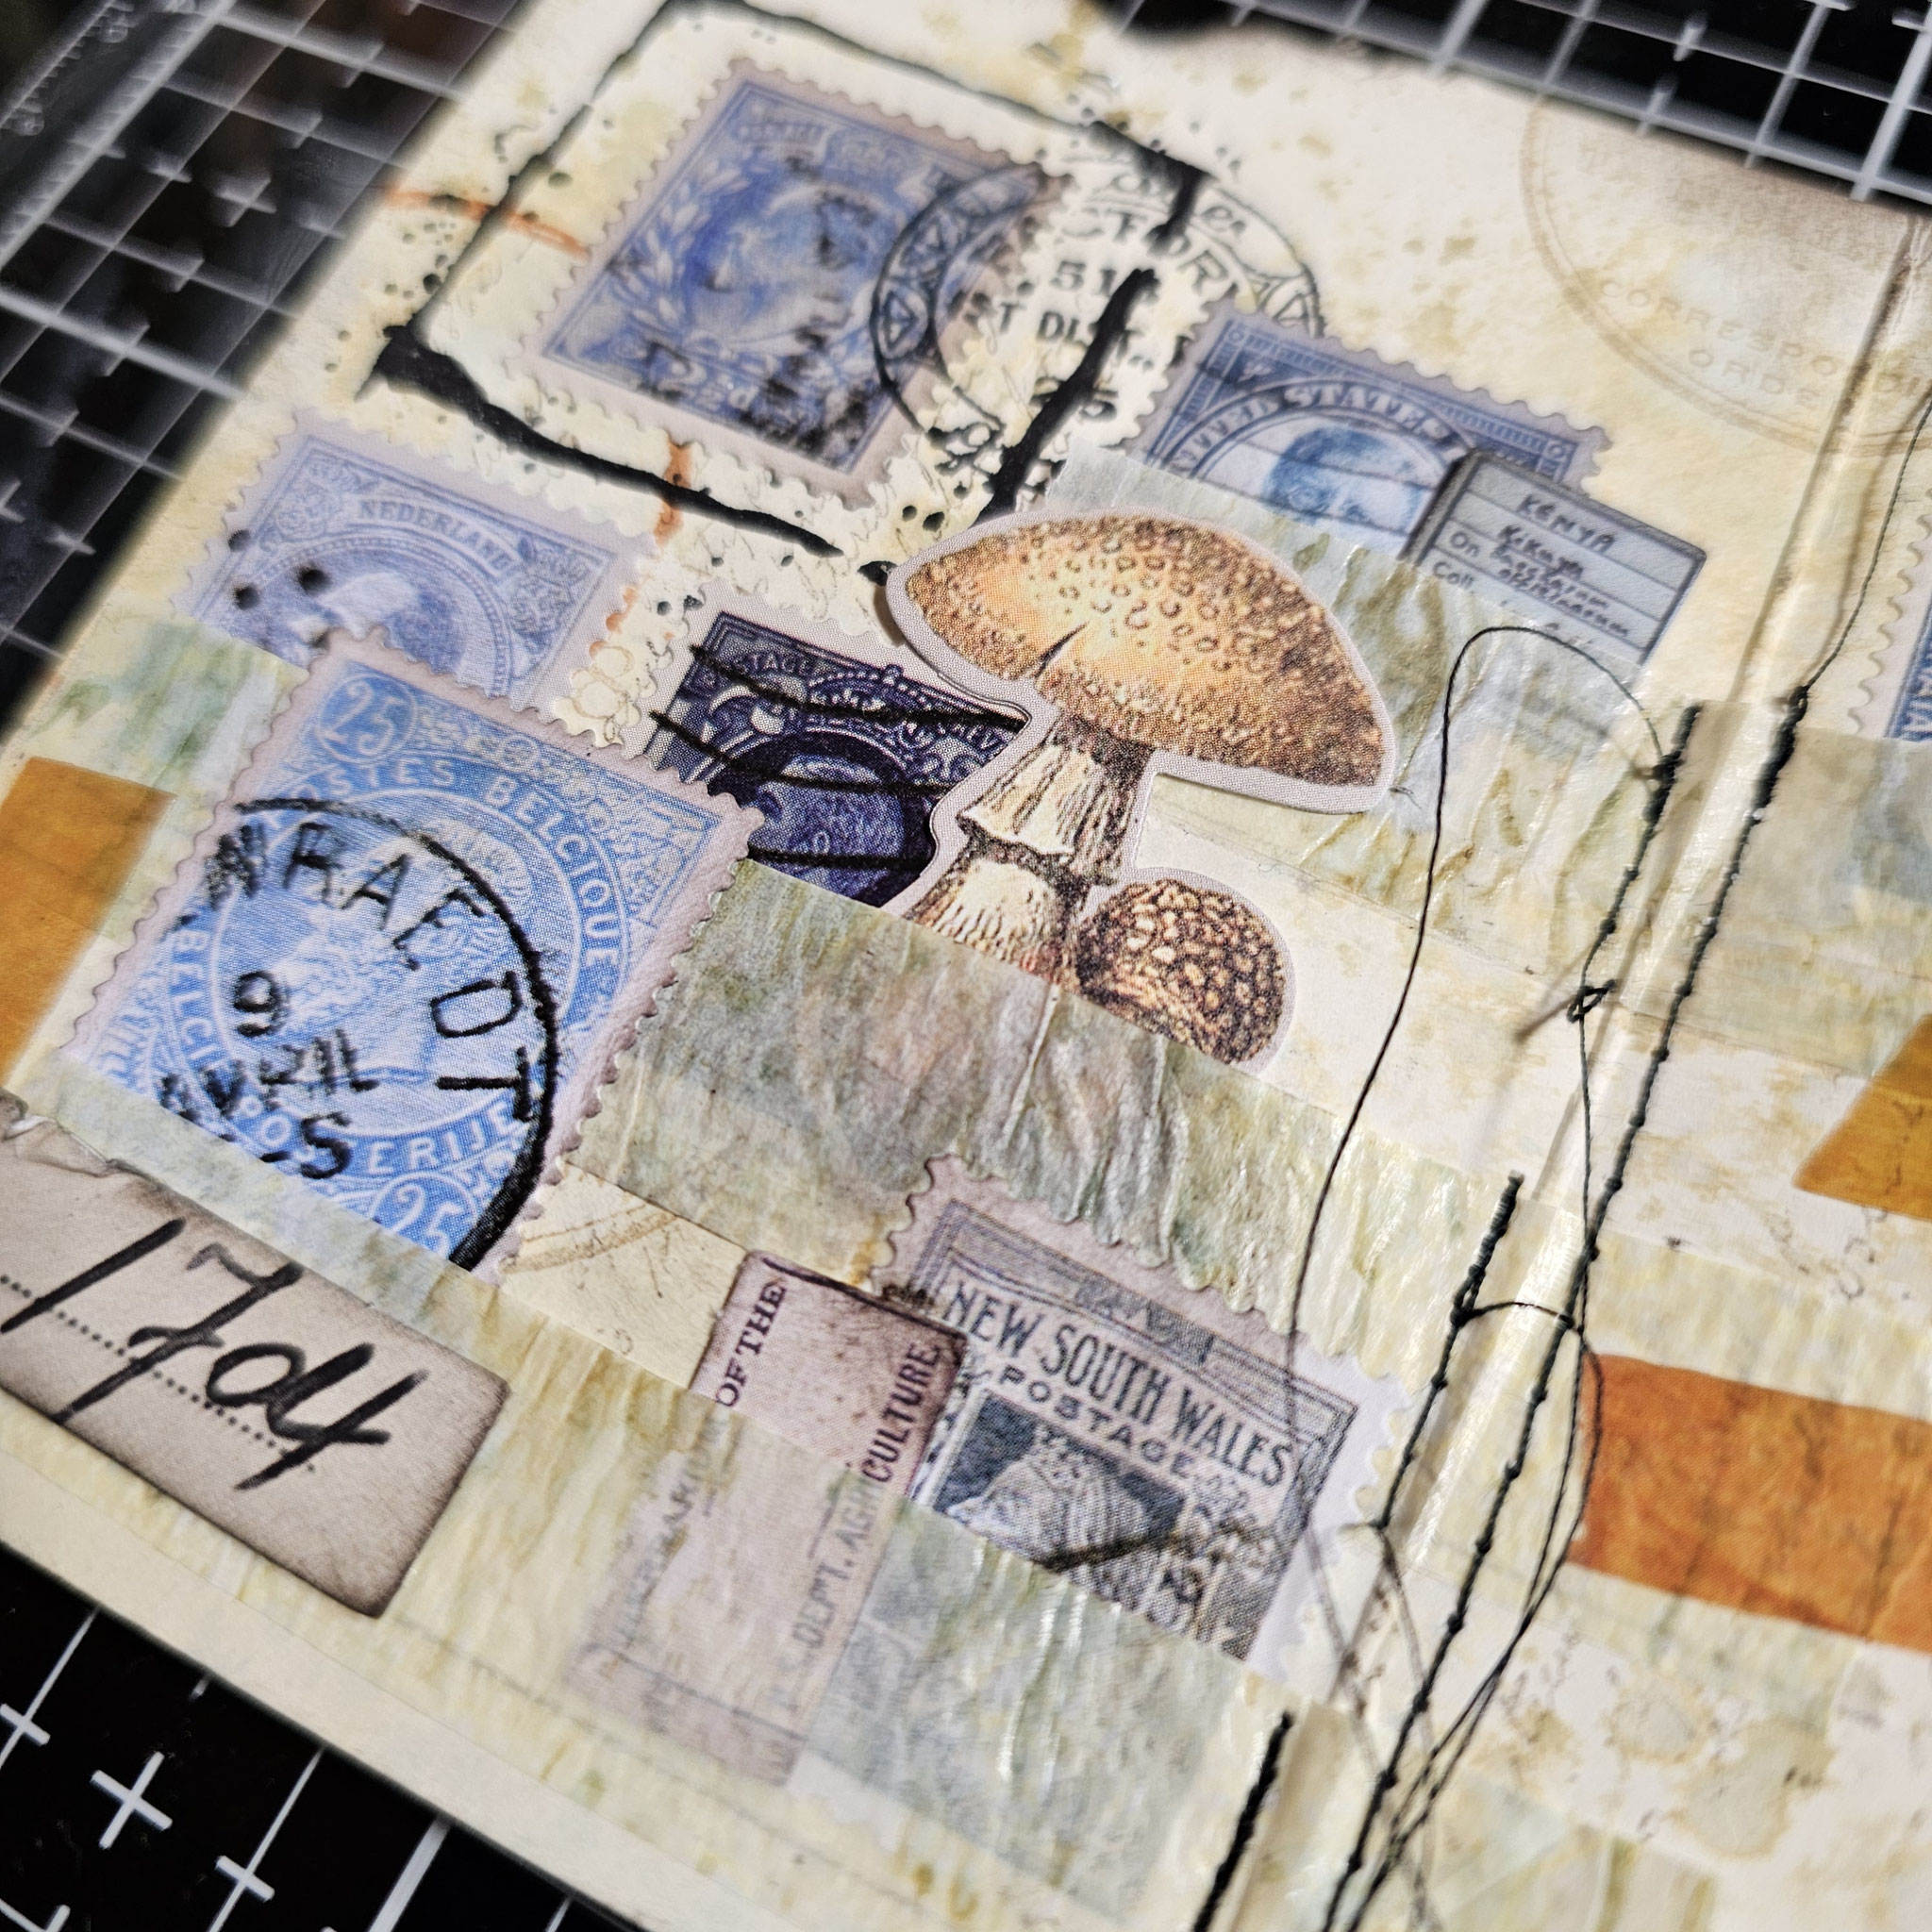


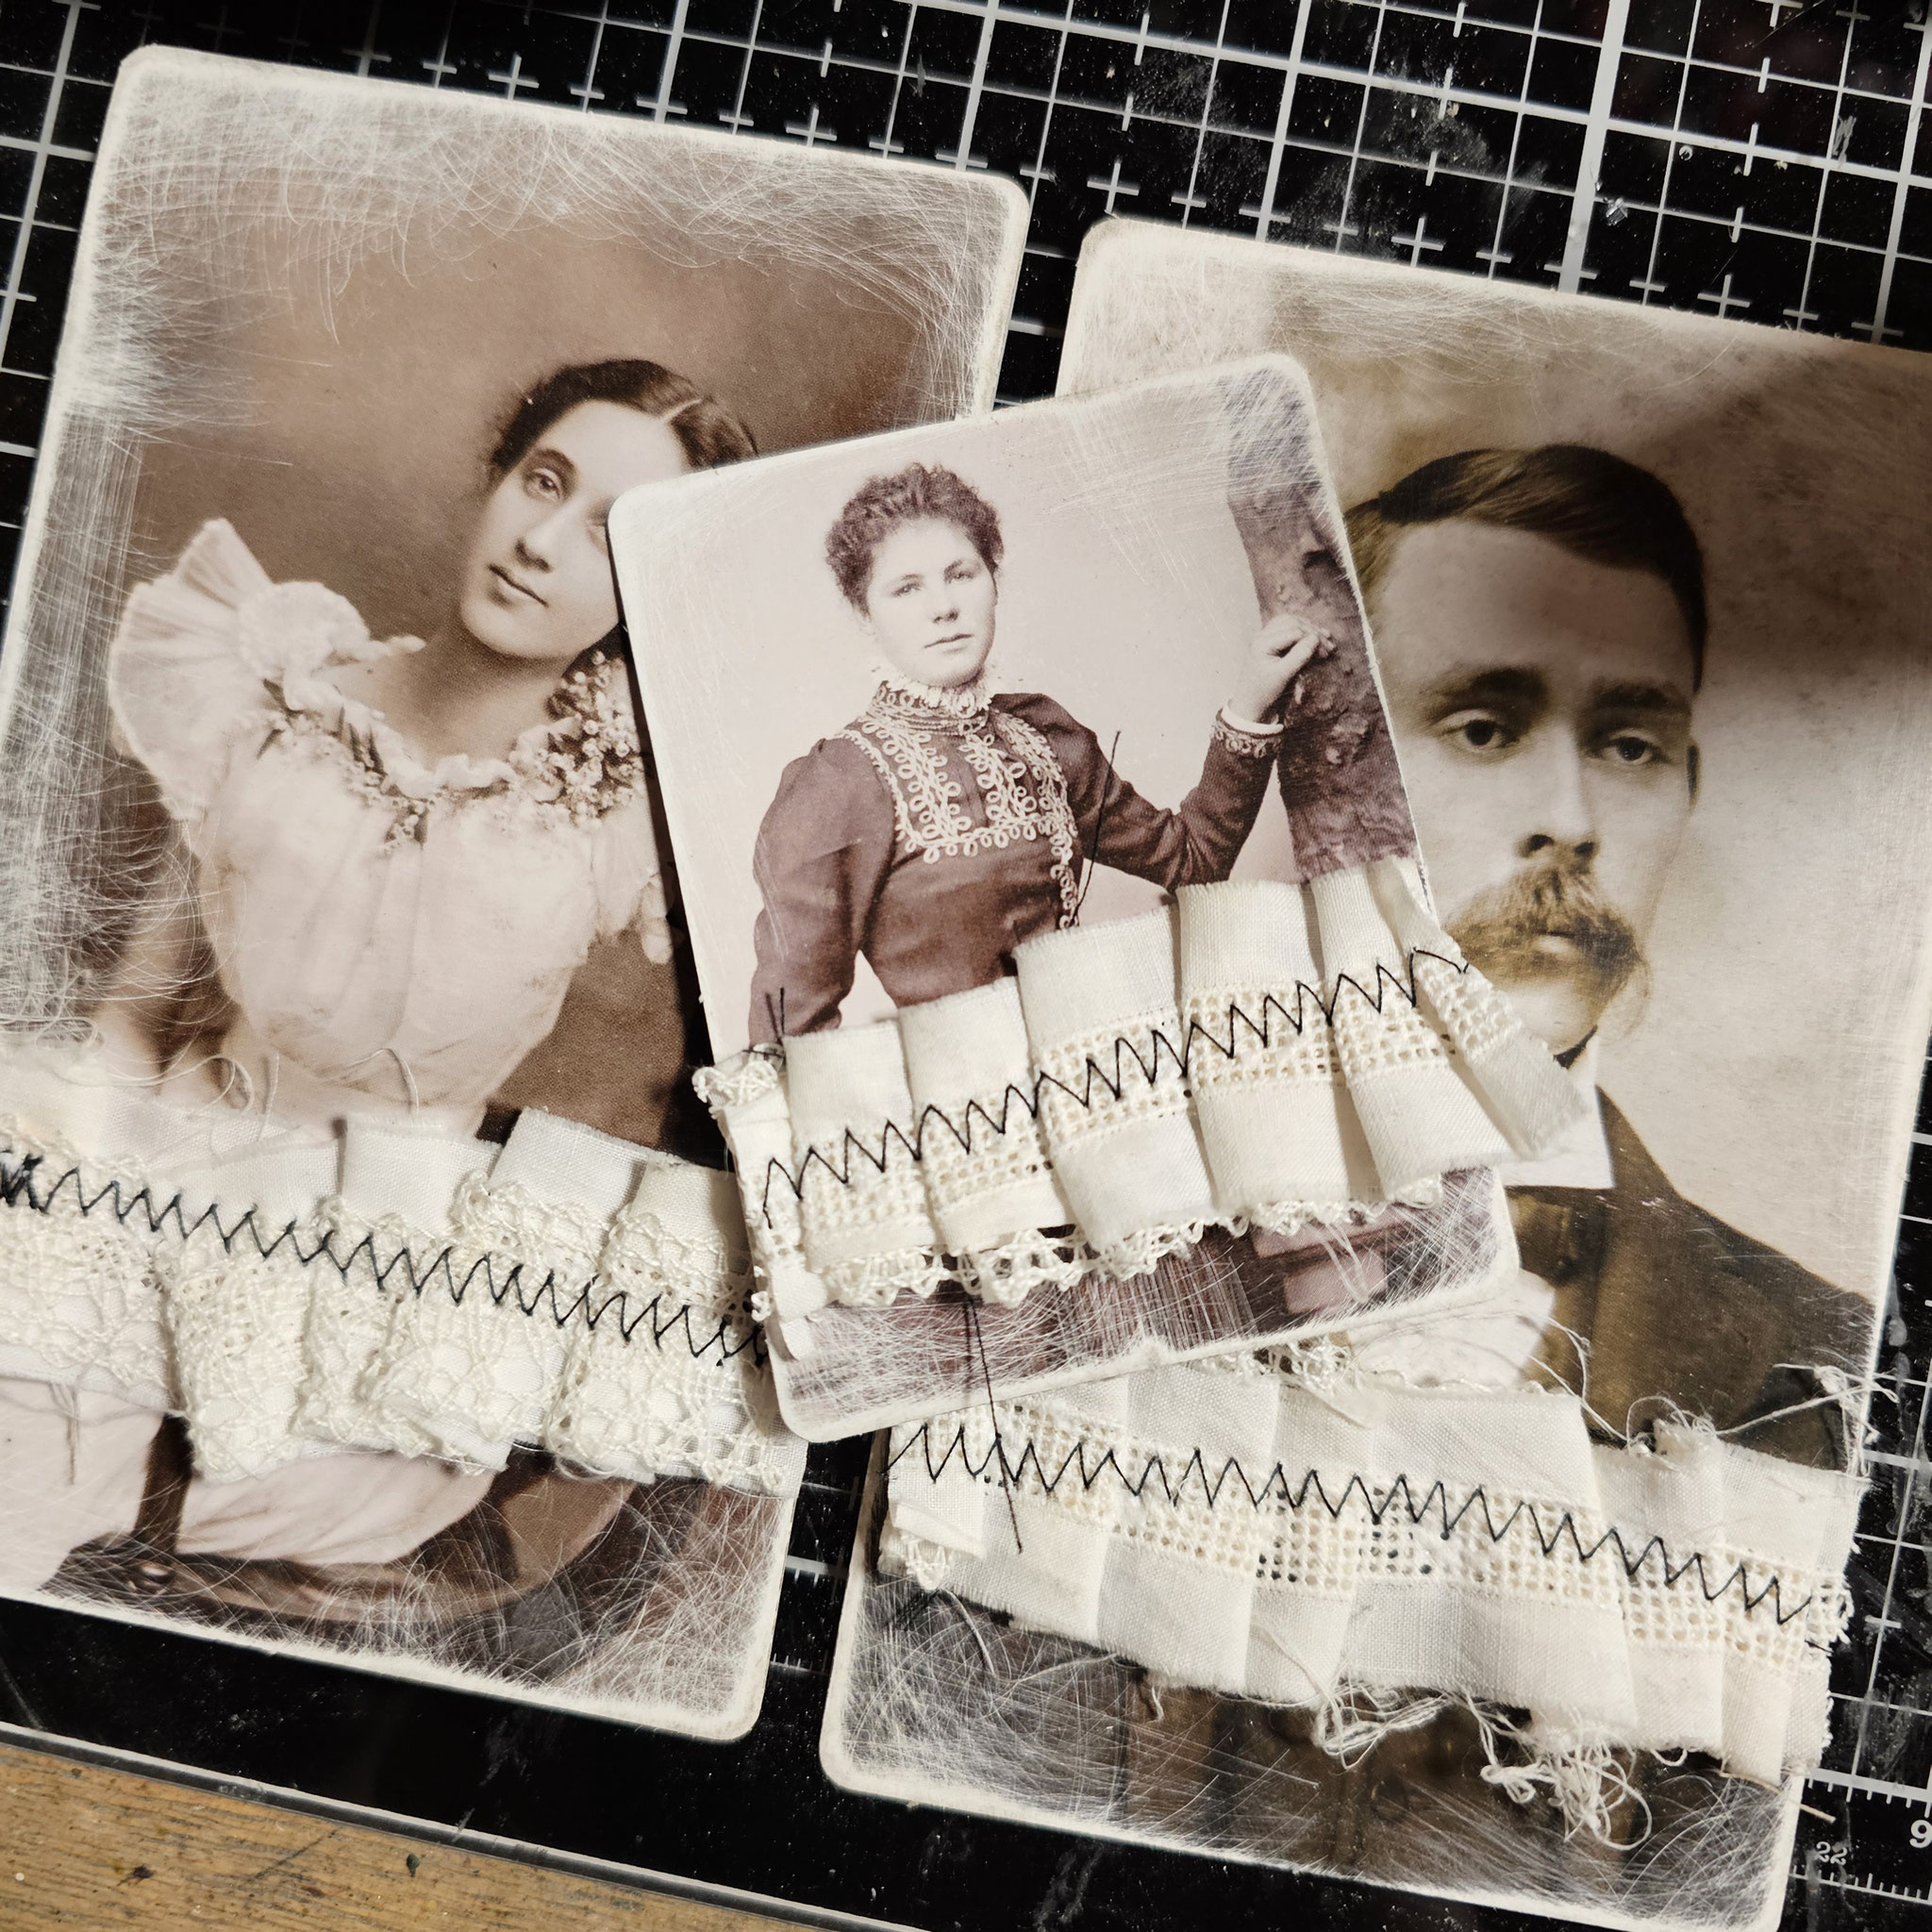
As a junk journaler I love using tiny bits and pieces. I used some leftover lace and fabric and also the backing material from the sticker book to create little clusters with the postage stamps and bouquet flowers.


I had some lace left over so I decided to go to my sewing machine and make some ruffles. As you can see, you can make nice little embellishments even with only a few materials.


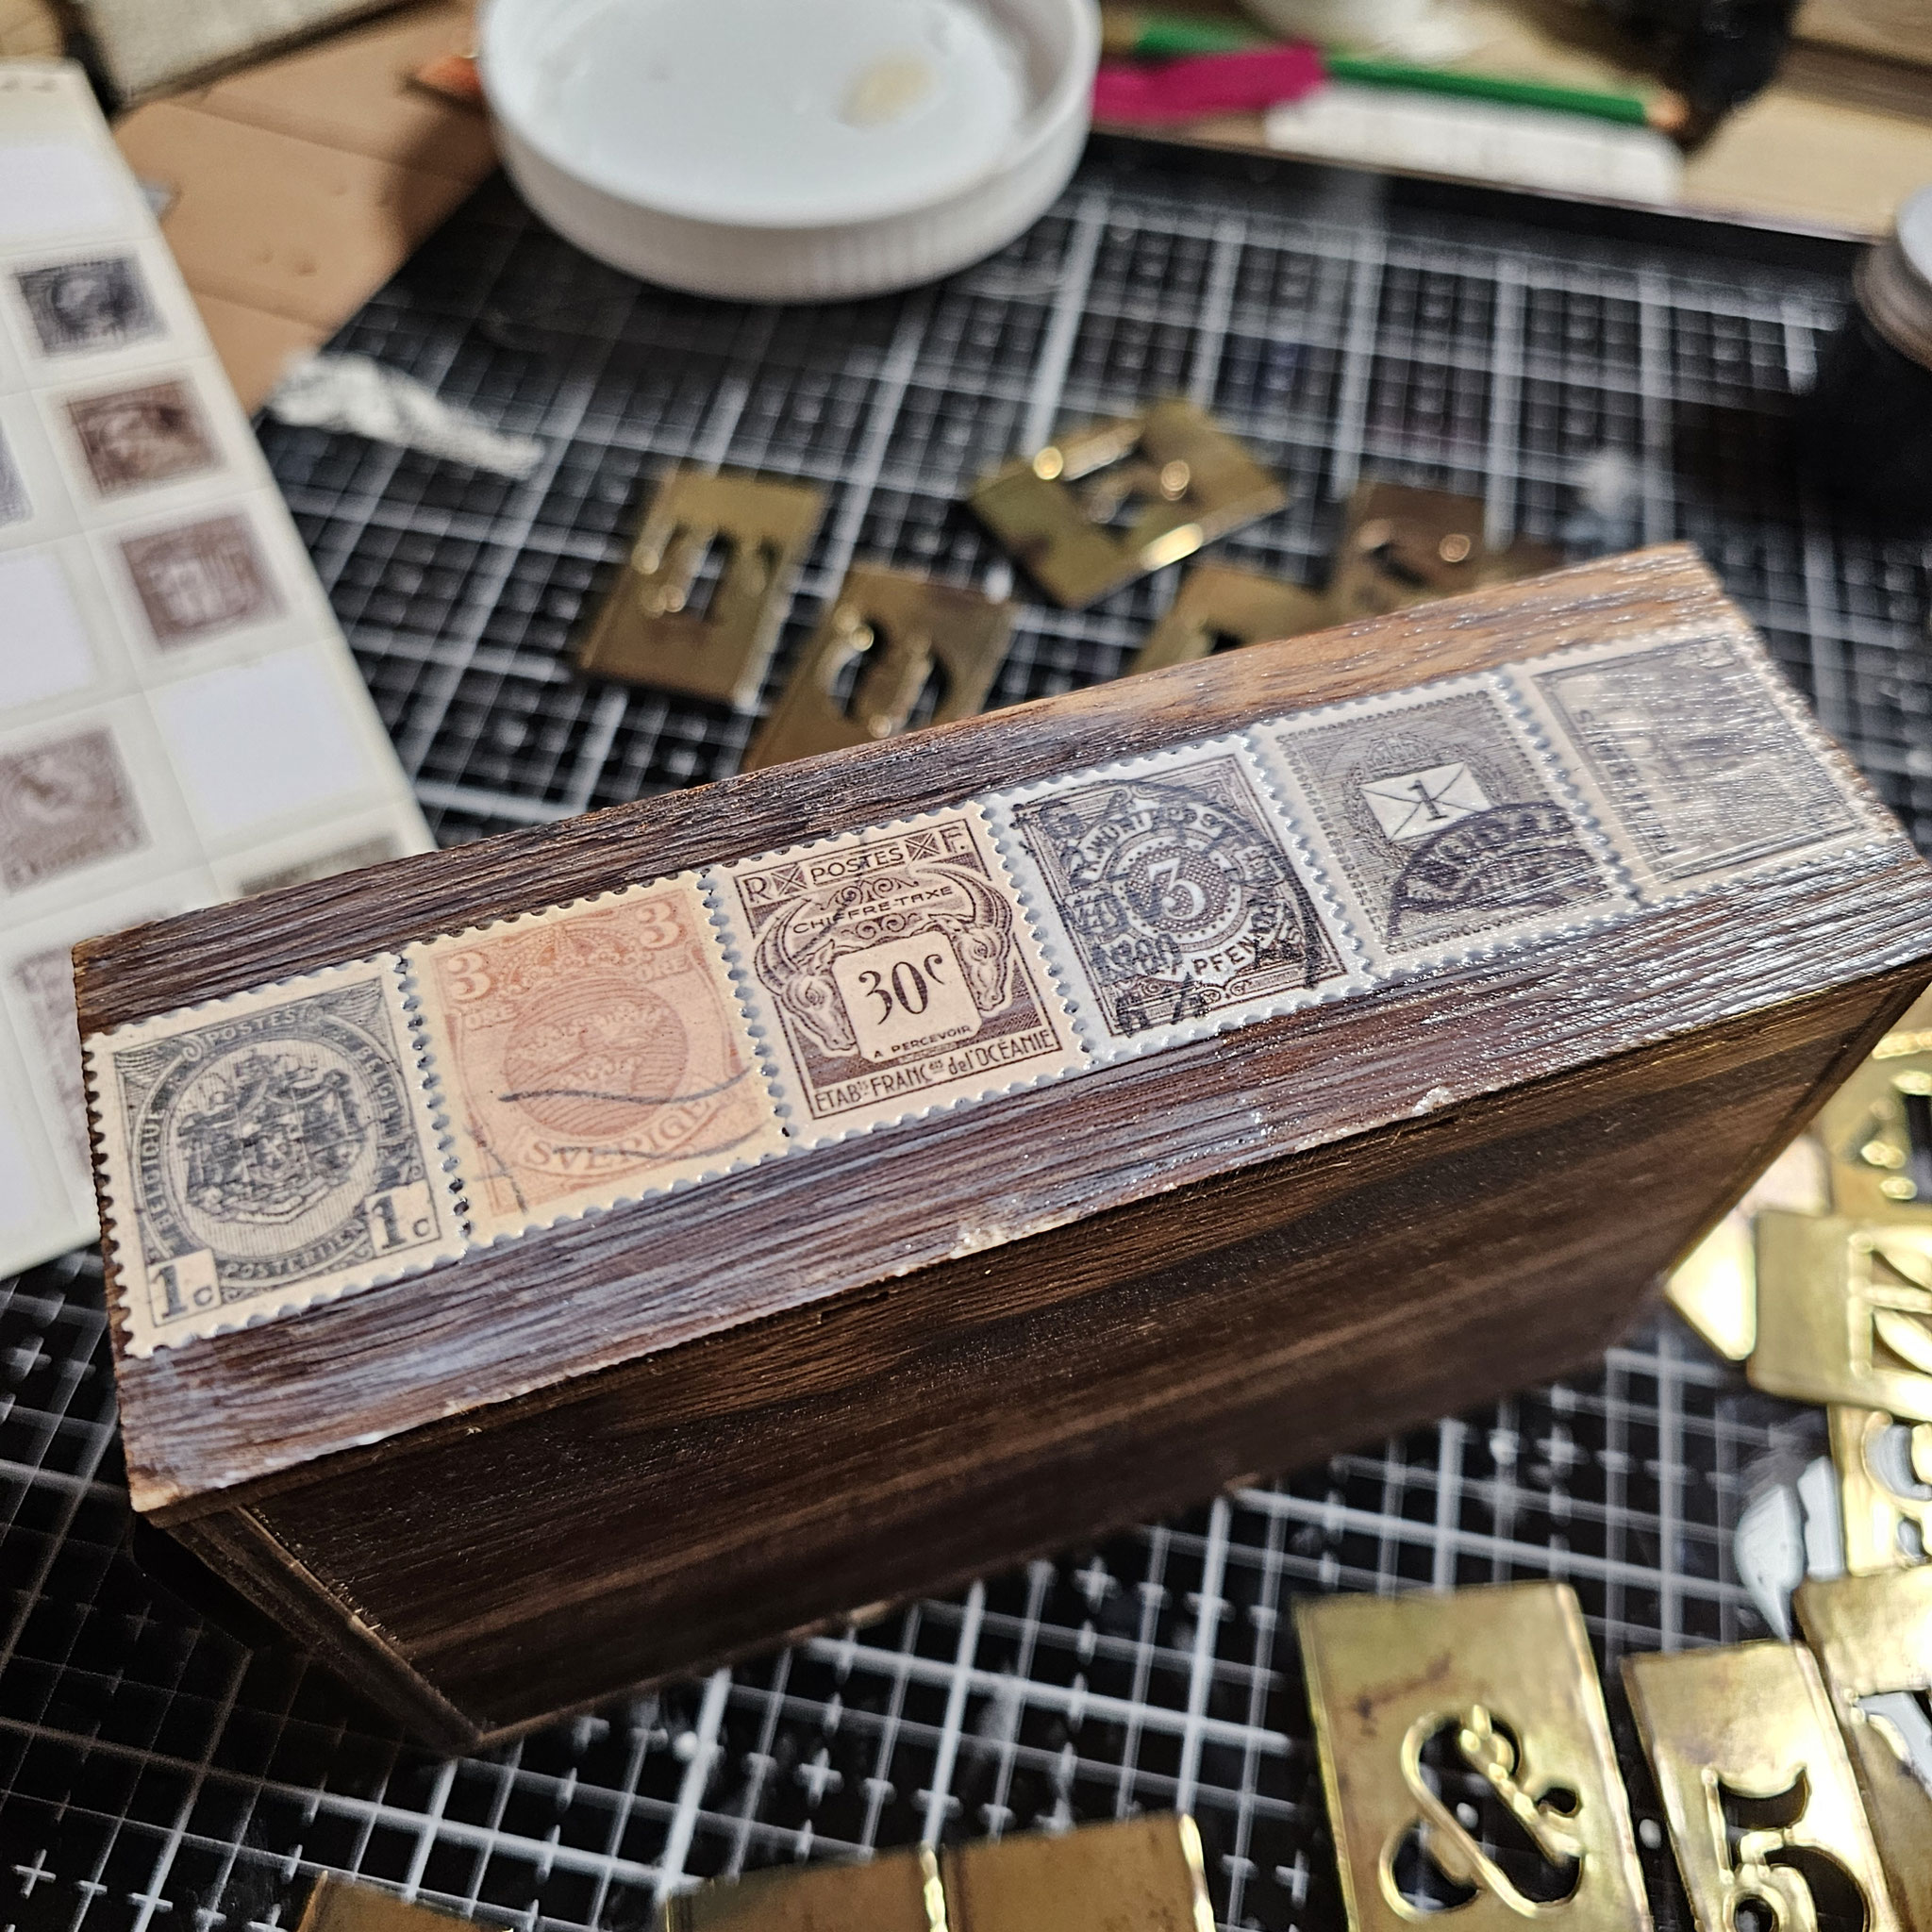
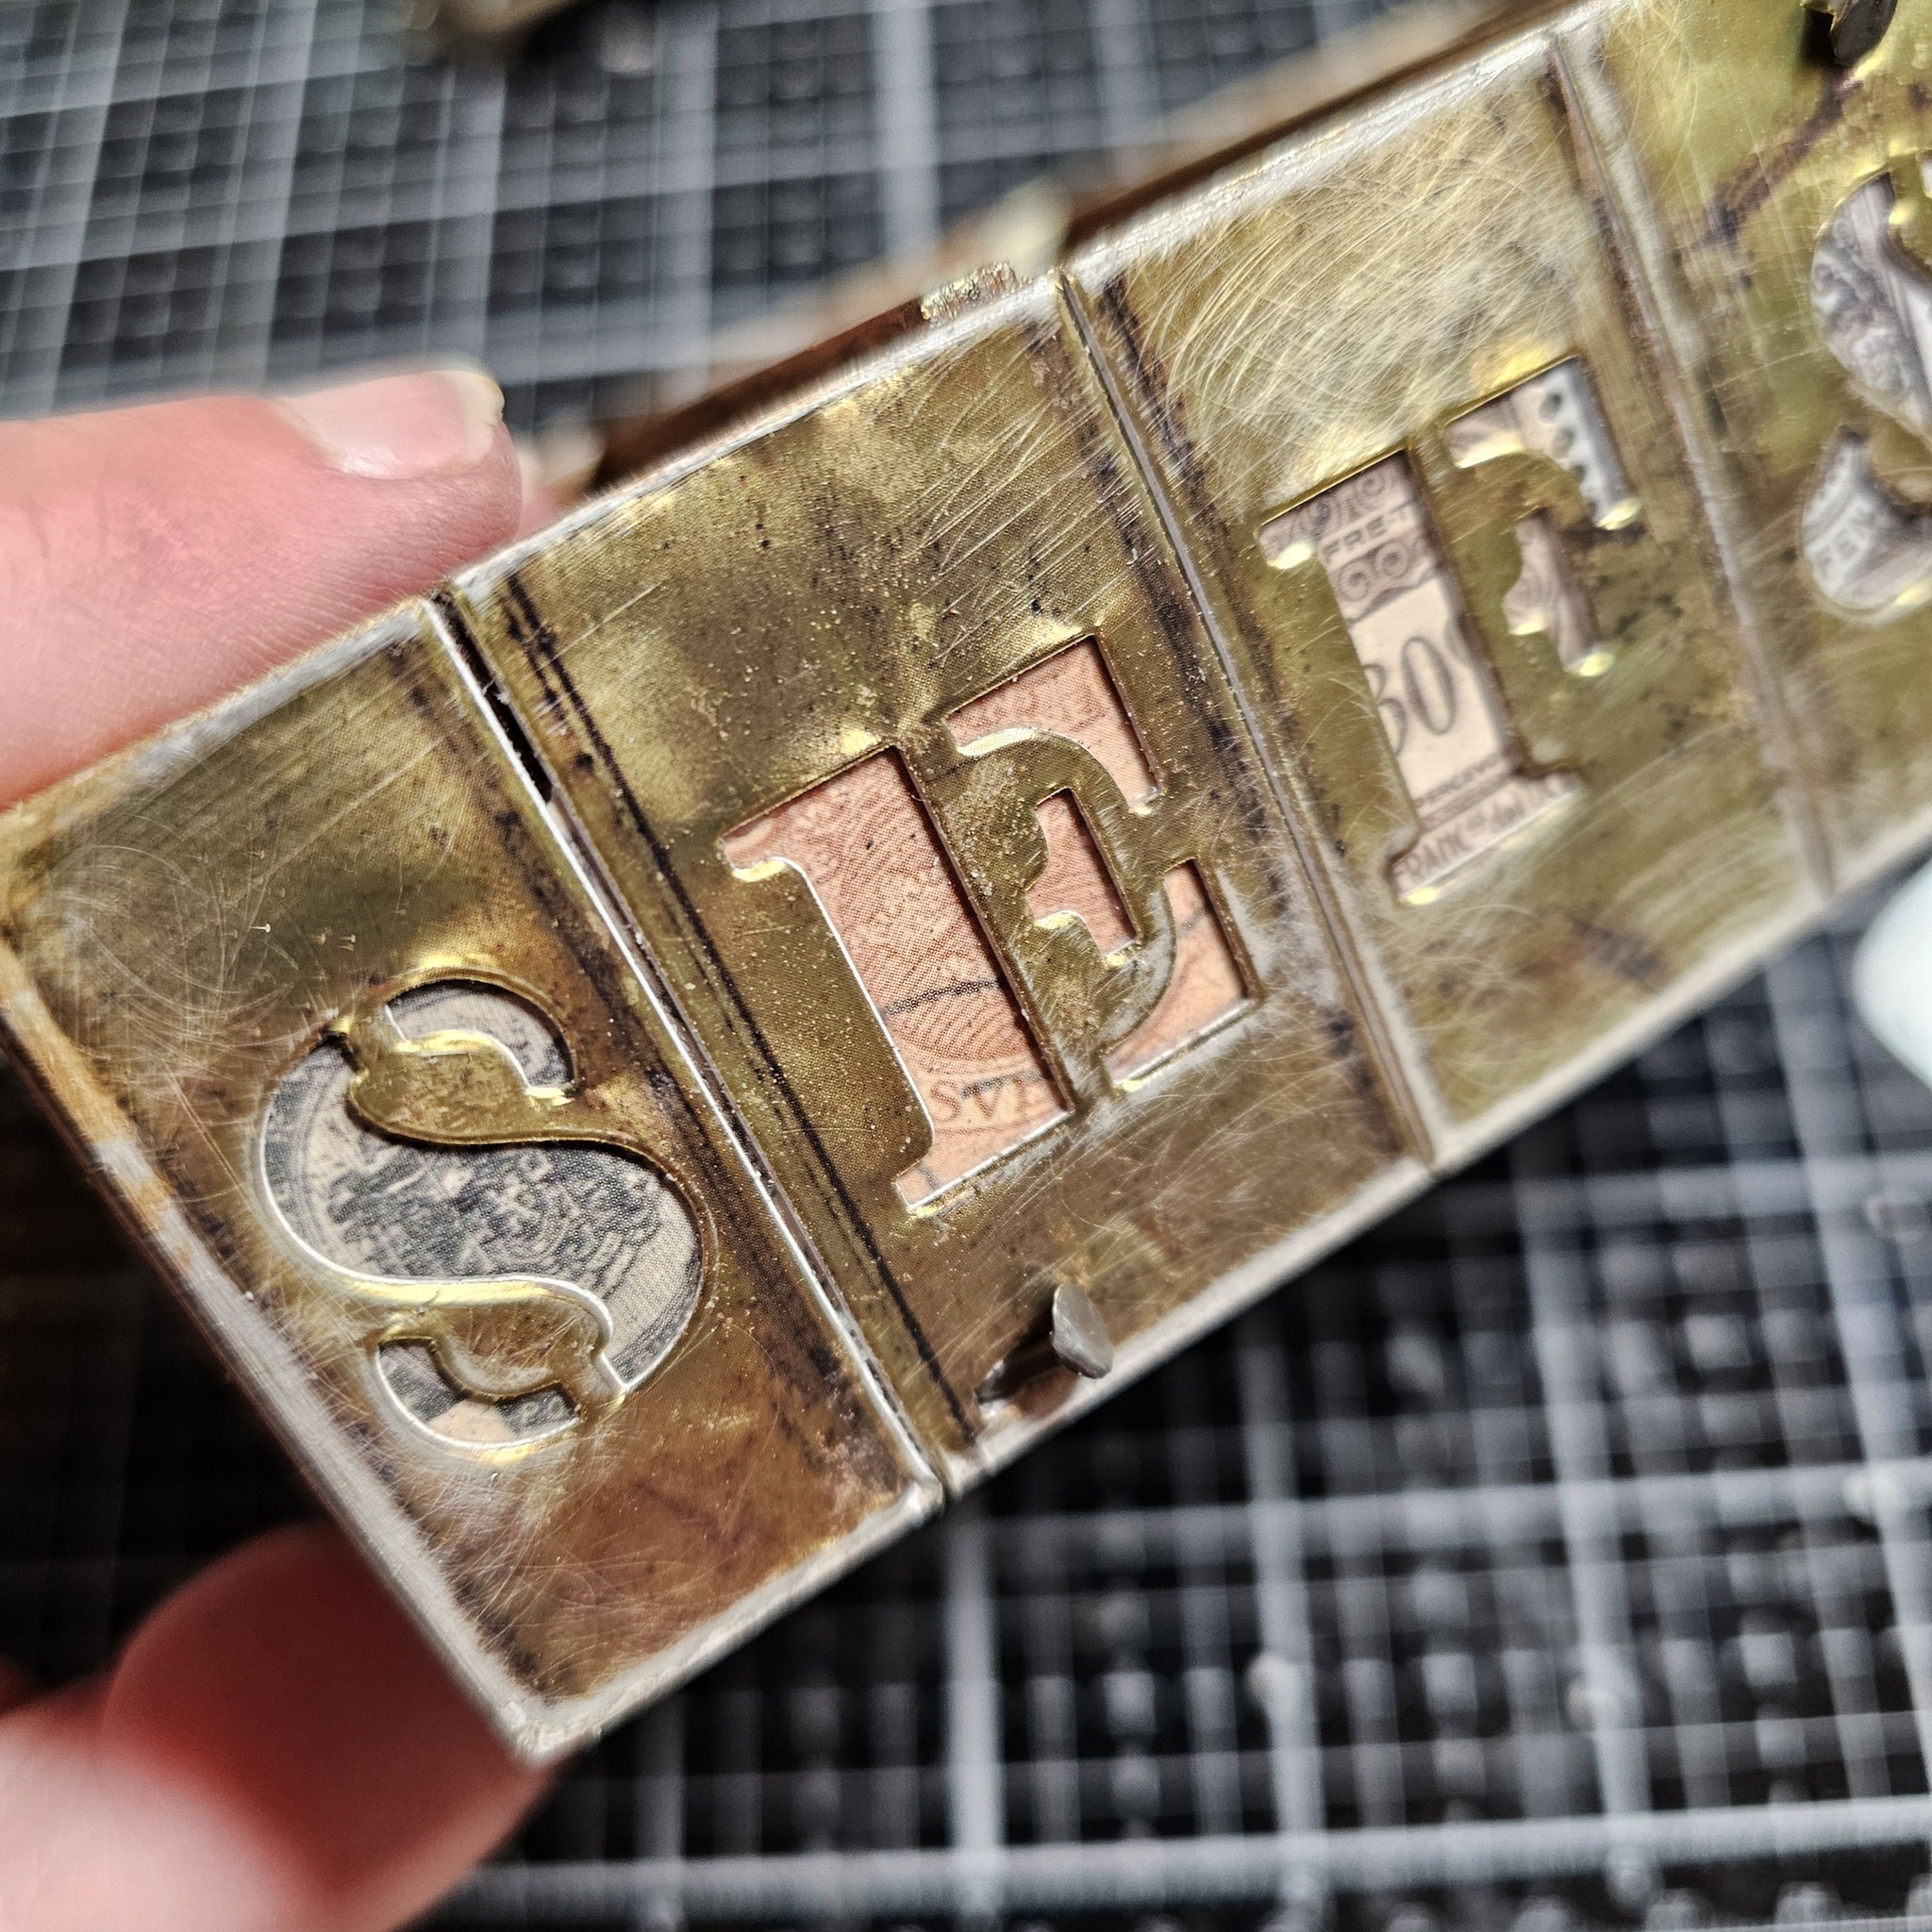
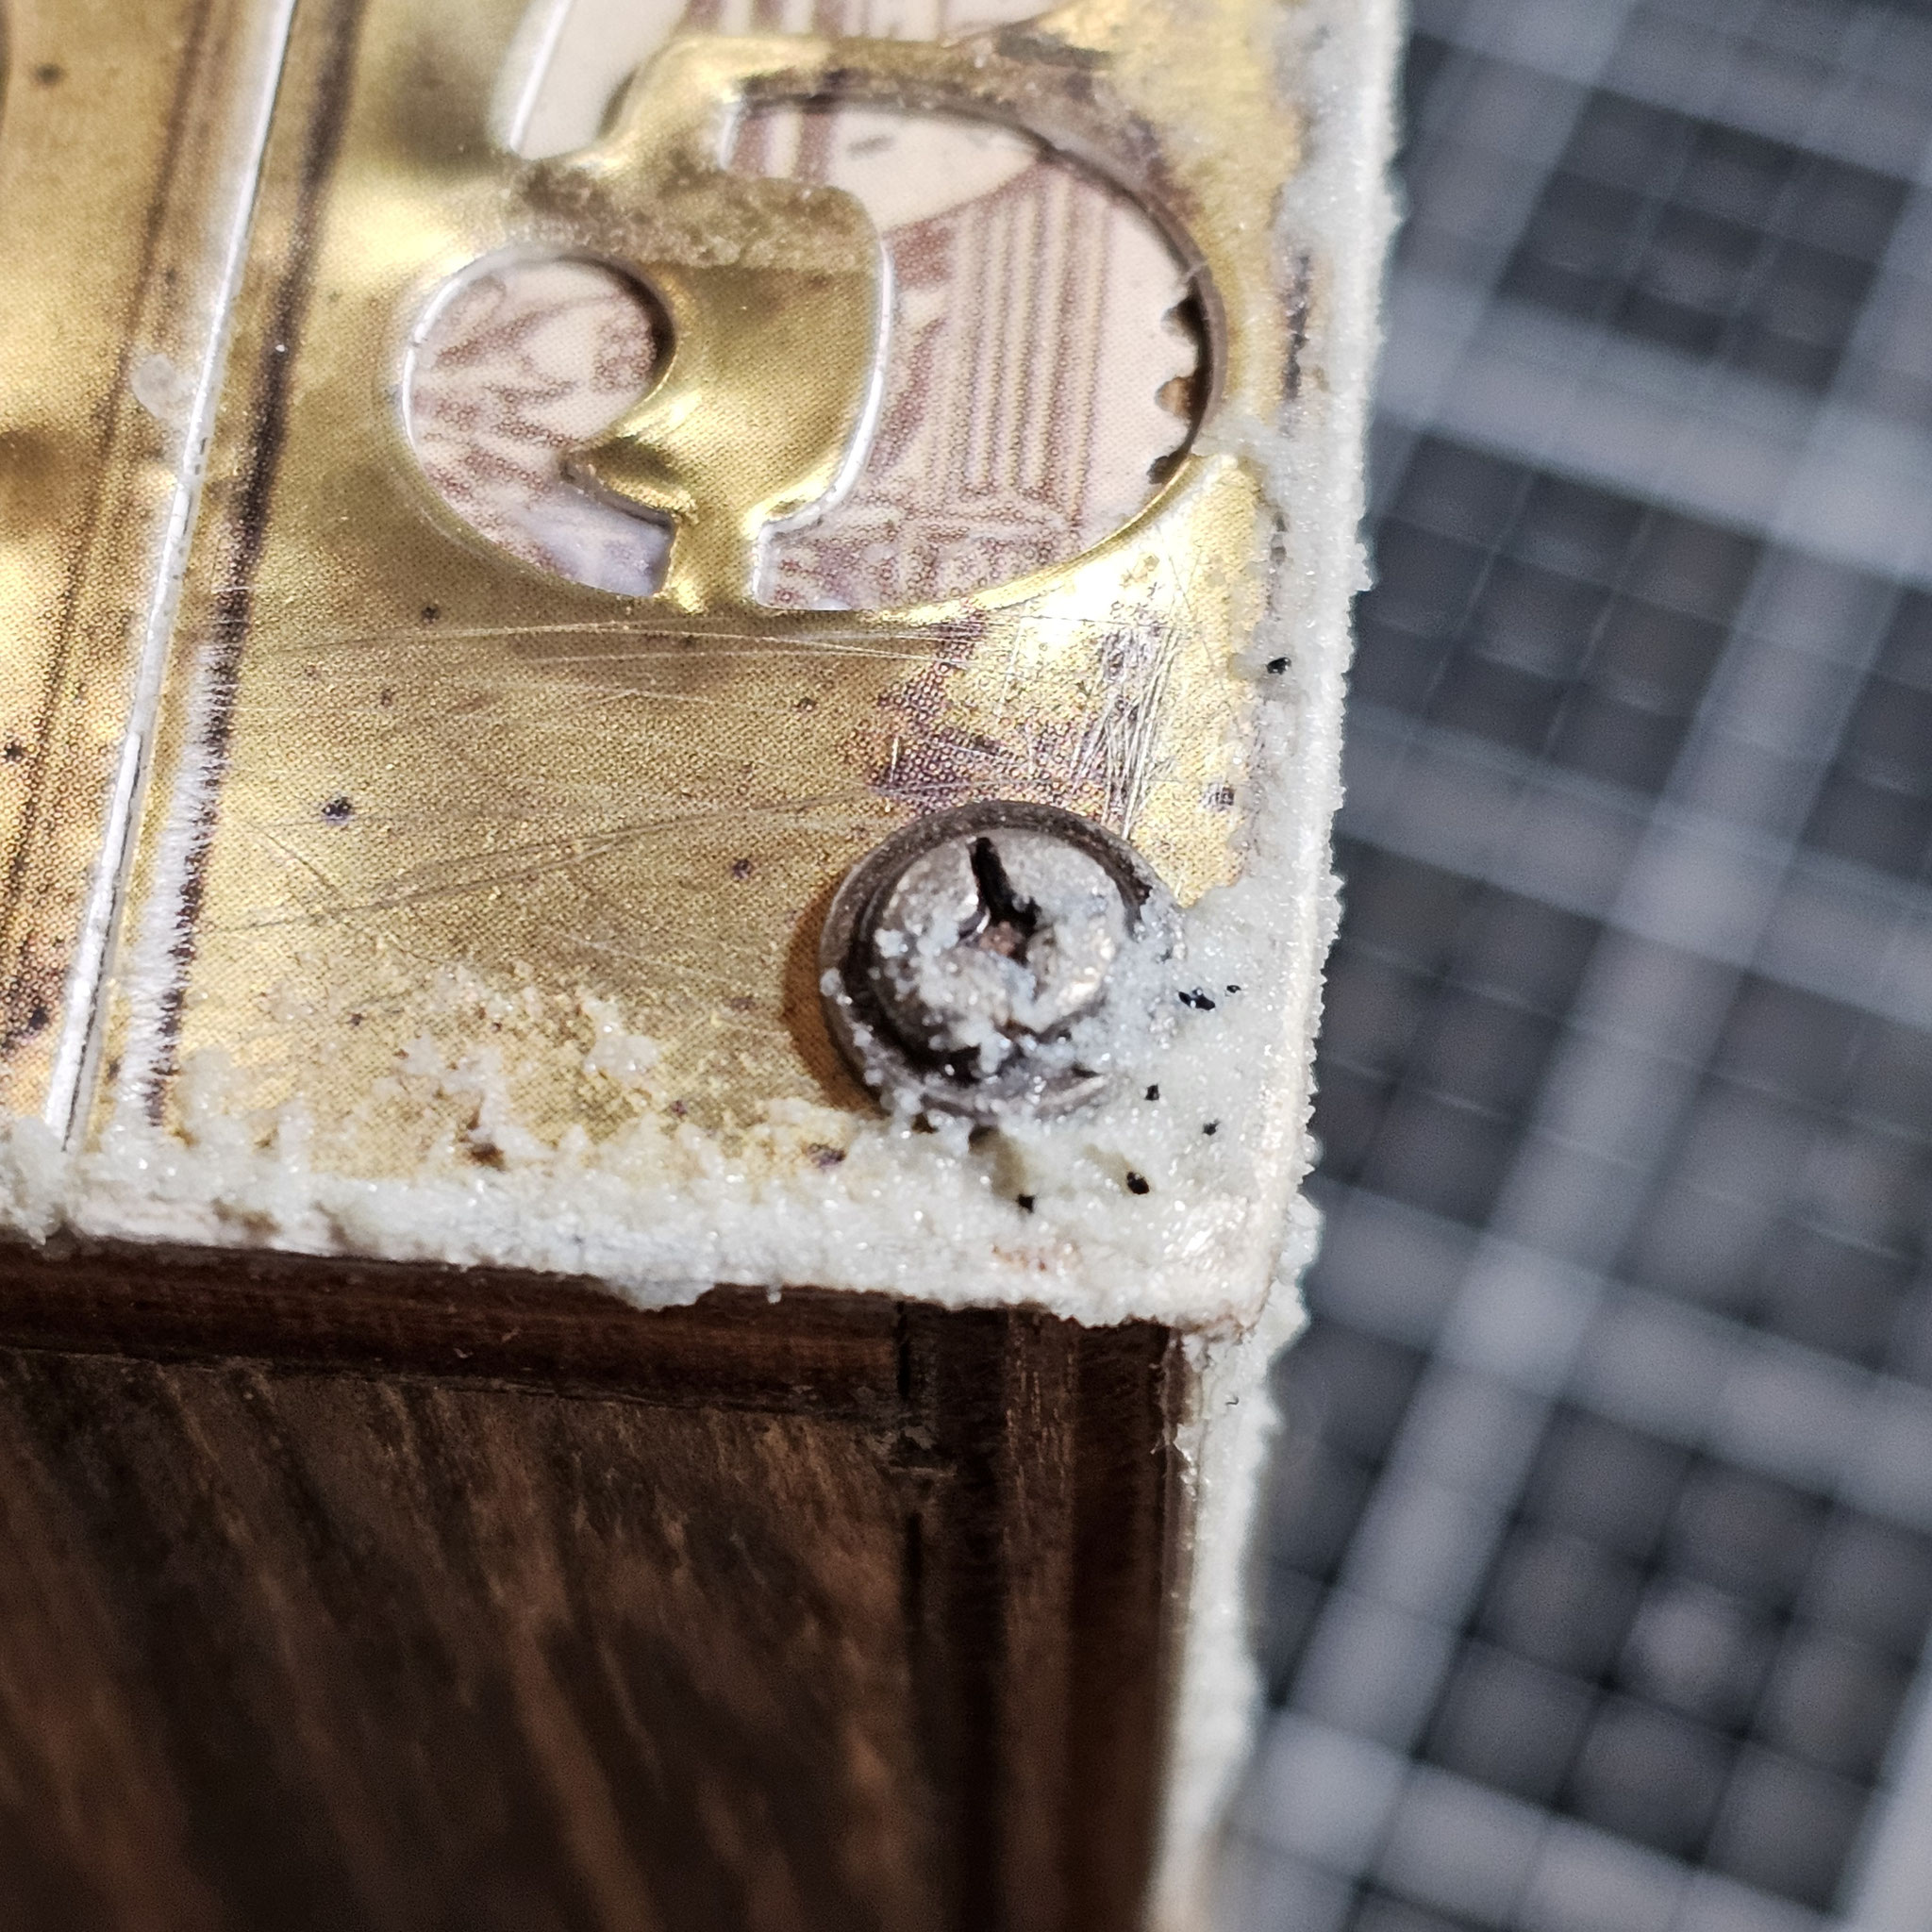
Last, but not least, I decorated the vignette card file. First, I glued postage stamps from the sticker book all around the whole box (after I removed the handle). Next, I glued mini stencil chips all around the whole box, sanded them and then I heated them up with my heat gun. Some nails, some screw heads, a bit of grit paste crypt & alcohol ink and some gilding wax - done.
I altered the handle with some acrylic paint, alcohol ink and sand paper and attached it to the box.


Here you can see some detailed photos of the finished project.
Feel free to take those ideas and have fun with them in your own journals, on your own cards or on your own ephemera.


Find a flip through of the whole vignette card file here: